
Introduction
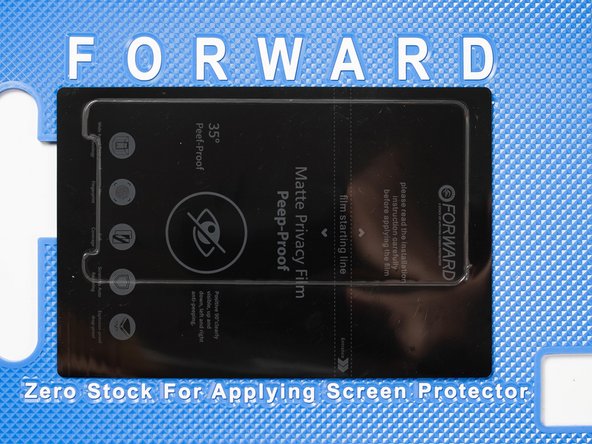
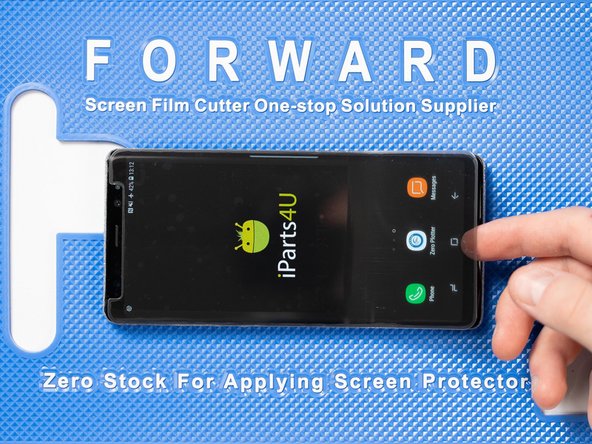
In this guide we’ll be showing you how to apply a Forward privacy film to your phone. We’re using a Samsung Note 8 in this guide however the steps followed are transferable to any phone.
Tools
-
-
In order to cut the privacy film you'll need to change the settings on your machine.
-
Log into the app.
-
Navigate to settings.
-
Once in the settings menu change the following settings:
-
Force: 400
-
Speed: 80
-
Return Distance: 0
-
Angle Handle: 0.5
-
-
-
Load and cut the privacy film.
-
If you're unsure how to perform a cut on your Forward machine you can check out our guide here.
-
Make sure you set the cut depth of your blade to 10 as the privacy film is much thicker than the Matte or High Clear films.
-
For more information on cut depths, check out our guide here.
-
-
-
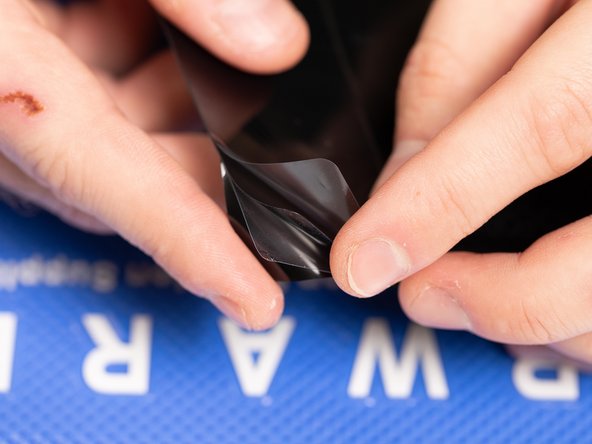
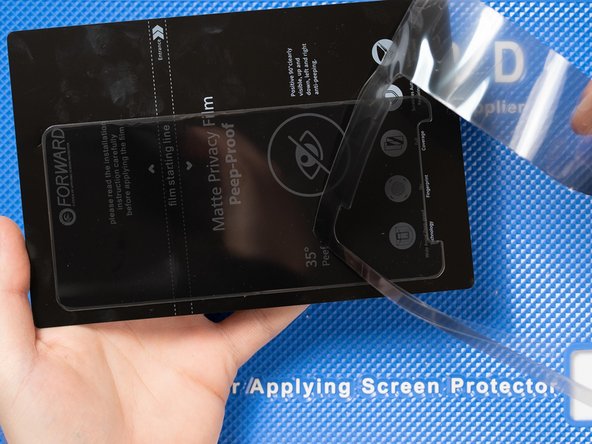
Once your have your privacy film cut you can remove it from the backing sheet.
-
-
-
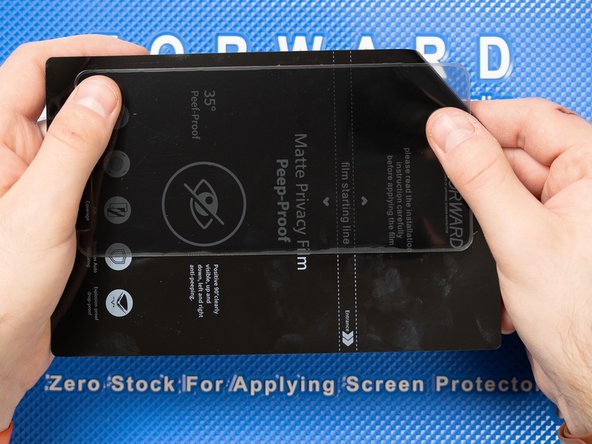
Peel away the outside of the cut.
-
-
-
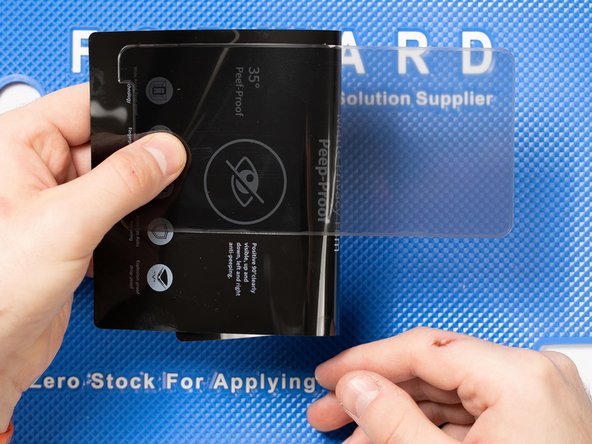
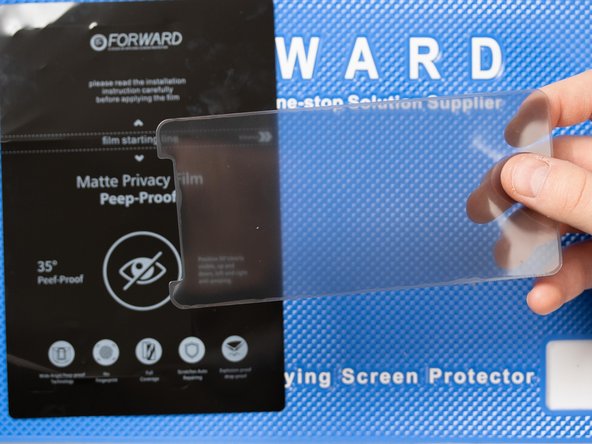
Peel off the cut from the backing sheet. Bending the sheet will help peel the cut off.
-
-
-
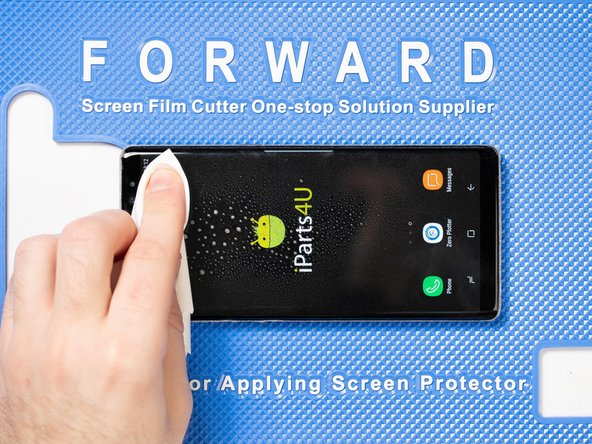
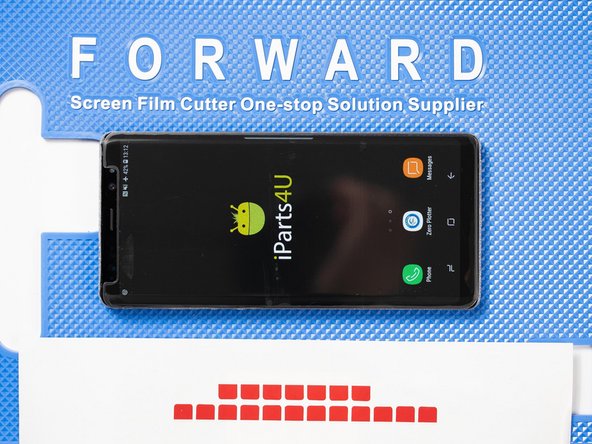
Prep your phones screen by cleaning it with Forward screen cleaner and a cleaning cloth.
-
Make sure you remove any residue or dust from the front of the phone
-
-
-
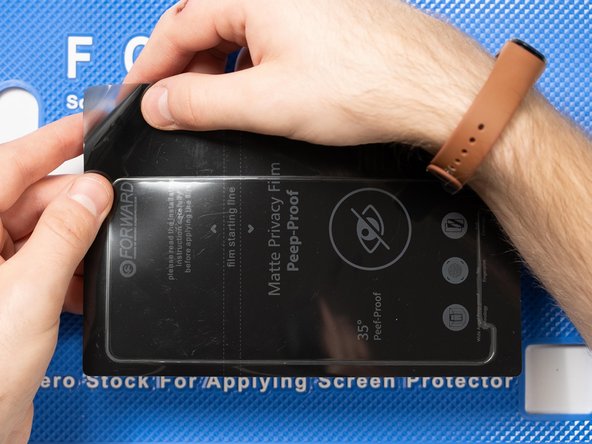
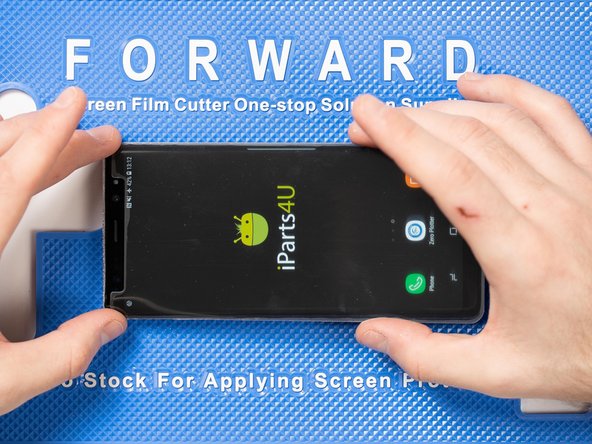
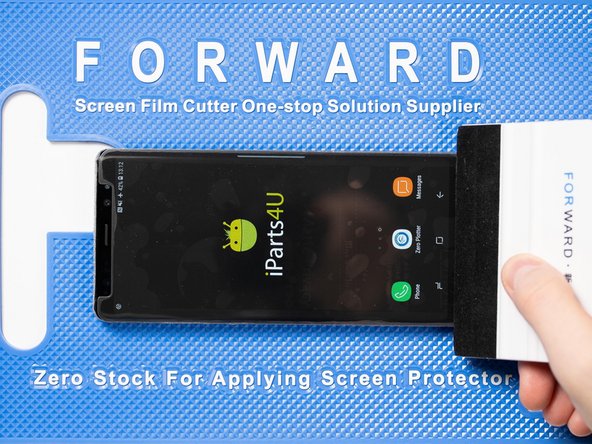
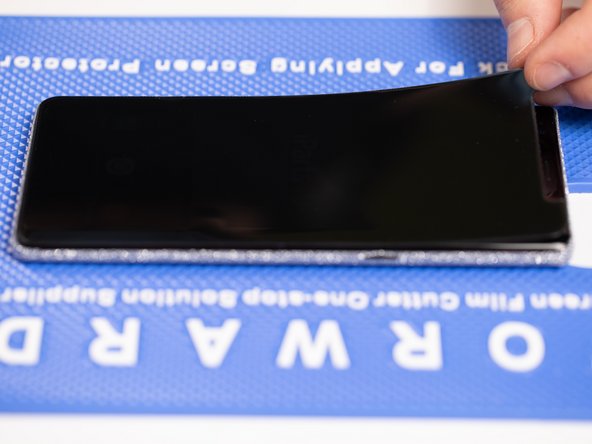
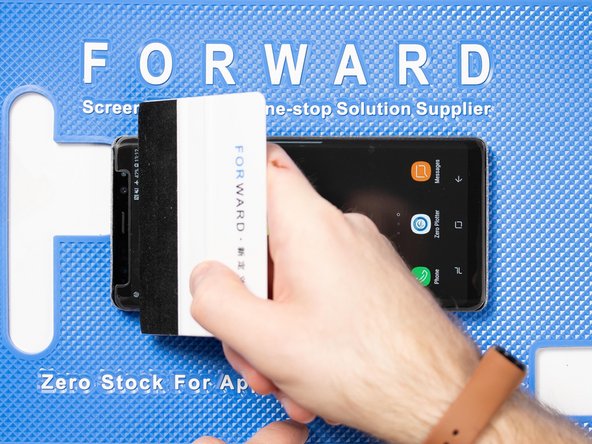
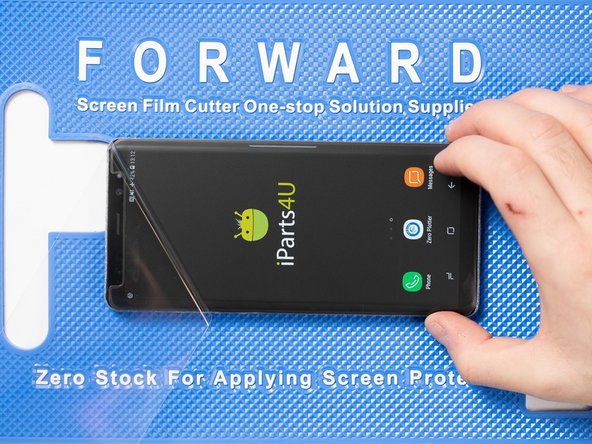
Lower the front film onto the front of the phone. We find it's easiest to lower the top end of the film first.
-
As you lower the film down onto the phone into the correct position, Use an application tool or brush your finger across the entire strip to help it attach to the phone.
-
Don't worry if you stick the film down and it doesn't look quite right. Peel the film off the phone and try again.
-
-
-
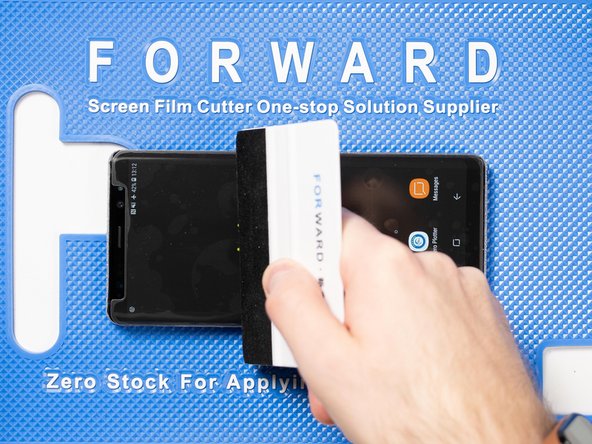
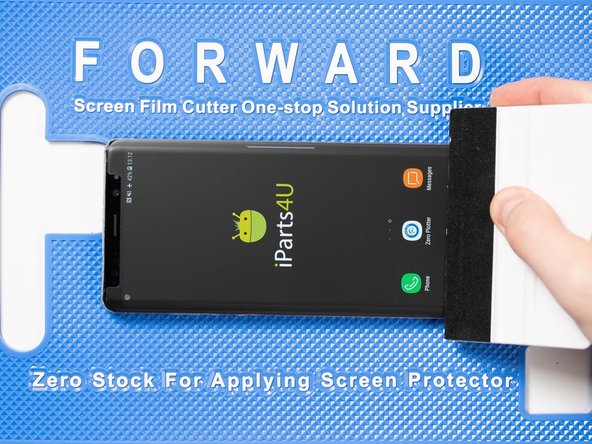
Continue using the application tool to smooth out any bubbles.
-
-
-
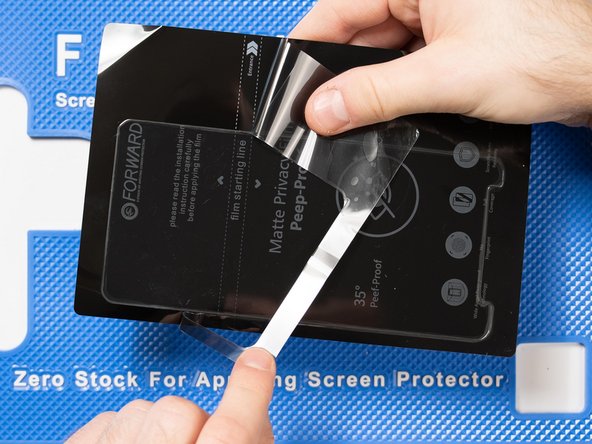
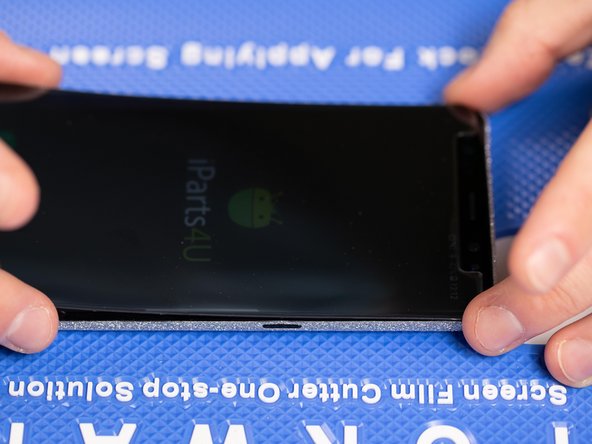
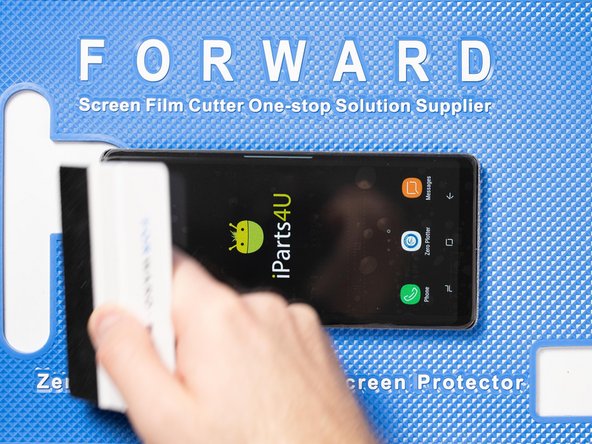
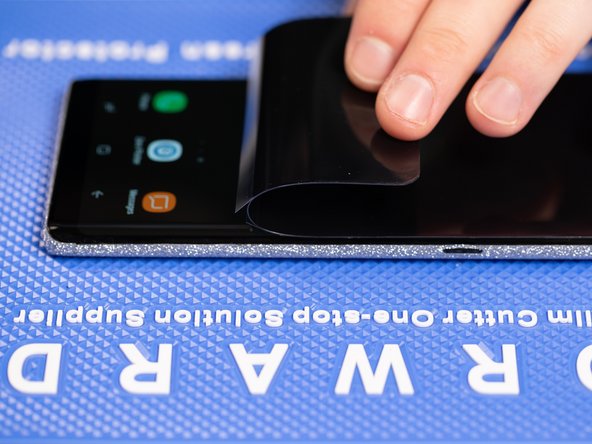
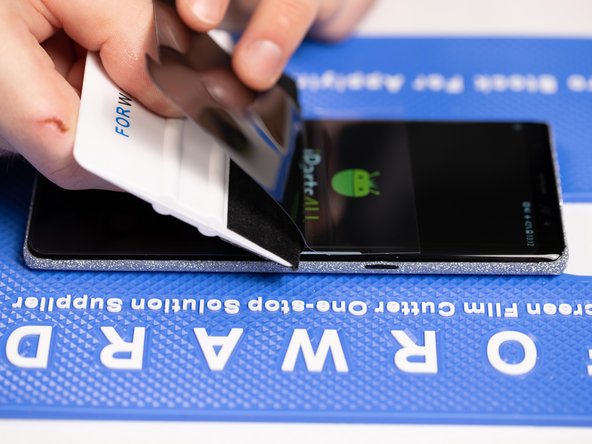
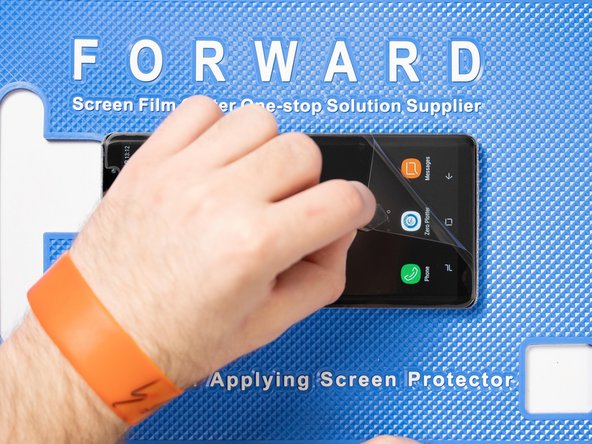
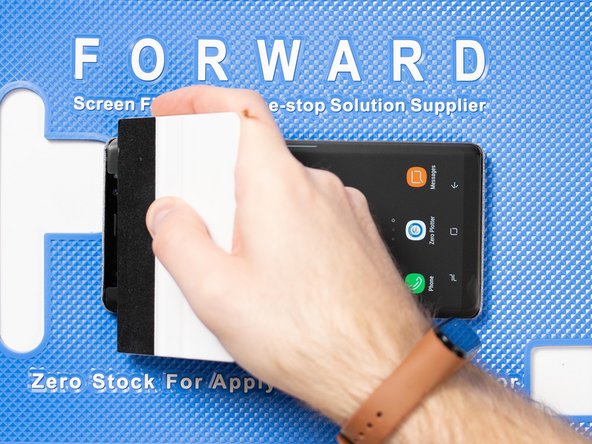
Once you're happy that your front film is in the correct position. You can start peeling the film back to expose the next sticky layer.
-
Starting at the bottom of the phone towards the charge port, lift the film up with your fingers and peel it backwards.
-
Use tweezers to lift the film if you're struggling with your finger.
-
-
-
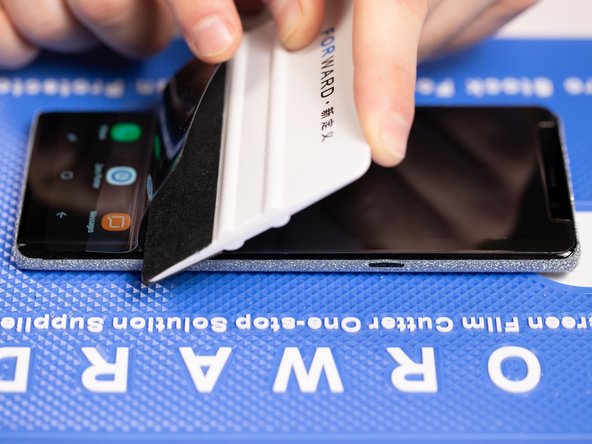
After peeling back the film to half way you will notice the film will split and will expose the sticky layer that will fix the film to the phone.
-
-
-
With your application tool slowly slide it along the film until you reach the end of the phone.
-
-
-
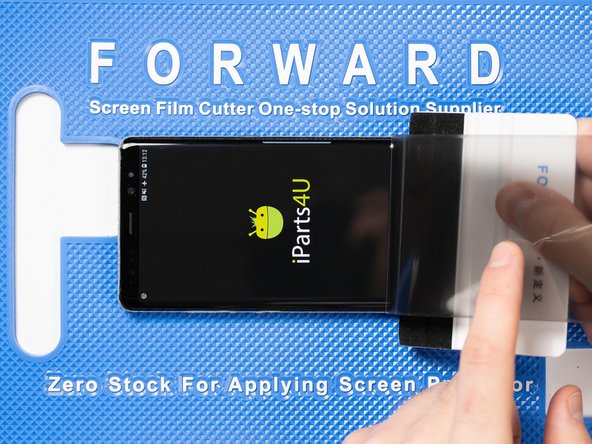
Peel the top of the front film backwards past the middle of the phone until the two layers split.
-
For best results, peel your film a little further back to avoid any bubbles forming as you join the bottom of the film with the top.
-
-
-
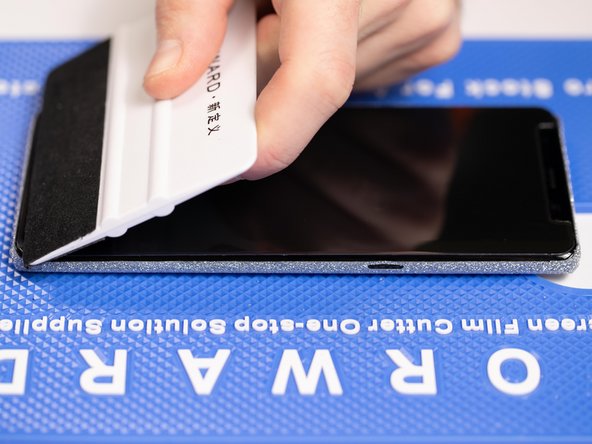
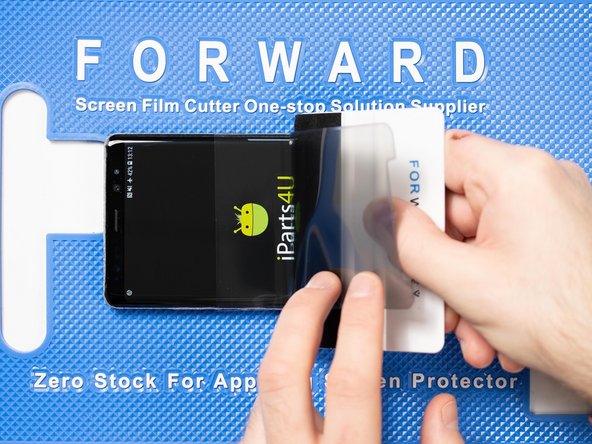
With your application tool slowly slide it along the film until you reach the top of the phone.
-
-
-
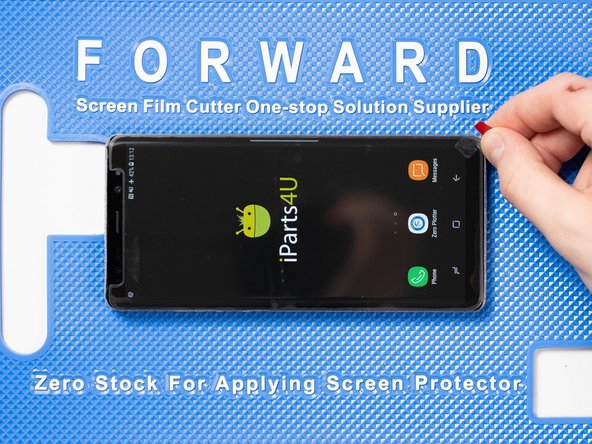
Apply a peelable tab to one of the bottom corners of the front film. This will allow you to peel off the final protective layer sitting on top of the film.
-
You can use tweezers to pick the protective layer away however there is a chance of piercing or scratching the film so we'd recommend using a peelable tab instead.
-
-
-
Grip the peelable tab with tweezers or your fingers and peel the protective layer away from the film.
-
-
-
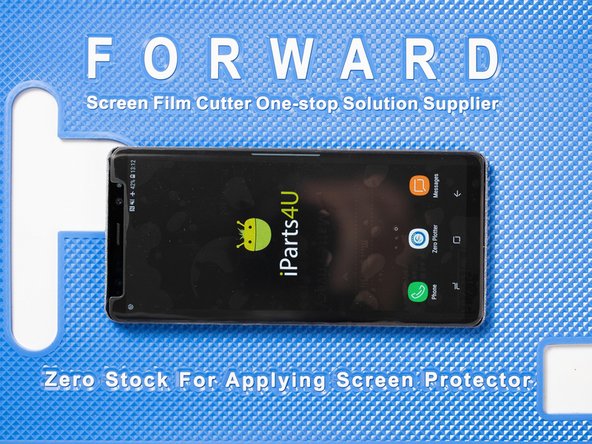
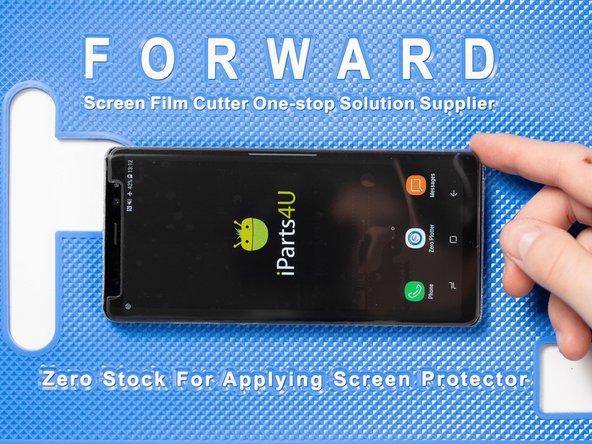
Run your application tool across the entire front film one last time to smoothe out any bubbles and ensure it's fully stuck down.
-
-
-
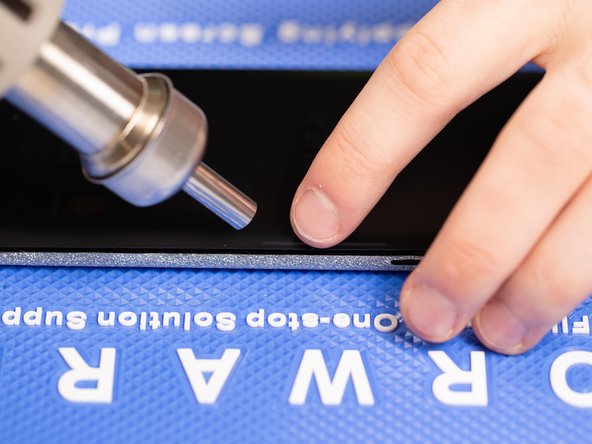
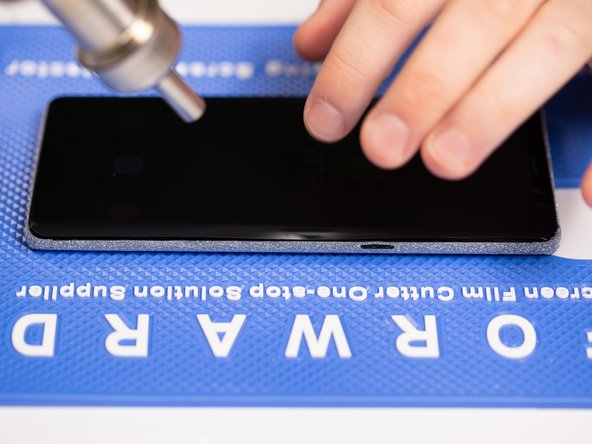
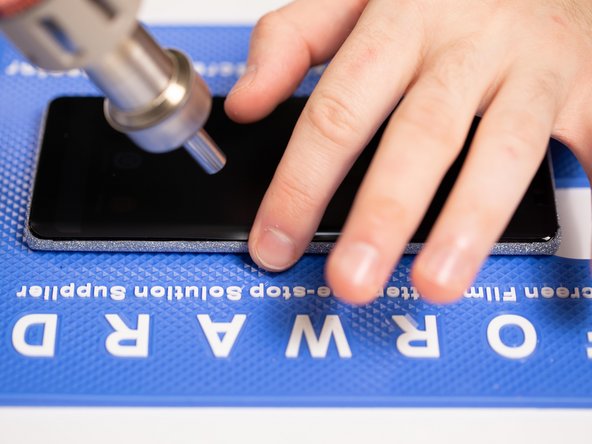
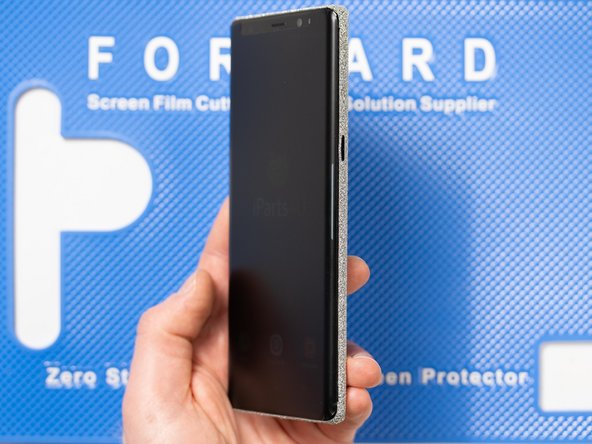
If your phone has curved edges then use a little heat on the edges and fold the film down with you fingers to help it stick to the curved edges.
-
-
-
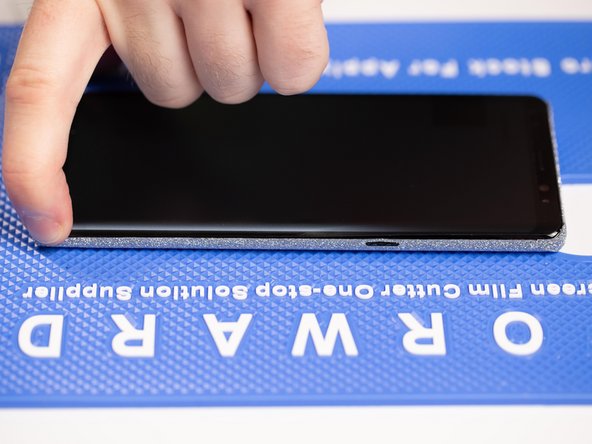
Run your finger back and forth across the edges to ensure the film is stuck down.
-
-
-
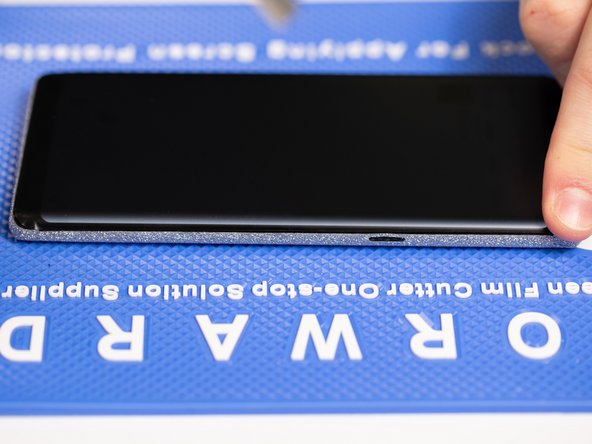
That's it! Enjoy your snazzy new front film!
-


Team
