Initial Release

Major VersionM

by David Humphrey

Introduction

In this guide we’ll be taking you through the whole process of cutting and applying a 13 inch film for your iPad or Tablet.

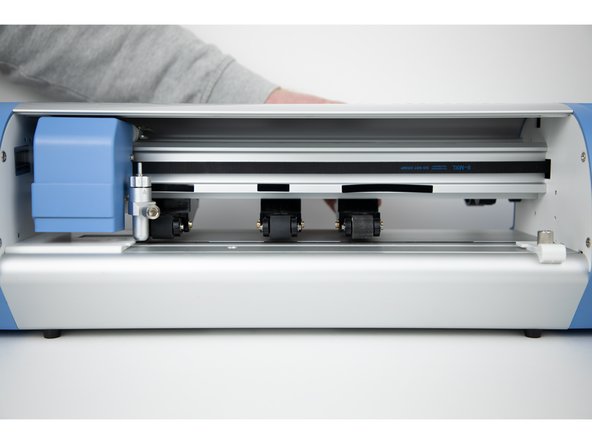
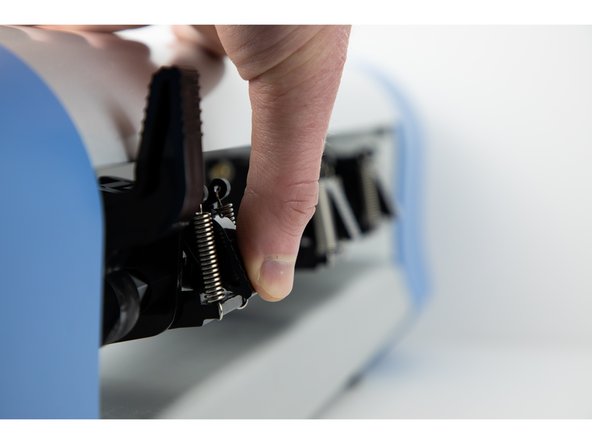
  1. Turn your Forward Zero machine around so you can ajust the latches at the back. Undo the main roller latch at the back of the machine so you can re-adjust your roller wheels for the 13 inch film. Undo the latch by pressing it downwards.
    • Turn your Forward Zero machine around so you can ajust the latches at the back.

    • Undo the main roller latch at the back of the machine so you can re-adjust your roller wheels for the 13 inch film.

    • Undo the latch by pressing it downwards.

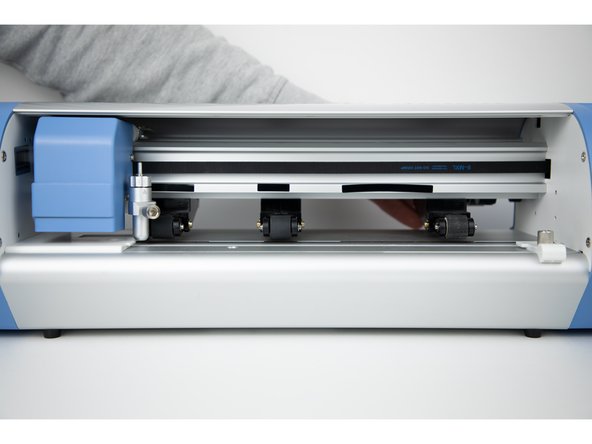
  2. Undo the latch for the roller wheel next to the main latch. Undo it by lifting the latch upwards. You'll now be able to move the roller wheel. Undo the latch for the roller wheel next to the main latch. Undo it by lifting the latch upwards. You'll now be able to move the roller wheel. Undo the latch for the roller wheel next to the main latch. Undo it by lifting the latch upwards. You'll now be able to move the roller wheel.
    • Undo the latch for the roller wheel next to the main latch. Undo it by lifting the latch upwards. You'll now be able to move the roller wheel.

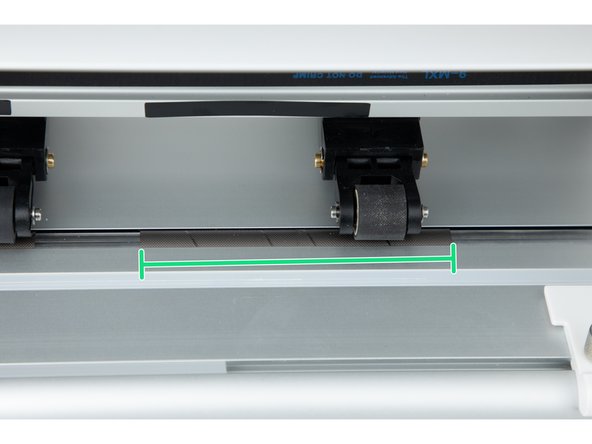
  3. Move the roller wheel as far out as you can with out passing the grip section. Make sure you dont pass the grip section otherwise the wheel will struggle to grip onto the film when loaded. The reason for moving the wheel outward is so all 3 wheels are able to cover the entire length of the 13 inch film.
    • Move the roller wheel as far out as you can with out passing the grip section.

    • Make sure you dont pass the grip section otherwise the wheel will struggle to grip onto the film when loaded.

    • The reason for moving the wheel outward is so all 3 wheels are able to cover the entire length of the 13 inch film.

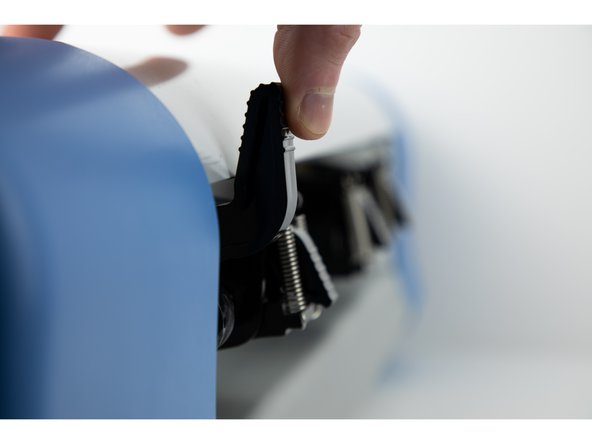
  4. Push the main latch back up and the roller wheel latch back down. This will secure the roller wheel in its new position. Push the main latch back up and the roller wheel latch back down. This will secure the roller wheel in its new position.
    • Push the main latch back up and the roller wheel latch back down. This will secure the roller wheel in its new position.

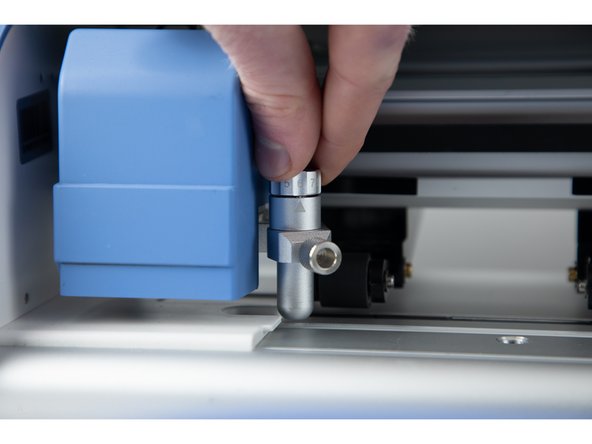
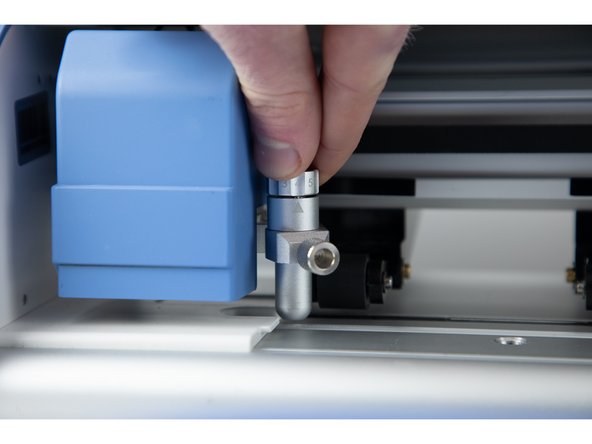
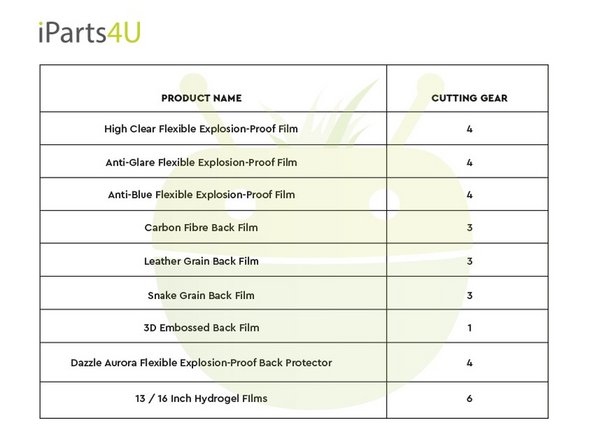
  5. As we're using a 13 inch film we'll be setting our cut depth to 6. Check out our handy cut depth guide for more information on correct cut depths. You can also download it as a pdf at the bottom of this guide in 'Attached Documents'. Check out our handy cut depth guide for more information on correct cut depths. You can also download it as a pdf at the bottom of this guide in 'Attached Documents'.
    • As we're using a 13 inch film we'll be setting our cut depth to 6.

    • Check out our handy cut depth guide for more information on correct cut depths. You can also download it as a pdf at the bottom of this guide in 'Attached Documents'.

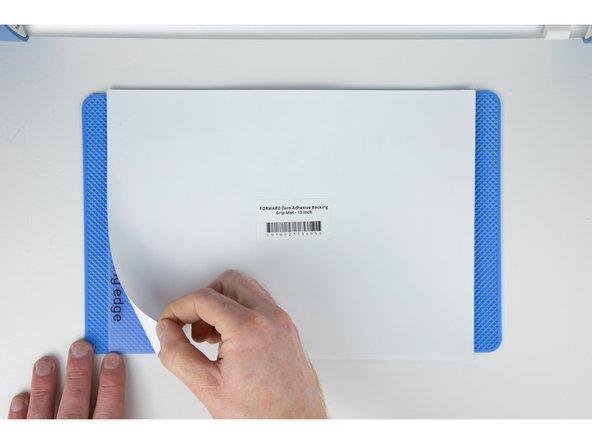
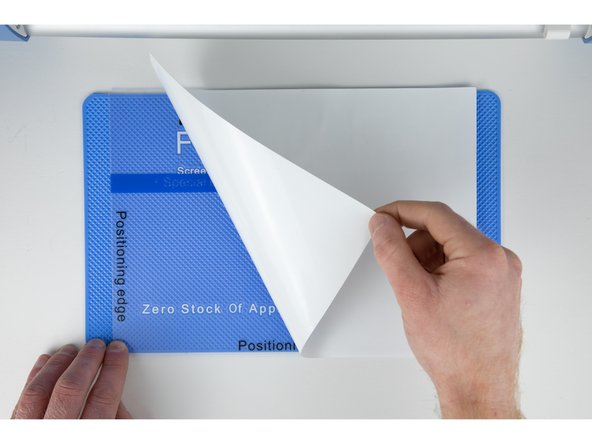
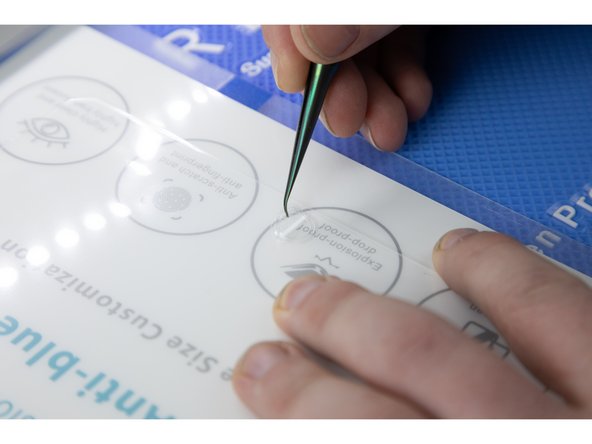
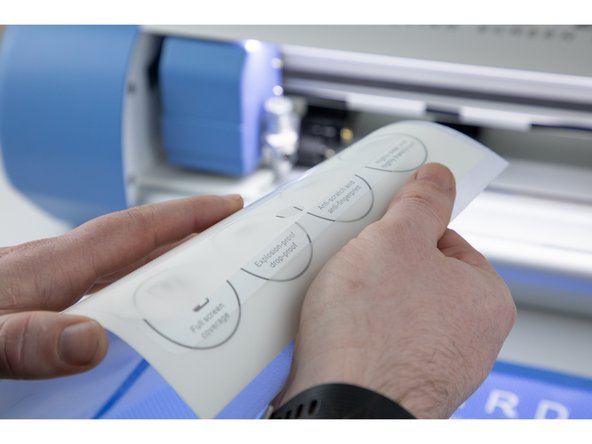
  6. When cutting a 13 inch film you'll need to use a grip layer. The grip layer acts as a solid layer and helps keep the film still when cutting. Peel the protective sheet off of the grip layer. The grip layer can be used multiple times so make sure not to throw away the protective sheet so you can apply it back onto the grip layer after you’ve made your cut.
    • When cutting a 13 inch film you'll need to use a grip layer. The grip layer acts as a solid layer and helps keep the film still when cutting.

    • Peel the protective sheet off of the grip layer.

    • The grip layer can be used multiple times so make sure not to throw away the protective sheet so you can apply it back onto the grip layer after you’ve made your cut.

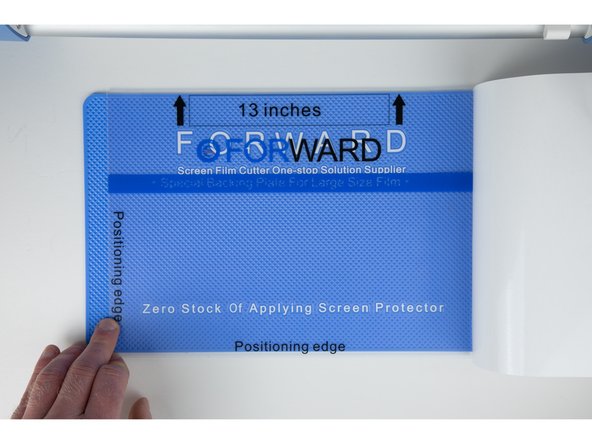
    • Once you’ve peeled the protective layer, this will expose the sticky side that we’ll be sticking our 13 inch film onto.

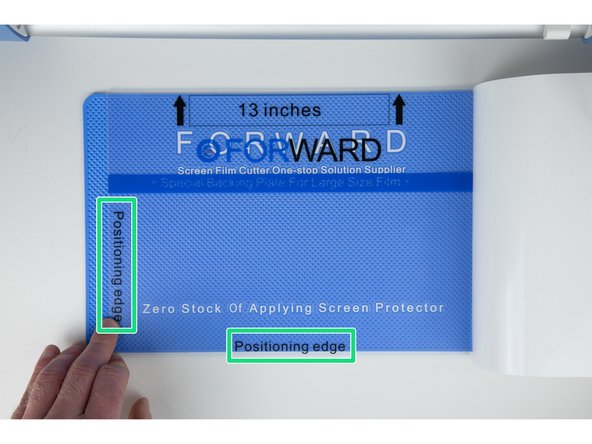
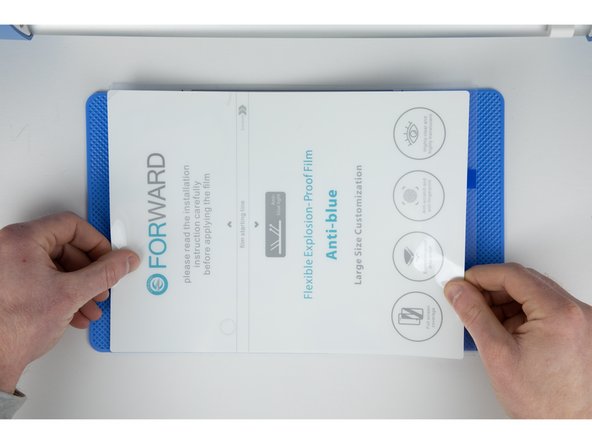
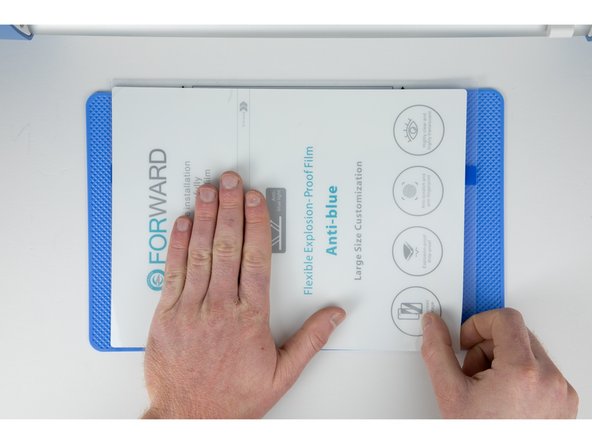
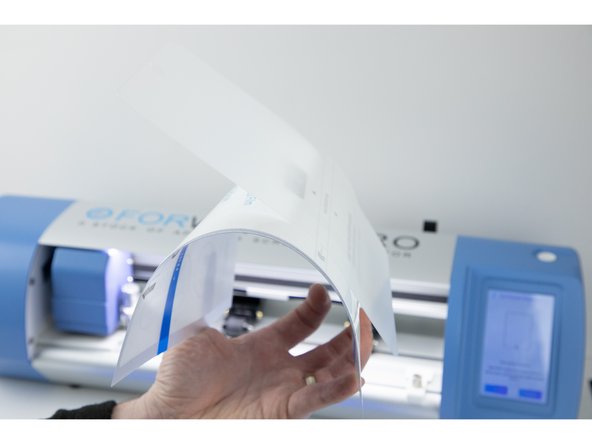
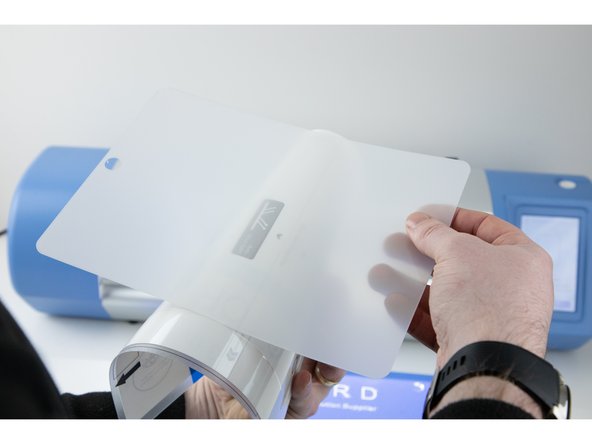
  7. You'll need to line up your film with the two position edges on your grip layer. Try and get your film lined up as accurately as you can and stick it down. Try and get your film lined up as accurately as you can and stick it down.
    • You'll need to line up your film with the two position edges on your grip layer.

    • Try and get your film lined up as accurately as you can and stick it down.

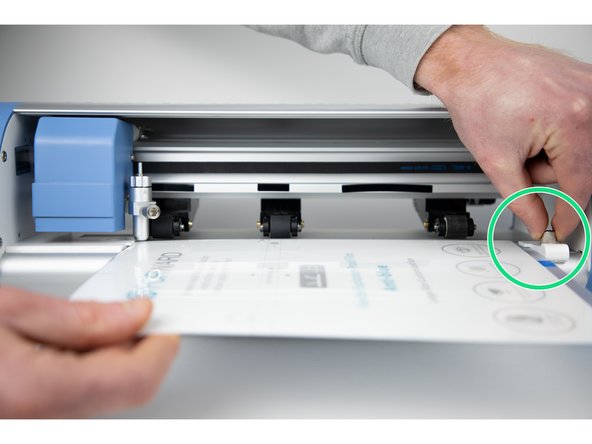
  8. Ajust your film loader pin so it fits tightly against your film.
    • Ajust your film loader pin so it fits tightly against your film.

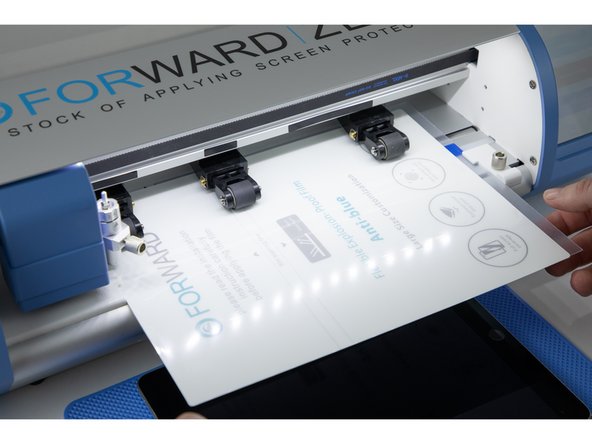
  9. Load your film into your machine, making sure it loads in straight.
    • Load your film into your machine, making sure it loads in straight.

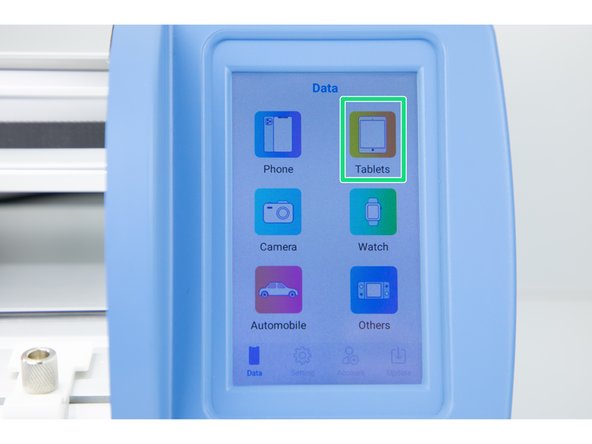
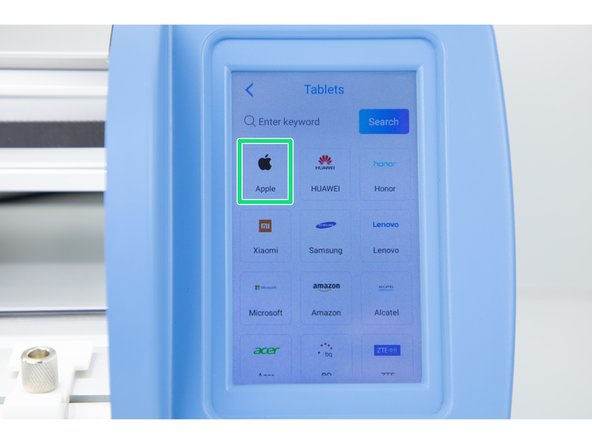
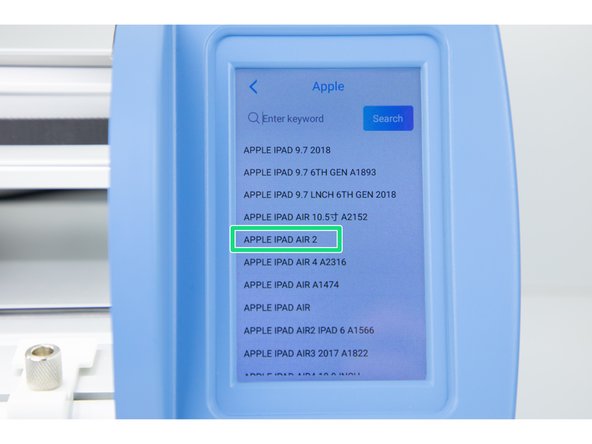
  10. Choose the cut you'd like by navigating through the built in screen or by using your iOS or Android app. We'll be using the built in screen and choosing the iPad Air 2 for this example. On the main menu select 'Tablets'. Then select ' Apple'.
    • Choose the cut you'd like by navigating through the built in screen or by using your iOS or Android app. We'll be using the built in screen and choosing the iPad Air 2 for this example.

    • On the main menu select 'Tablets'.

    • Then select ' Apple'.

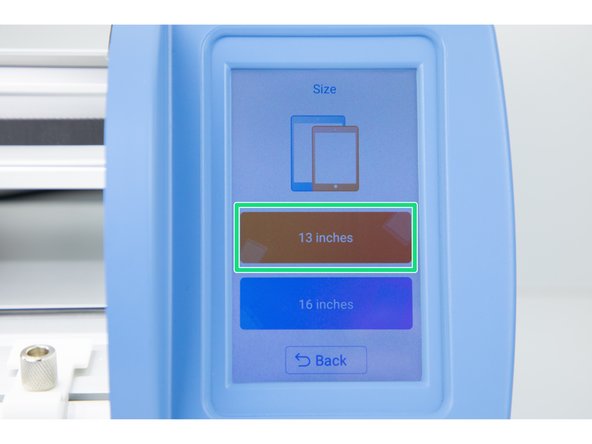
    • Select '13 Inches'.

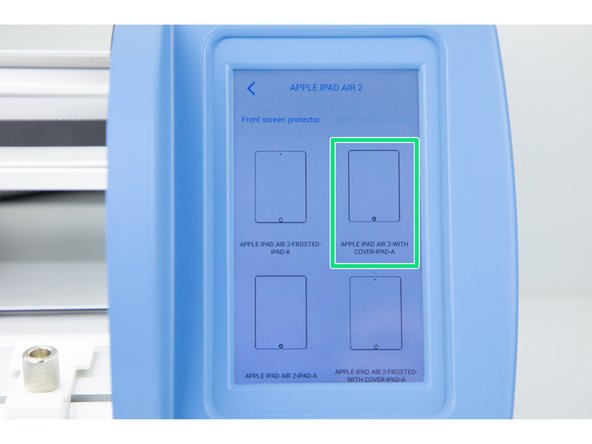
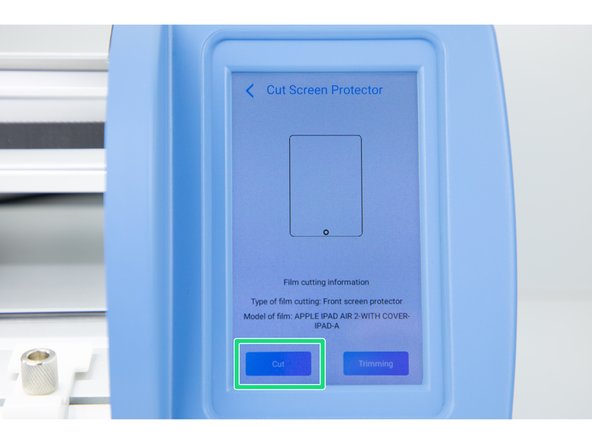
  11. Choose your iPad. Choose the type of cut you'd like. Select 'Cut'.
    • Choose your iPad.

    • Choose the type of cut you'd like.

    • Select 'Cut'.

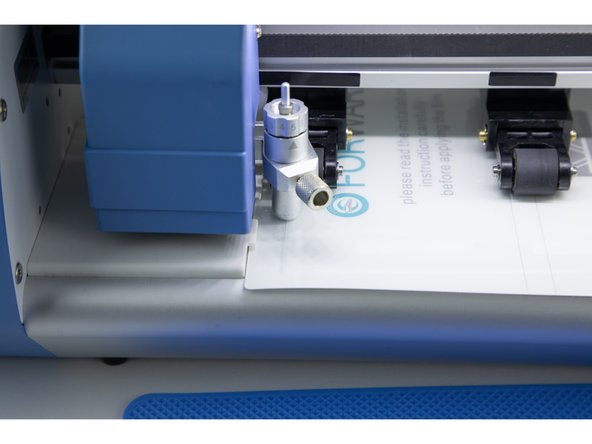
  12. Grab yourself a digestive biscuit, sit back and wait for your film to cut!
    • Grab yourself a digestive biscuit, sit back and wait for your film to cut!

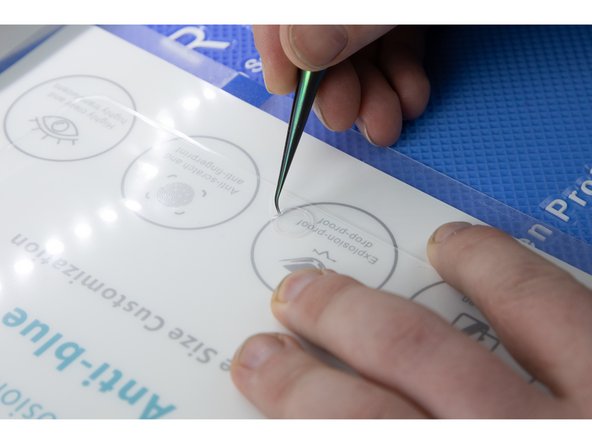
  13. Remove the film cut for the home button and also for the speaker and cameras at the top of your iPad. Remove the film cut for the home button and also for the speaker and cameras at the top of your iPad.
    • Remove the film cut for the home button and also for the speaker and cameras at the top of your iPad.

  14. Slowly peel away each side of the film until they meet in the middle and you're able to peel the whole film off. Slowly peel away each side of the film until they meet in the middle and you're able to peel the whole film off. Slowly peel away each side of the film until they meet in the middle and you're able to peel the whole film off.
    • Slowly peel away each side of the film until they meet in the middle and you're able to peel the whole film off.

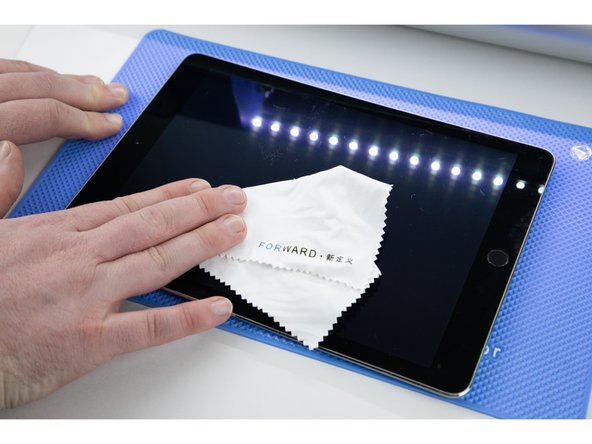
  15. Thouroughly clean your device of any dust or grime.
    • Thouroughly clean your device of any dust or grime.

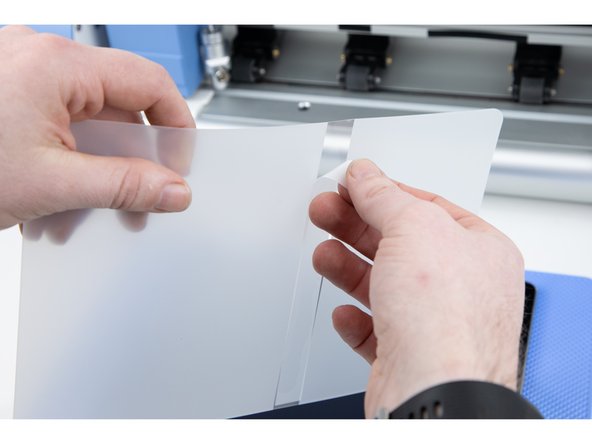
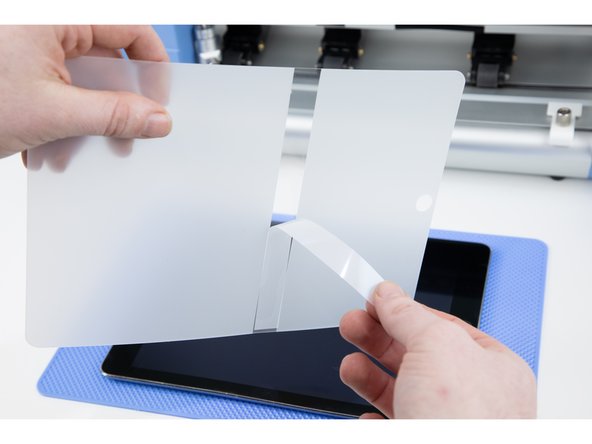
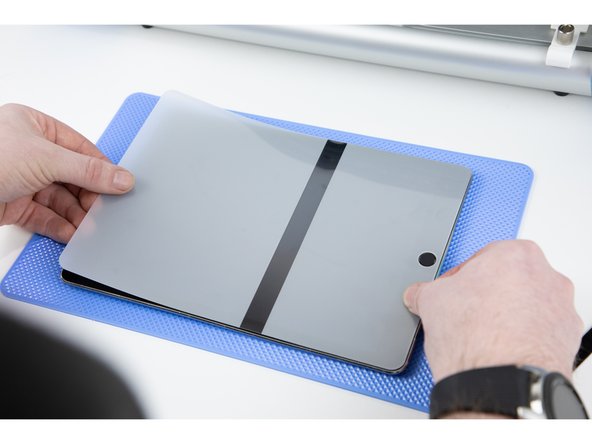
  16. Your film will have a sticky allignment layer you'll need to peel off. This will help you stick the film down in the correct location. Your film will have a sticky allignment layer you'll need to peel off. This will help you stick the film down in the correct location.
    • Your film will have a sticky allignment layer you'll need to peel off. This will help you stick the film down in the correct location.

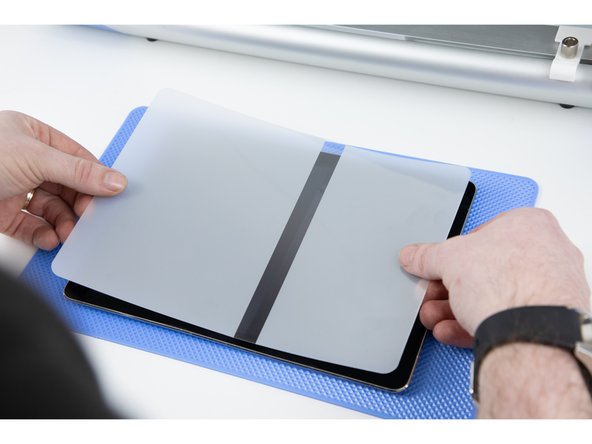
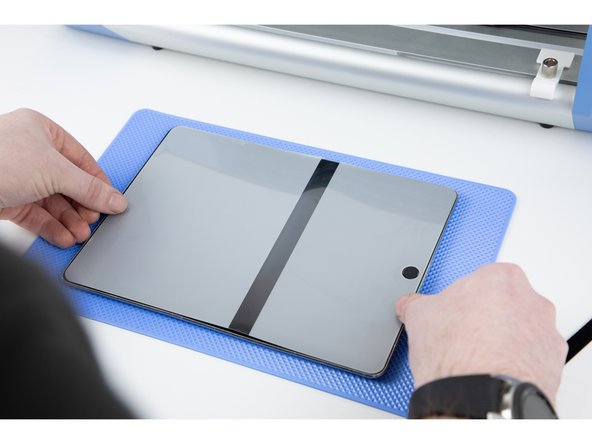
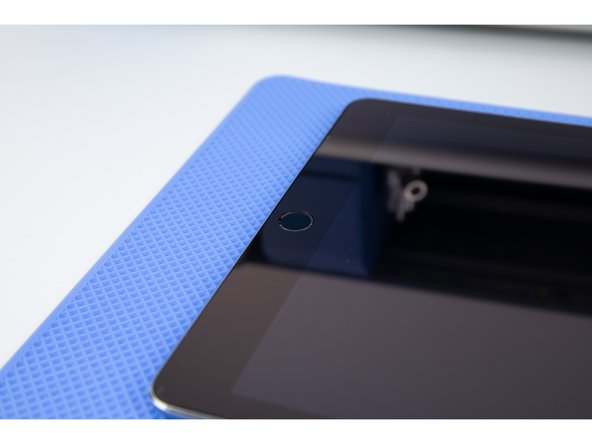
  17. Take your time to line up the film to the corners on your iPad. Make sure there is no overlap on your home button. Take your time to line up the film to the corners on your iPad. Make sure there is no overlap on your home button. Take your time to line up the film to the corners on your iPad. Make sure there is no overlap on your home button.
    • Take your time to line up the film to the corners on your iPad. Make sure there is no overlap on your home button.

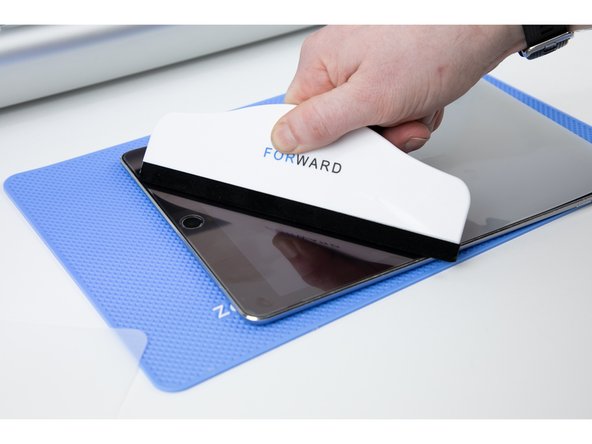
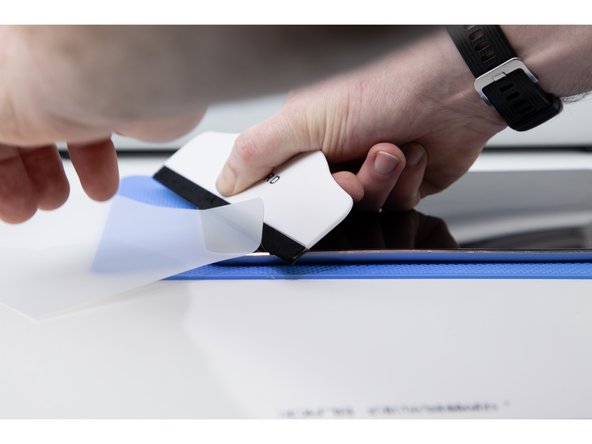
  18. Your film will now be split in two due to your allignment layer being stuck down. Begin by sticking the smaller side of your film down first. Use an application tool to press the smaller side down onto your iPad. Make sure you are pressing firmly and taking your time with your application tool as this will help avoid air bubbles. Once you've applied the film, press down on the film a few more times with the application tool to ensure there is no air left underneath.
    • Your film will now be split in two due to your allignment layer being stuck down. Begin by sticking the smaller side of your film down first.

    • Use an application tool to press the smaller side down onto your iPad. Make sure you are pressing firmly and taking your time with your application tool as this will help avoid air bubbles.

    • Once you've applied the film, press down on the film a few more times with the application tool to ensure there is no air left underneath.

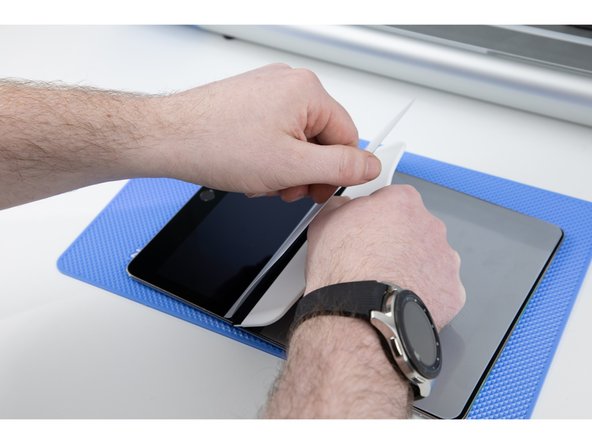
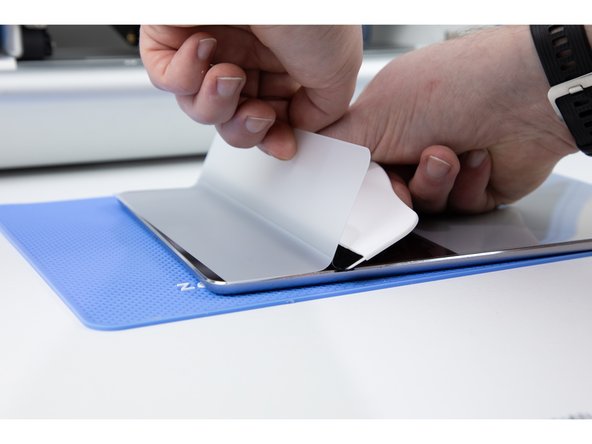
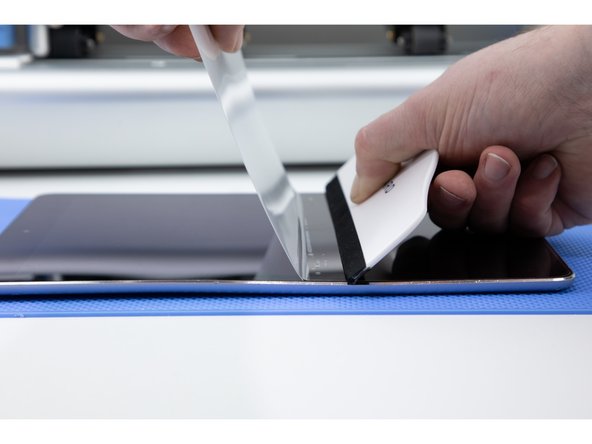
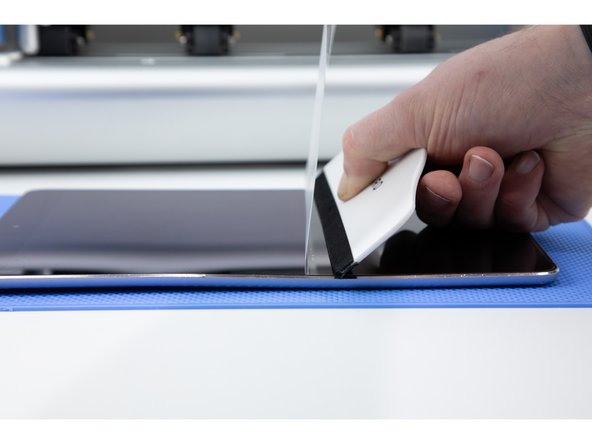
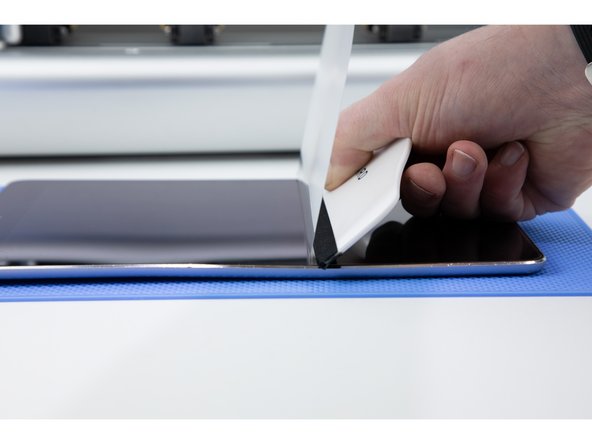
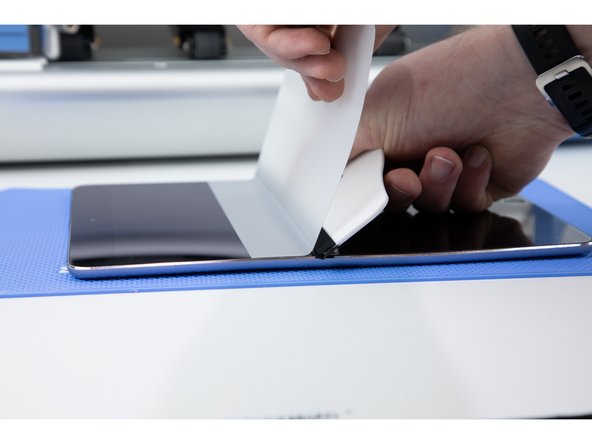
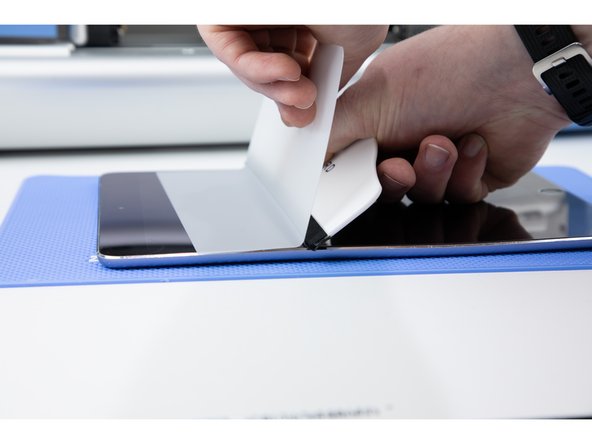
  19. In order to succesfully stick down the larger side of your film you'll need to peel back some of the film you have just stuck down. The reason for this is so there is no air gap created between the two sides of the films meeting. Firmly press your application tool onto your iPad and pull back the film to meet with your application tool.
    • In order to succesfully stick down the larger side of your film you'll need to peel back some of the film you have just stuck down.

    • The reason for this is so there is no air gap created between the two sides of the films meeting.

    • Firmly press your application tool onto your iPad and pull back the film to meet with your application tool.

  20. Using the same process as step 18, apply the film to the iPad. Using the same process as step 18, apply the film to the iPad. Using the same process as step 18, apply the film to the iPad.
    • Using the same process as step 18, apply the film to the iPad.

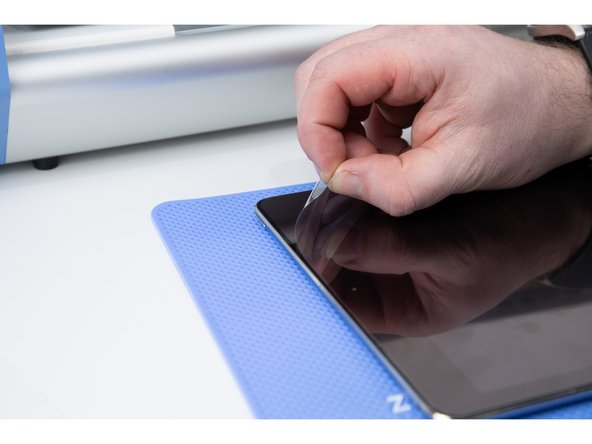
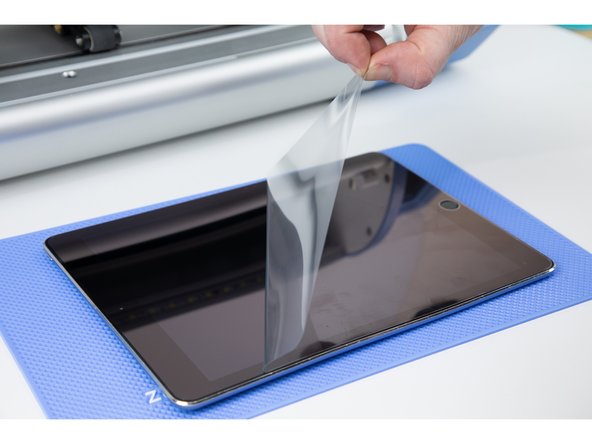
  21. Theres a protective layer on the film. Peel it away. Theres a protective layer on the film. Peel it away.
    • Theres a protective layer on the film. Peel it away.

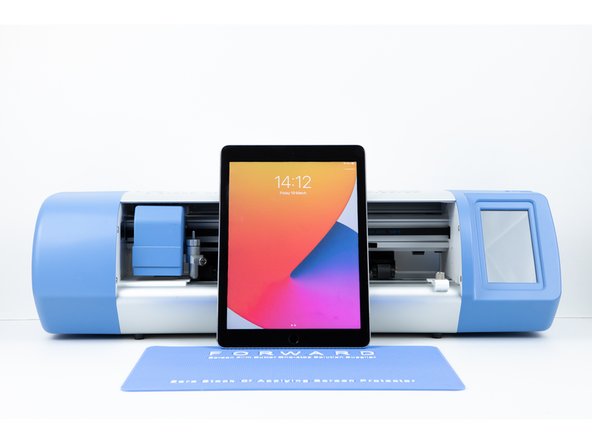
  22. Enjoy your new protected iPad/Tablet! Enjoy your new protected iPad/Tablet! Enjoy your new protected iPad/Tablet!
    • Enjoy your new protected iPad/Tablet!

Finish Line

Attached Documents

Oliver

Member since: 02/19/2021

13,025 Reputation

69 Guides authored

Team

iParts4U Team Member of iParts4U Team

4 Members

72 Guides authored

0 Comments

Add Comment

View Statistics:

Past 24 Hours: 0

Past 7 Days: 3

Past 30 Days: 3

All Time: 349