
Introduction
This guide will show you how to successfully remove and replace an iPhone 13 Taptic Engine. The taptic engine is responsible for your iPhone vibration and haptic feedback functions. We’ve linked all of the tools and parts used in this guide so make sure to check them out before continuing.
Tools
Parts
No parts specified.
-
-
Caution: Before starting this repair, discharge your iPhone battery below 25%. Accidentally puncturing a charged lithium-ion battery can cause it to catch fire and/or explode.
-
Turn your iPhone off before beginning this repair.
-
-
-
Start by ejecting your SIM card tray. Use a SIM card eject tool or a paperclip and insert it into the small hole. The SIM tray holder is located on the same side of the phone as the volume buttons.
-
Make sure your SIM card is in the correct way round when re-inserting.
-
There's a thin rubber gasket around the SIM tray that provides protection against water and dust. Make sure to replace the gasket if it is damaged or missing, or buy a new SIM entirely.
-
-
-
At the bottom of the iPhone, unscrew and remove the two pentalobe screws.
-
2x Pentalobe Screws
-
When you open the iPhone's display it will compromise its waterproof seals. Make sure you have replacement seals ready before continuing with this guide, or take care when reassembling your phone to avoid liquid exposure.
-
-
-
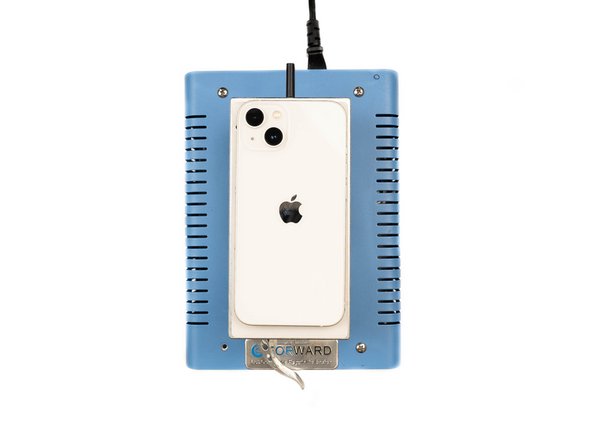
We're heating our iPhone at 100 degrees celsius using the Forward FW-360 heater. If you don't have a suitable heater, you can purchase yours here.
-
Leave the phone to heat up for a maximum of 2-3 minutes.
-
By heating the phone you will be softening the adhesive that is holding the LCD screen to the phone, and thus making it easier to open.
-
-
-
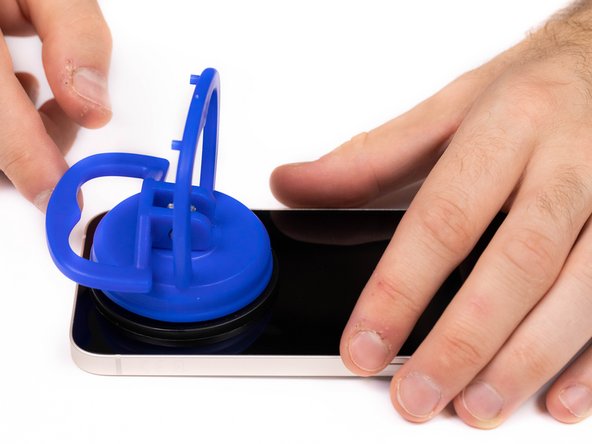
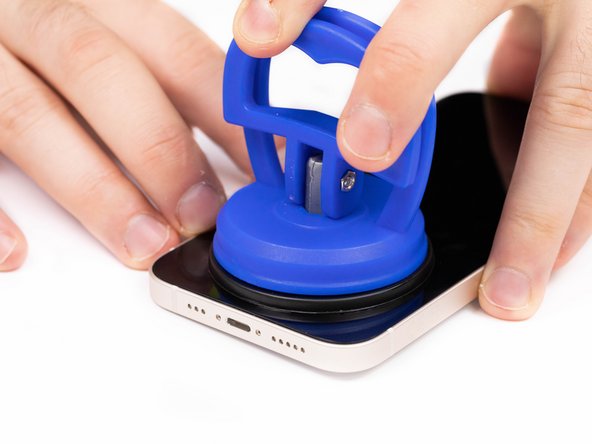
Apply your suction cup to the bottom edge of your phone. Don't place it too far down though, avoid putting it at the very edge of the glass. If you don't have a suction cup, you can purchase yours here.
-
If you have a severely cracked screen, you may have trouble mounting the suction cup. You can combat this by covering the screen with tape and mounting the suction cup to the tape.
-
-
-
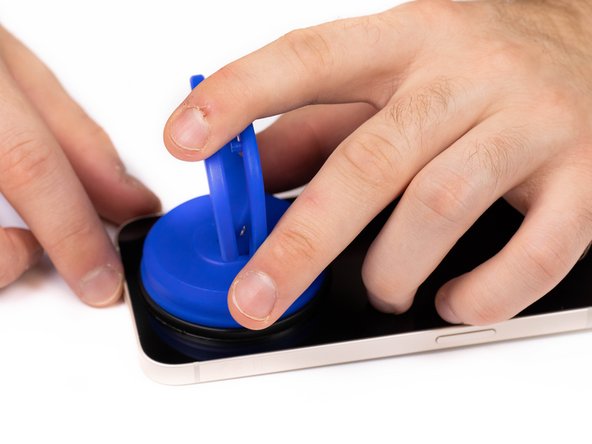
Pull the suction cup away from the phone, this will create a gap between the front panel and rear case.
-
If you're struggling to create the gap, it might be due to the phone having cooled down. Heat the phone up and try again, the watertight adhesive holding the screen down is very strong so this may take time to slowly weaken the adhesive enough to create an opening.
-
-
-
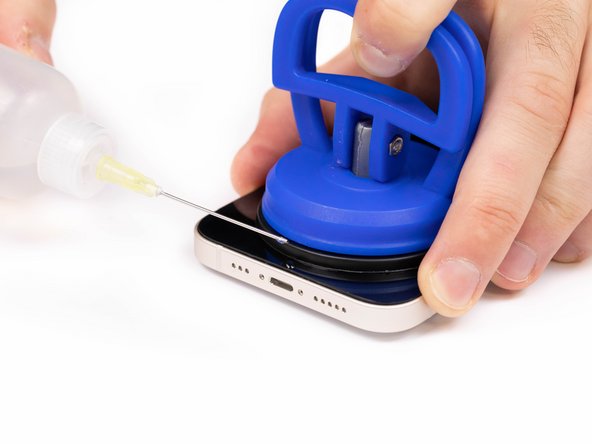
Using a pry tool or plastic card, begin prying the bottom edge of the phone open. You can use some IPA to help loosen the screen if you're struggling.
-
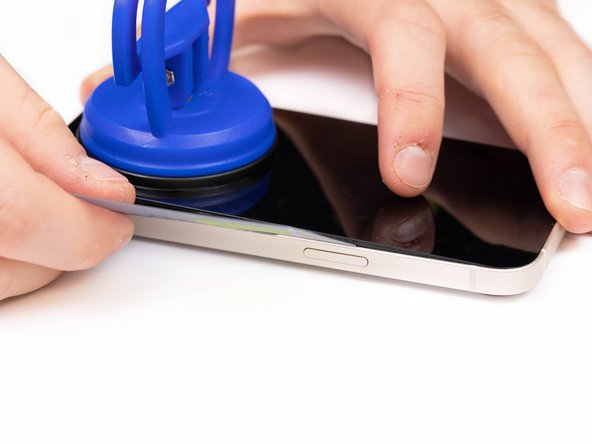
Continue prying the phone open along the left and right side.
-
Be careful not to insert your prying tool too far into the phone, a few millimiteres will be enough. You risk damaging the cables connecting the screen if you insert the pry tool too far.
-
-
-
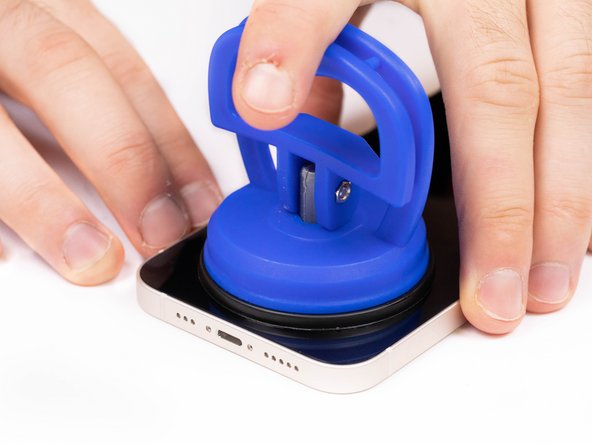
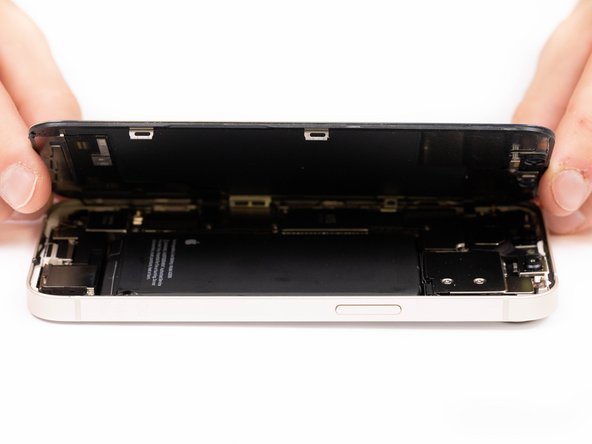
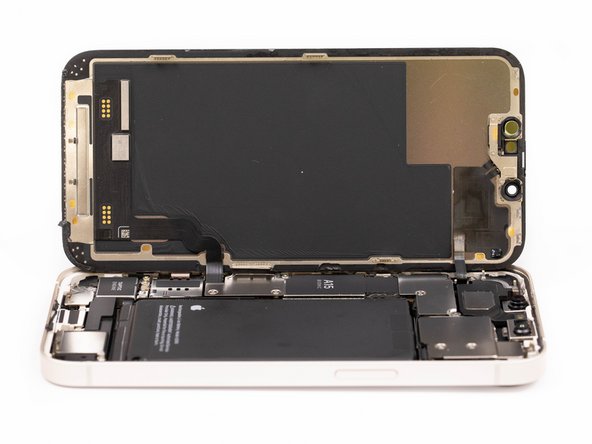
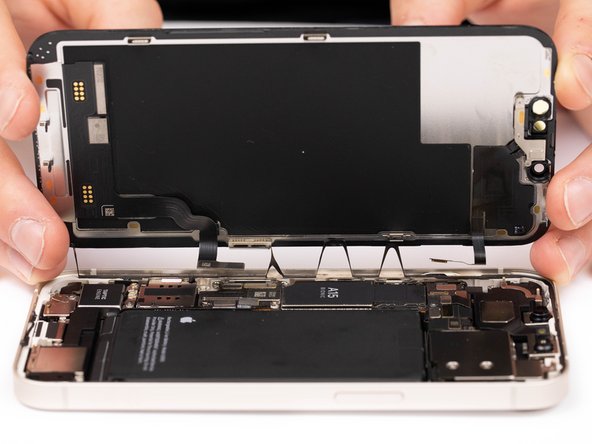
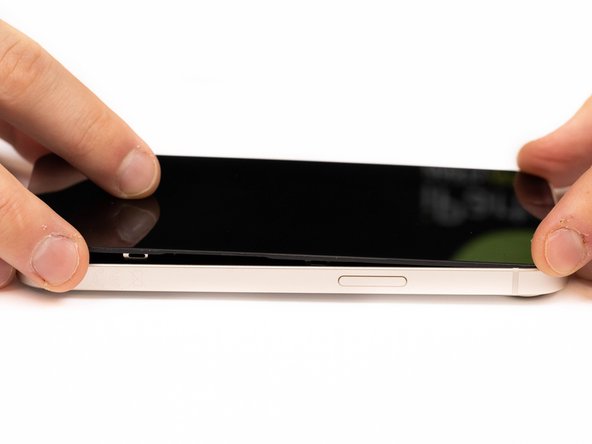
Once most of your screen has come loose, remove your suction cup and begin prying the screen off with your hands. With a small amount of force, the screen should come free from the adhesive. Your phone should open like a book.
-
Make sure you are opening the phone from the right side. The left side has a few fragile cables that connect the screen to the iPhone logic board.
-
Use your suction cup or another object to prop your screen up while you're disconnecting it in the next steps.
-
If reassembling, check out our iPhone 13 screen replacement guide here where we show you how to properly reassemble your iPhone screen. Skip to step 22 for reassembly instructions.
-
-
-
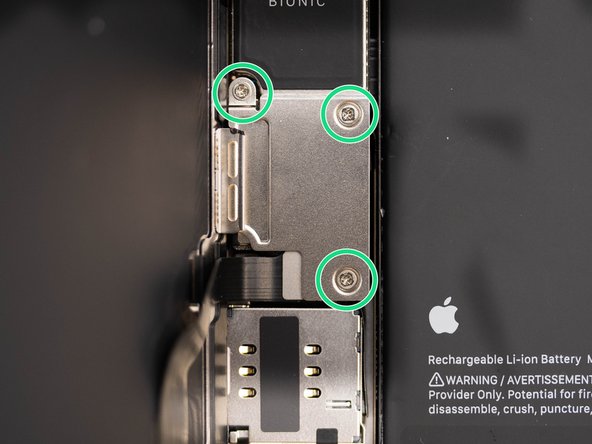
There are three screws holding the battery and display connector cover down. You'll need to remove these.
-
3x Phillips Screws
-
If reassembling, this point is a great time to quickly power your iPhone on and check that everything is working correctly.
-
Once you've removed the screws, remove the cover.
-
-
-
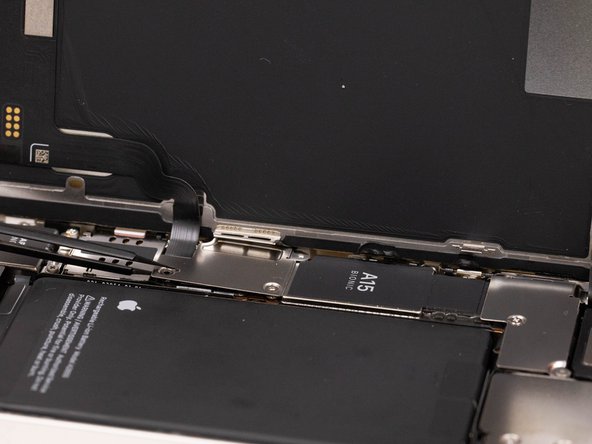
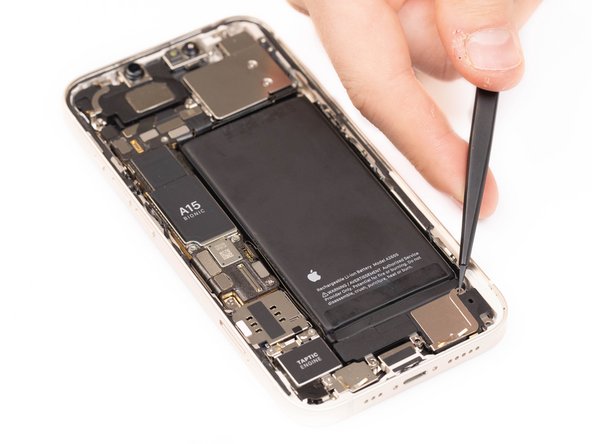
Use a spudger and pry the battery connector up from its socket on the logic board. Make sure your spudger is clean.
-
If you don't have a spudger, you can use your fingernails, but make sure they're clean.
-
The black silicone seal surrounding this connection and others act as extra protection against water and dust so be careful and try not to damage them.
-
Bend the connector away from it's connection socket to fully disconnect it.
-
-
-
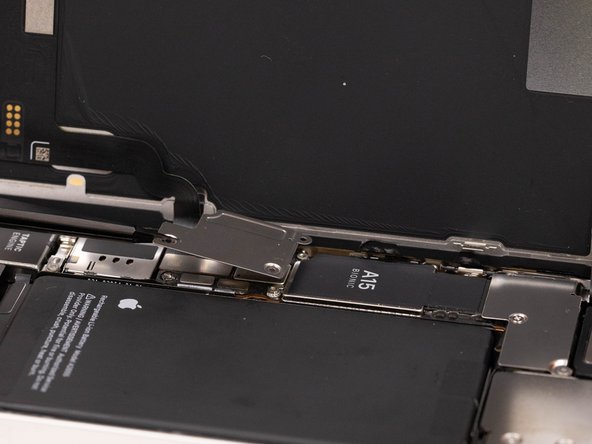
Disconnect the display cable with a spudger or fingernail.
-
-
-
Remove the three screws holding the connector cover in place.
-
1x Tri-point screw
-
2x Phillips screws
-
Take caution when removing the cover, there's a small clip on the left side that hooks the cover down. Unhook it and then remove.
-
When reassembling, don't forget to clip the cover back in before screwing it back down.
-
-
-
Disconnect the front sensor assembly cable connector with a spudger or your fingernail.
-
-
-
Pull the display assembly away from the phone.
-
-
-
Using a screwdriver, remove four screws that are securing the loudspeaker down.
-
4x Phillips Screws
-
-
-
Use a pair of tweezers or your fingers to remove the loudspeaker.
-
-
-
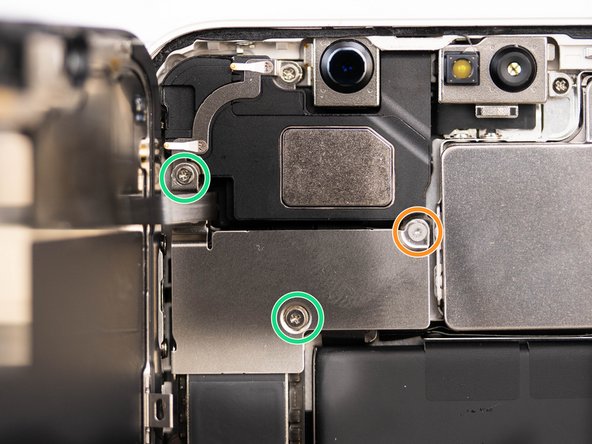
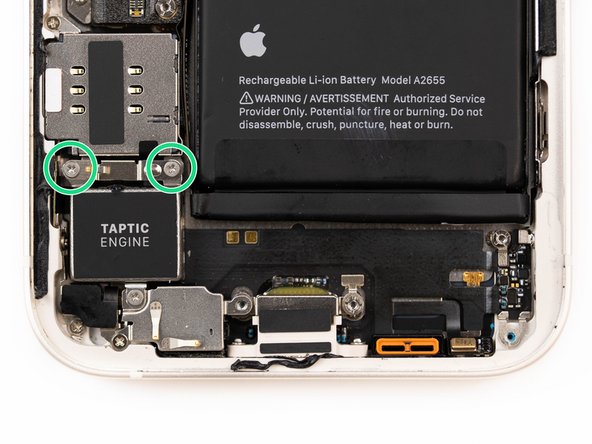
Using a screwdriver, remove two screws securing the taptic engine connector cover.
-
2x Phillips Screws
-
-
-
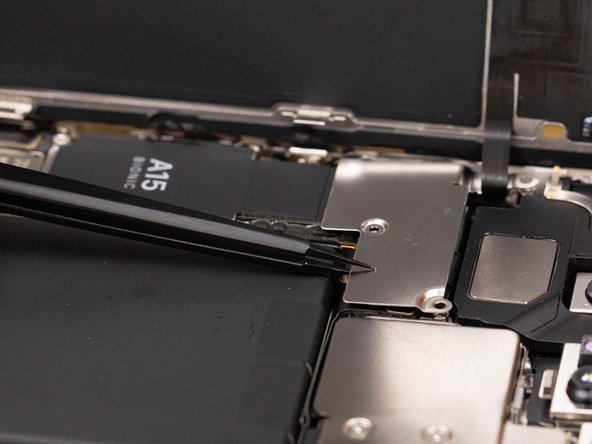
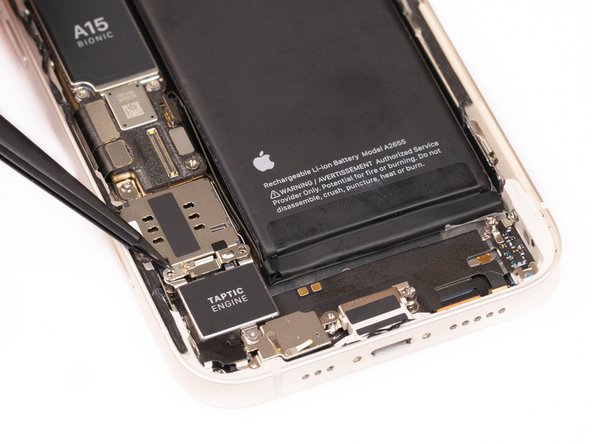
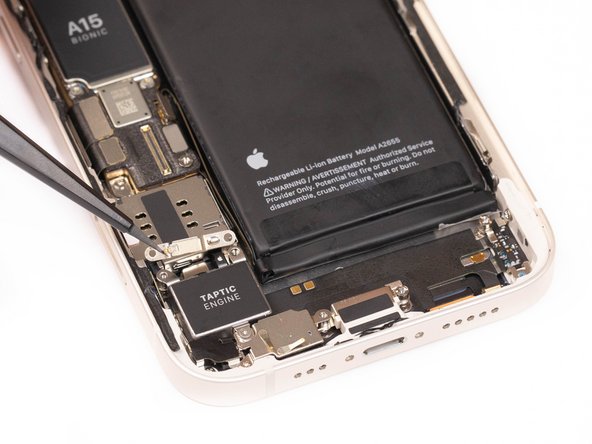
Using tweezers or your fingers, remove the remove the taptic engine cable connector bracket
-
-
-
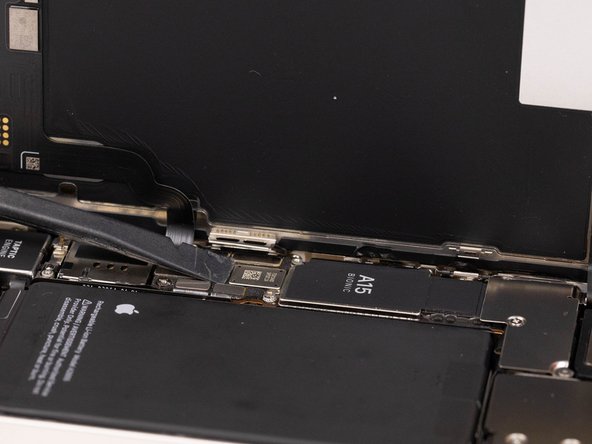
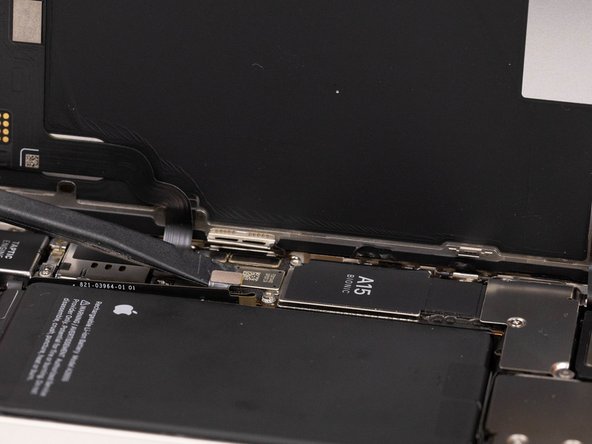
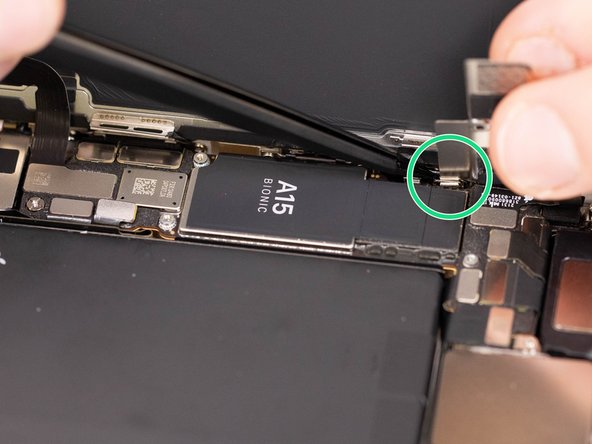
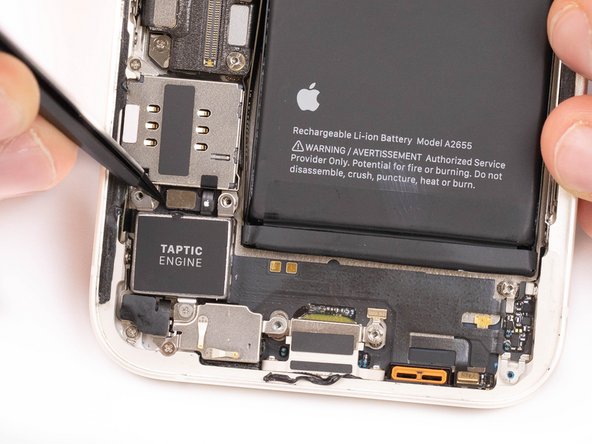
Using the tip of a spudger or tweezers, pry the Taptic Engine flex out of its socket.
-
-
-
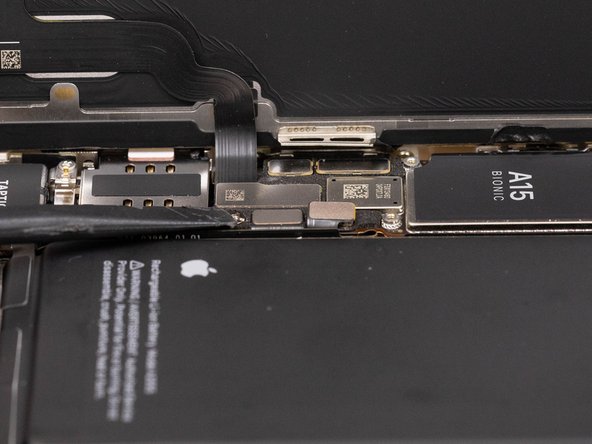
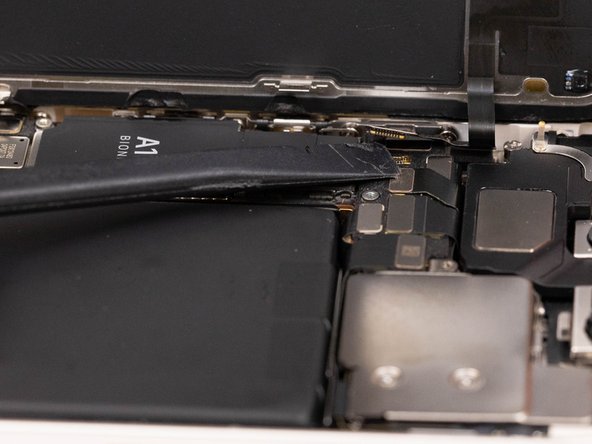
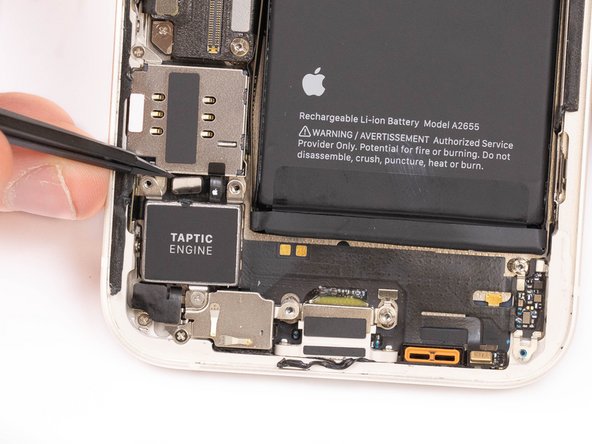
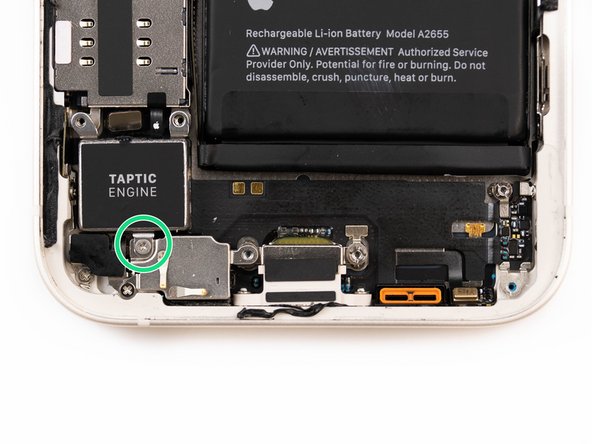
Using a screwdriver, remove the one screw securing the taptic engine.
-
1x Phillips Screw
-
-
-
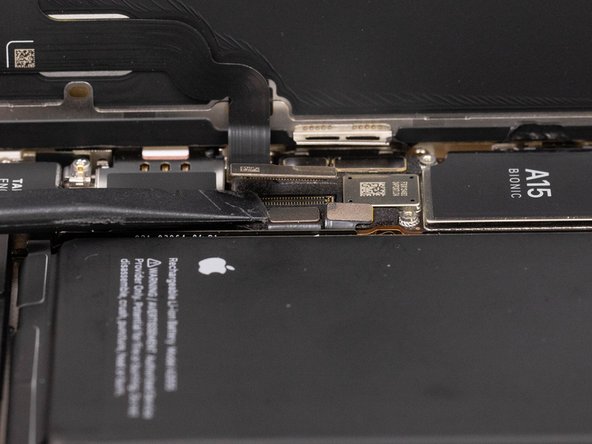
Using tweezers or your fingers, remove the taptic engine.
-
-
-
To reassemble your iPhone with a new taptic engine follow Steps 21 to 9 backwards.
-
To reassemble your screen, check out our iPhone 13 screen replacement guide here where we show you how to properly reassemble your iPhone screen. Skip to Step 23 for reassembly instructions.
-


Team
