Video Overview
-
-
This guide is to be followed if you have an ULTRA replacement screen for model 13 mini.
-
Please note that if you swap the IC on any INCELL ULTRA displays you will still be covered by the ULTRA's 2 year breakage warranty and the Manufacturers lifetime warranty, however you will not be covered for any screen breakage or flex damaged caused by IC change.
-
-
-
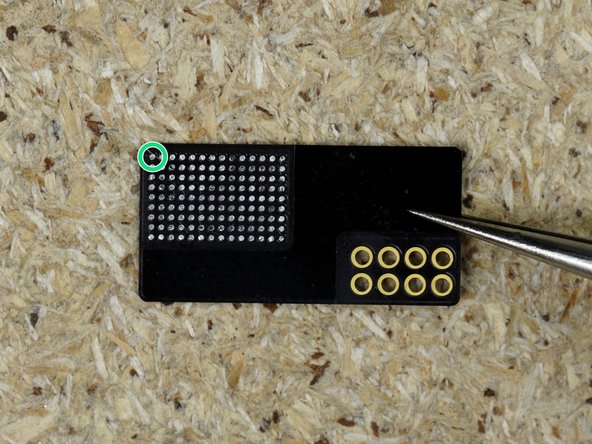
Your 13 Mini Ultra screen comes with a tag on Flex that you'll need to connect to the display in order to transfer the original IC to the ULTRA screen.
-
-
-
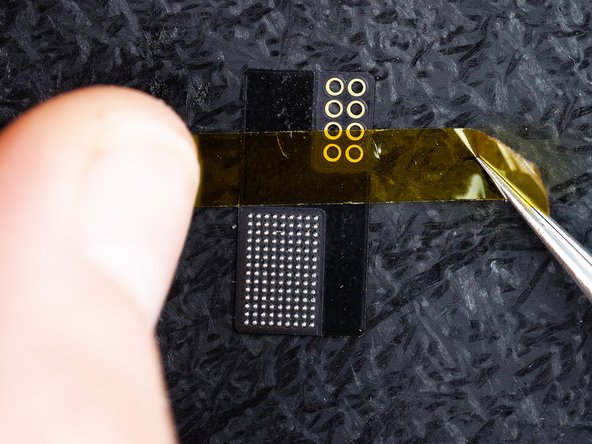
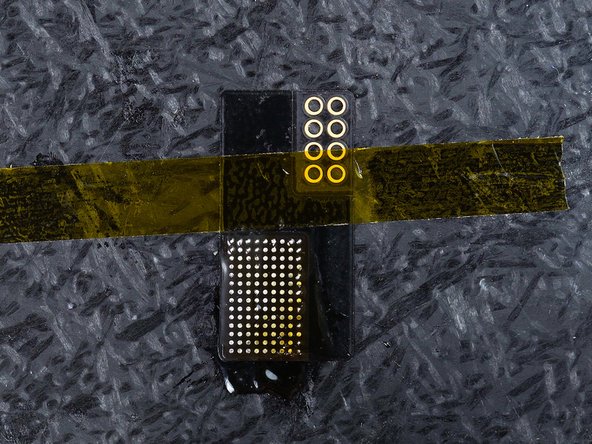
Put a piece of Kapton tape across the flex. This is just to prevent any movement in the flex in the next steps. Make sure you stick the flex to a heat resistant pad, We're using the Amaoe Screen IC Reball Stencil With Magnetic Base.
-
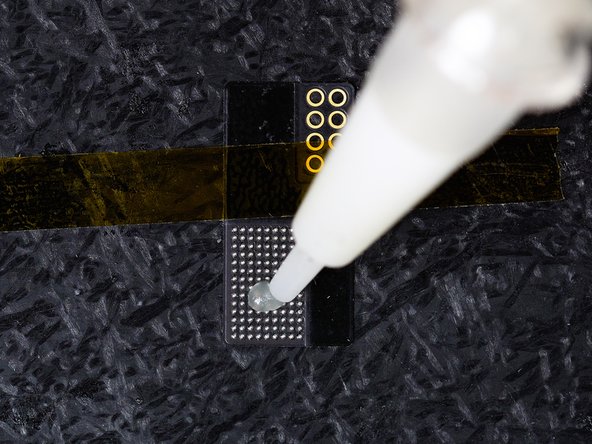
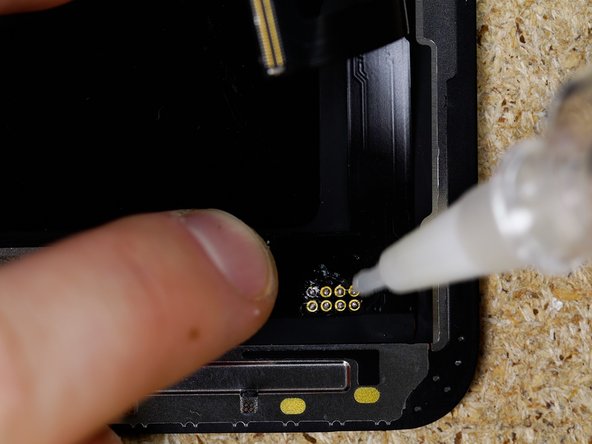
Apply Flux to the solder joints.
-
-
-
Spread the flux across all of the solder joints.
-
-
-
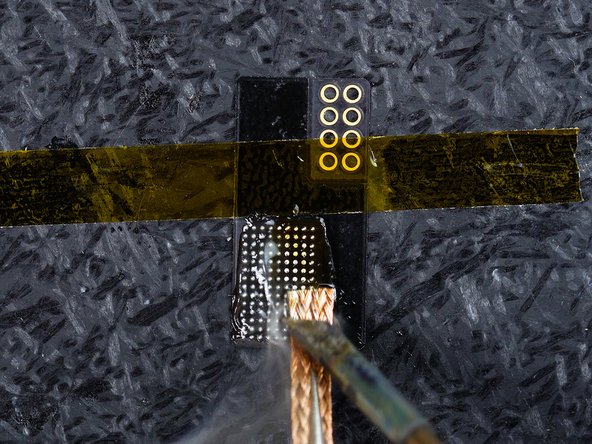
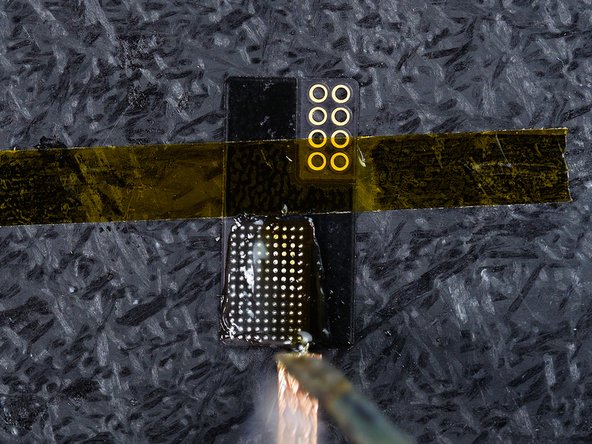
Rub the solder wick across the flex until the joints are flat.
-
Be careful not to add too much pressure as this may scratch the black layer around the balls.
-
If your solder wick gets stuck that means the heat transfer from the soldering iron to the wick is not enough to melt the solder which means the solder we've melted onto to the wick is now getting stuck to the solder still on the flex.
-
To unstick your wick keep your soldering iron in the same place (DO NOT TUG AT THE WICK) and heat it up, this will loosen it by melting the solder.
-
For a more detailed explanation on melting solder joints head to step 31 on this guide.
-
-
-
Once the tag on is fully clean it's ready to have the IC soldered to it. Please note the orientation should be that the dot of the IC is on the top left hand corner of the tag on flex.
-
You can now apply your IC to the tag on, to prepare an IC please follow steps 2-29 of our guide here.
-
To solder the IC please follow steps 39-43 of our guide here.
-
We're not soldering an IC to this tag on flex to increase the visibility of the next steps however the steps are exactly the same with an IC fitted.
-
-
-
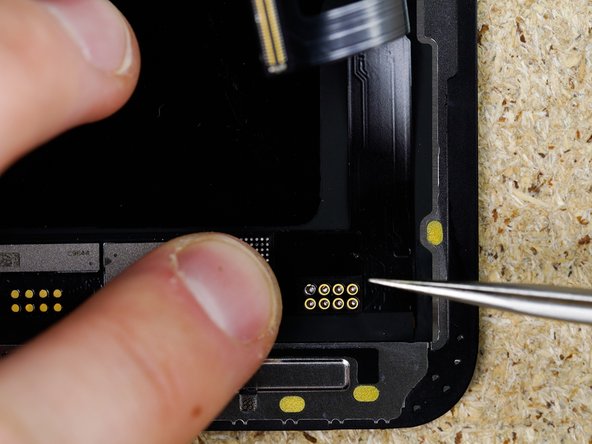
Prepare the screens solder pads by applying low melt solder to them using a soldering iron & solder wire.
-
-
-
Clean the excess and used flux with a cleaning cloth and IPA.
-
Make sure you don't use too much IPA as you risk damaging the backlight.
-
-
-
Align your tag on flex with your solder pads on the screen. They should be visible through the holes on the tag on flex.
-
We're not soldering an IC to this tag on flex to increase the visibility of the next steps however the steps are exactly the same with an IC fitted.
-
Apply Flux.
-
-
-
Solder the tag on flex to the screen.
-
Make sure the connection is made by making sure the solder overflows above the tag on.
-
-
-
Clean the excess flux on the tag on.
-


