Video Overview
-
-
This guide is to be followed if you have an ULTRA replacement screen for model 12 mini.
-
Please note that if you swap the IC on any INCELL ULTRA displays you will still be covered by the ULTRA's 2 year breakage warranty and the Manufacturers lifetime warranty, however you will not be covered for any screen breakage or cable damage caused by IC change.
-
-
-
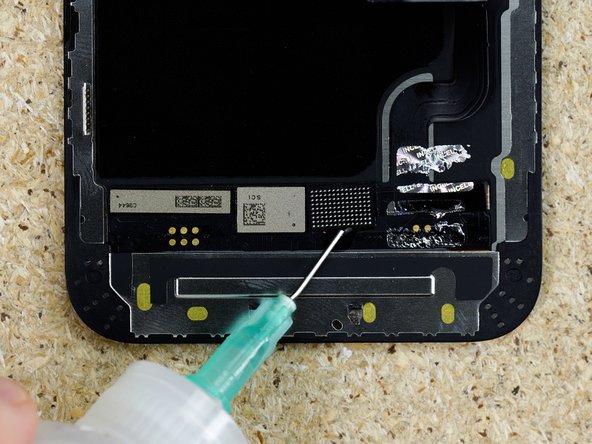
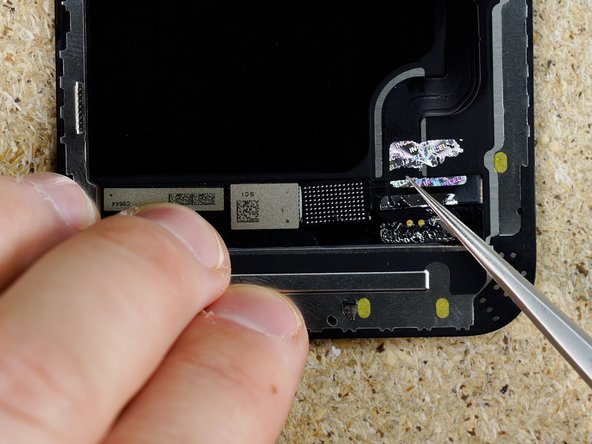
Remove the identifier stickers with tweezers to free the flex.
-
-
-
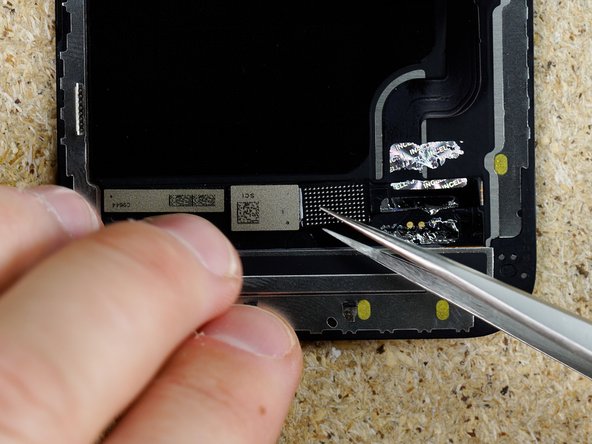
Using IPA & tweezers pry the flex away from the display.
-
-
-
Once you've created enough of an opening switch to the Qianli glue remover blade and continue to pry underneath the flex.
-
-
-
Once the flex is released from the glue, fold it backwards.
-
-
-
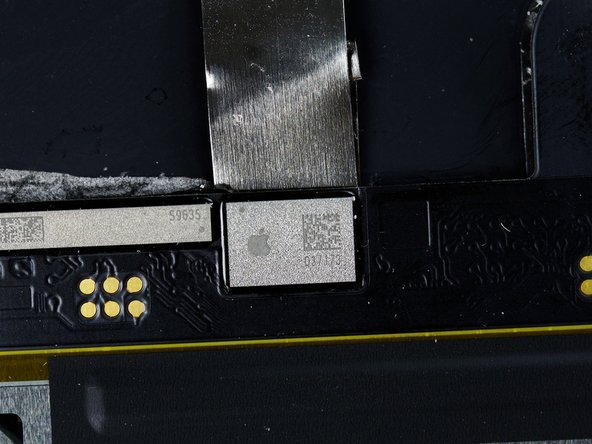
To prep this flex to apply the original IC to it you'll need to clean the solder balls. You can follow steps 30 to 37 on this guide if you're not sure how to do this.
-
-
-
Switch to the display with the original IC you'd like to swap onto your ULTRA display.
-
If you are planning on saving the OLED on the original display for a refurbishment then follow the next few steps. If you aren't bothered about saving the OLED then head to step 2 of our IC removal guide here.
-
Start by prying the flex away from the back of the screen.
-
If you're struggling then use a heat mat to help loosen the glue.
-
Make sure you don't pry further than the yellow line as the flex becomes much more fragile from that point onwards and you would risk damaging it.
-
-
-
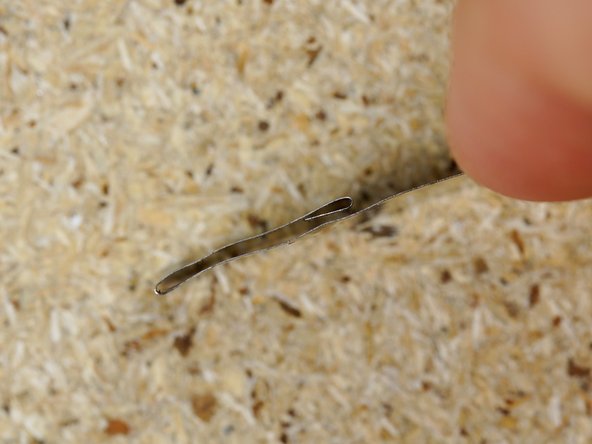
Wedge a small piece of metal underneath the Flex. We're doing this to keep the heat away from the OLED and avoid damage.
-
The piece of metal we're using, we bend it in a certain way that creates an air pocket that gives an extra layer of heat protection for the OLED.
-
-
-
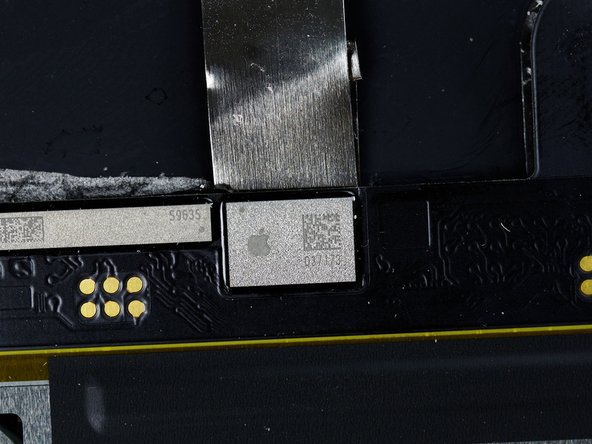
Next you'll need to remove the IC, head to step 2 on this guide to learn how to do so.
-
If you already know how to remove the IC and have prepped the digitizer then head to step 39 on this guide to connect the original IC to the ULTRA digitizer.
-


