v2.0

Major VersionM

by Oliver

Video Overview

  1. This guide is to be followed if you have an ULTRA replacement screen for models 11, 11 pro, 11 pro max, 12 and 12 pro max. Please note that if you swap the IC on any INCELL ULTRA displays you will still be covered by the ULTRA's 2 year breakage warranty and the Manufacturers lifetime warranty, however you will not be covered for any screen breakage or cable damage caused by IC change.
    • This guide is to be followed if you have an ULTRA replacement screen for models 11, 11 pro, 11 pro max, 12 and 12 pro max.

    • Please note that if you swap the IC on any INCELL ULTRA displays you will still be covered by the ULTRA's 2 year breakage warranty and the Manufacturers lifetime warranty, however you will not be covered for any screen breakage or cable damage caused by IC change.

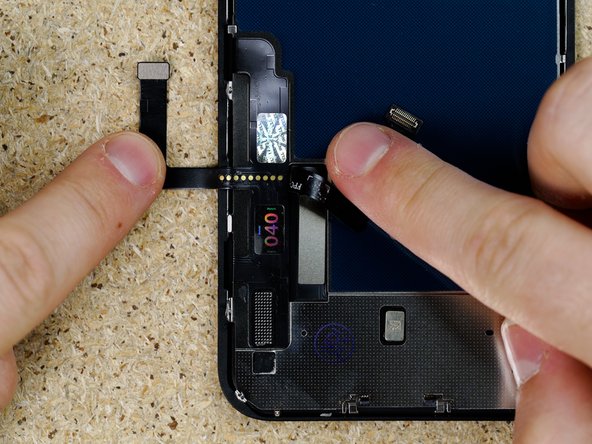
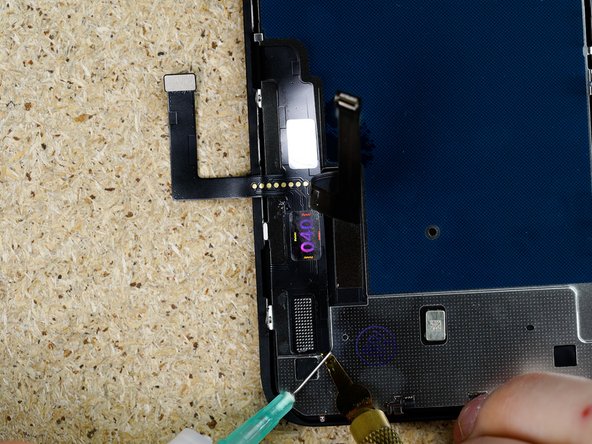
  2. The IC's from 11 to 12 Pro Max on the INCELL ULTRA range are all fake and serve no purpose however for ease we will be referring to it as an 'IC' throughout this guide. Please note that this doesn't mean the display won't work once fitted without an IC swap, the screen will still function perfectly fine however you'll have a 'non-'genuine' display message pop up. Apply IPA around the edges of the IC.
    • The IC's from 11 to 12 Pro Max on the INCELL ULTRA range are all fake and serve no purpose however for ease we will be referring to it as an 'IC' throughout this guide.

    • Please note that this doesn't mean the display won't work once fitted without an IC swap, the screen will still function perfectly fine however you'll have a 'non-'genuine' display message pop up.

    • Apply IPA around the edges of the IC.

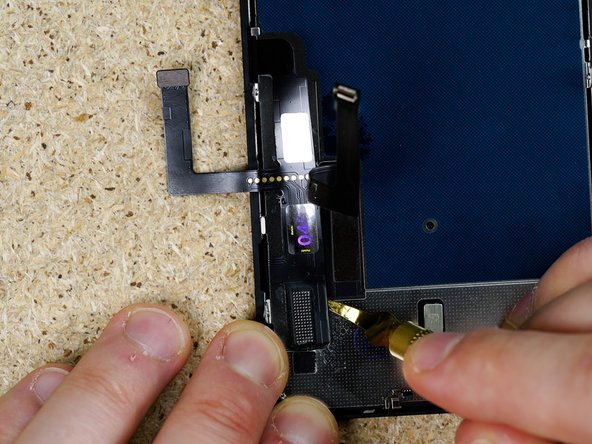
    • With tweezers, begin prying underneath the IC.

    • Remove the IC.

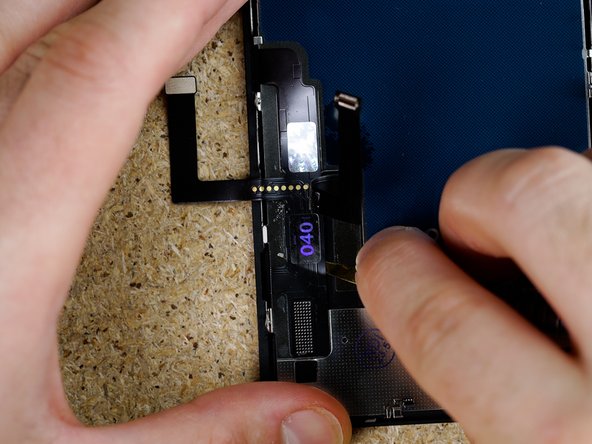
    • Using your finger, remove the residue left on the solder pads.

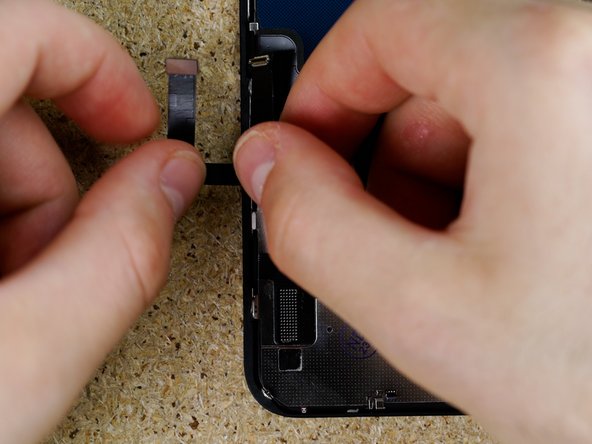
  3. Peel back the digitizer Flex. Peel back the digitizer Flex.
    • Peel back the digitizer Flex.

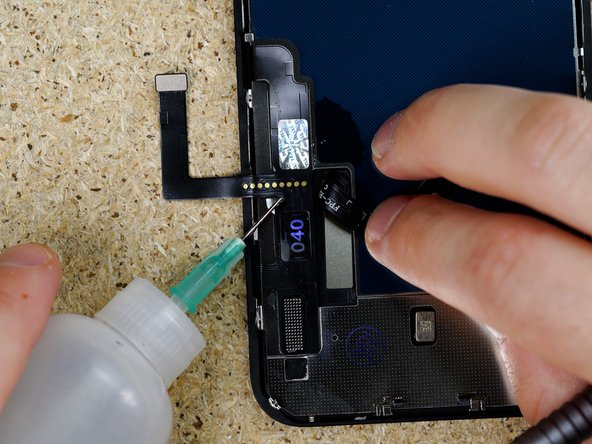
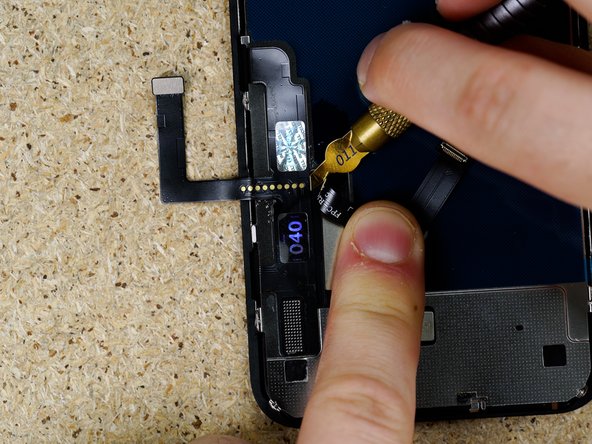
  4. Apply IPA underneath the digitizer Flex and begin prying the flex away from the backplate. We're using the Qianli glue remover blade to pry the flex up as it's thin but hard enough to cut through the glue.
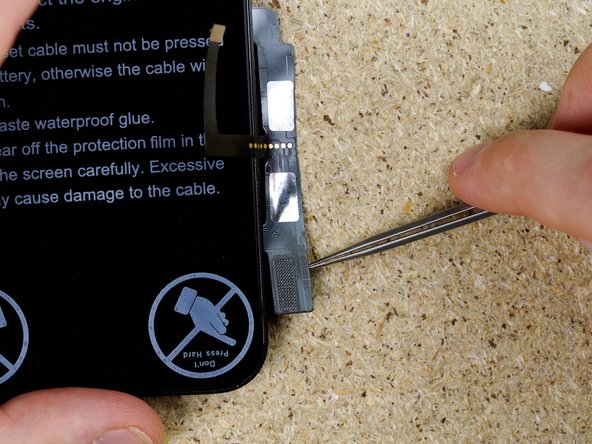
    • Apply IPA underneath the digitizer Flex and begin prying the flex away from the backplate.

    • We're using the Qianli glue remover blade to pry the flex up as it's thin but hard enough to cut through the glue.

    • If you're struggling to pry the flex, use a heat mat to loosen the glue.

  5. Continue working your way down the flex prying gently in a back and forth motion. Continue working your way down the flex prying gently in a back and forth motion. Continue working your way down the flex prying gently in a back and forth motion.
    • Continue working your way down the flex prying gently in a back and forth motion.

    • Peel the flex away from the backplate.

  6. Turn over the display. You are now ready to begin prepping the solder pads to fit the new IC. You can do so by heading to step 30 on this guide.
    • Turn over the display. You are now ready to begin prepping the solder pads to fit the new IC. You can do so by heading to step 30 on this guide.

Finish Line

Oliver

Member since: 02/19/2021

13,025 Reputation

69 Guides authored

Team

iParts4U Team Member of iParts4U Team

4 Members

72 Guides authored

0 Comments

Add Comment

View Statistics:

Past 24 Hours: 11

Past 7 Days: 33

Past 30 Days: 139

All Time: 2,256