Introduction
This guide will show you how to successfully remove and replace an iPhone 11 battery. If your iPhone 11 battery is no longer working or if your battery capacity has lowered, this guide will show you how to fit a new battery to your iPhone and restore it to its like-new performance. iPhone batteries are rated to hold 80% of their capacity for up to 500 charge cycles, this lasts roughly 18-24 months for most users.
If your battery is swollen, you’ll need to take extra precautions. We advise sending the battery to our professional repair team. Get in touch with us at [email protected] if you have a swollen battery.
Tools
-
-
Caution: Before starting this repair, discharge your iPhone battery below 25%. Accidentally puncturing a charged lithium-ion battery can cause it to catch fire and/or explode.
-
Turn your iPhone off before beginning this repair.
-
-
-
At the bottom of the iPhone, unscrew and remove the two pentalobe screws.
-
2x Pentalobe Screws
-
When you open the iPhone's display it will compromise its waterproof seals. Make sure you have replacement seals ready before continuing with this guide, or take care when reassembling your phone to avoid liquid exposure.
-
-
-
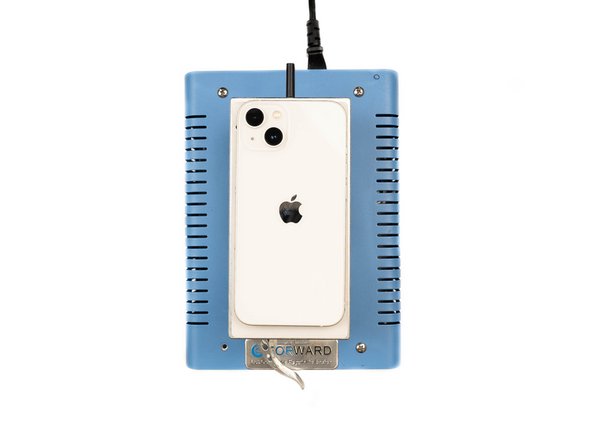
We're heating the iPhone at 100 degrees celsius using the Forward FW-360 heater. If you don't have a suitable heater, you can purchase yours here.
-
Leave the phone to heat up for a maximum of 2-3 minutes.
-
By heating the phone you will be softening the adhesive that is holding the LCD screen to the phone, and thus making it easier to open.
-
-
-
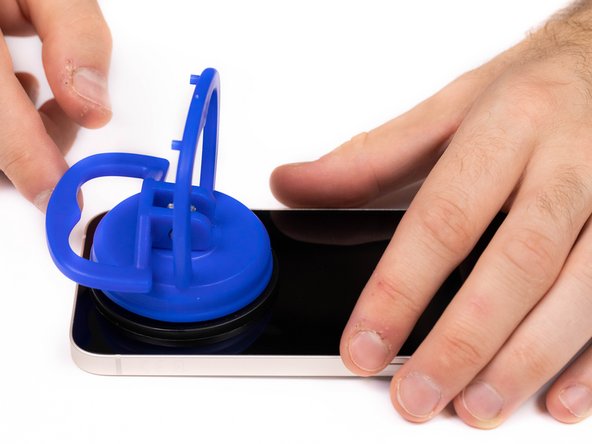
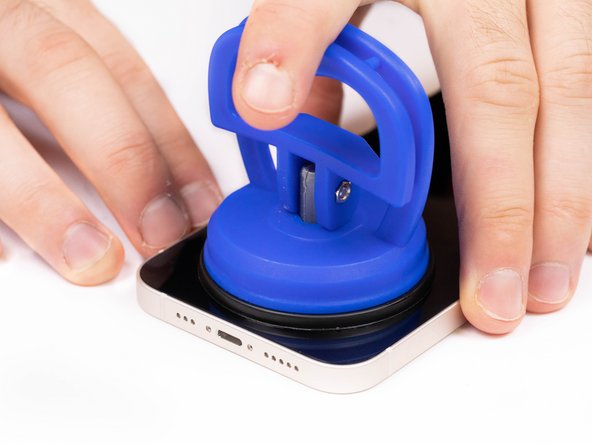
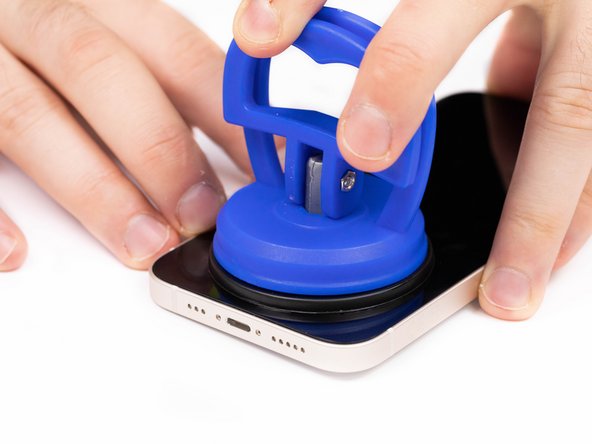
Apply your suction cup to the bottom edge of your phone. Don't place it too far down though, avoid putting it at the very edge of the glass. If you don't have a suction cup, you can purchase yours here.
-
If you have a severely cracked screen, you may have trouble mounting the suction cup. You can combat this by covering the screen with tape and mounting the suction cup to the tape.
-
-
-
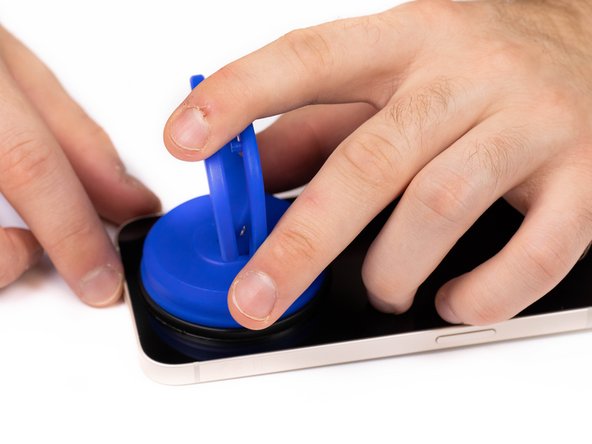
Pull the suction cup away from the phone, this will create a gap between the front panel and rear case.
-
If you're struggling to create the gap, it might be due to the phone having cooled down. Heat the phone up and try again, the watertight adhesive holding the screen down is very strong so this may take time to slowly weaken the adhesive enough to create an opening.
-
-
-
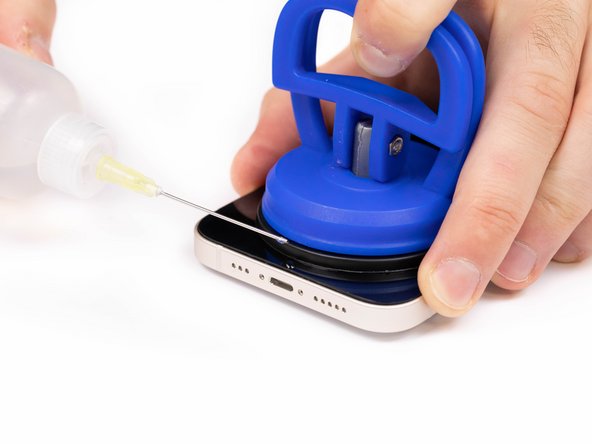
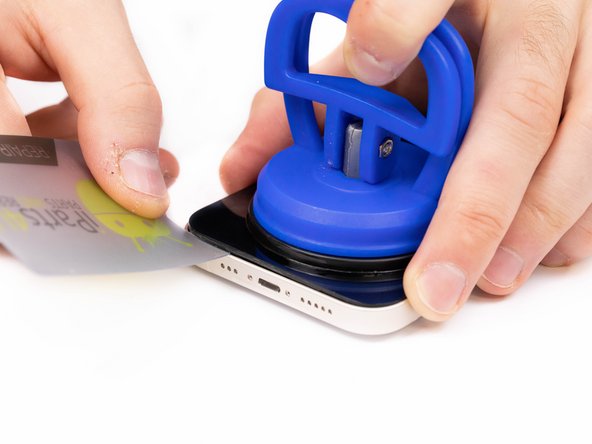
Using a pry tool or plastic card, begin prying the bottom edge of the phone open. You can use some IPA to help loosen the screen if you're struggling.
-
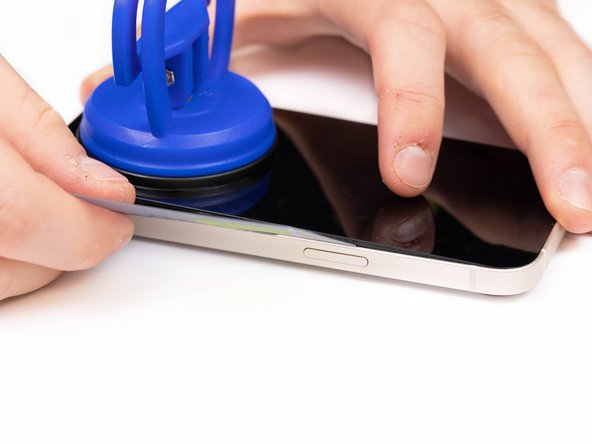
Continue prying the phone open along the left and right side.
-
Be careful not to insert your prying tool too far into the phone, a few millimiteres will be enough. You risk damaging the cables connecting the screen if you insert the pry tool too far.
-
-
-
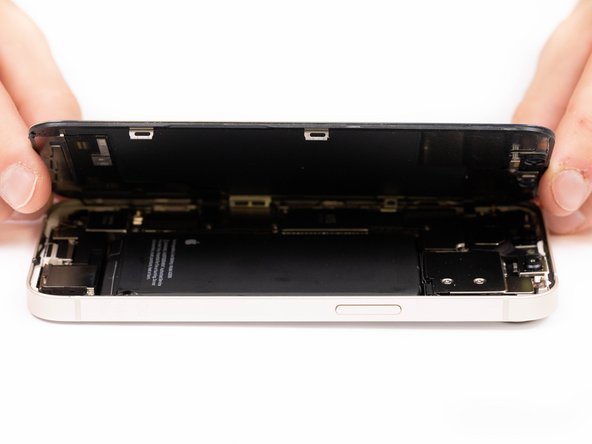
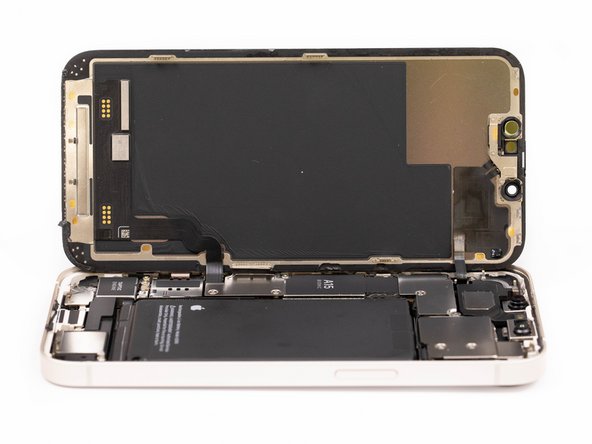
Once most of your screen has come loose, remove your suction cup and begin prying the screen off with your hands. With a small amount of force, the screen should come free from the adhesive. Your phone should open like a book.
-
Make sure you are opening the phone from the right side. The left side has a few fragile cables that connect the screen to the iPhone logic board.
-
Use your suction cup or another object to prop your screen up while you're disconnecting it in the next steps.
-
-
-
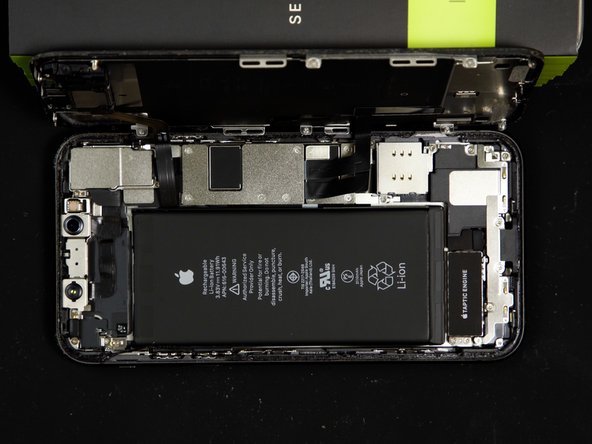
There are three screws holding the battery and display connector cover down. You'll need to remove these.
-
3x 1.1mm Screws
-
If reassembling, this point is a great time to quickly power your iPhone on and check that everything is working correctly.
-
Once you've removed the screws, remove the cover.
-
-
-
Use a spudger and pry the battery connector up from its socket on the logic board. Make sure your spudger is clean.
-
If you don't have a spudger, you can use your fingernails, but make sure they're clean.
-
The black silicone seal surrounding this connection and others act as extra protection against water and dust so be careful and try not to damage them.
-
Bend the connector away from it's connection socket to fully disconnect it.
-
-
-
Disconnect the display cable with a spudger or fingernail.
-
-
-
Remove the five screws holding the connector cover in place.
-
5x 1.1mm screws
-
Take caution when removing the cover, there's a small clip on the left side that hooks the cover down. Unhook it and then remove.
-
When reassembling, don't forget to clip the cover back in before screwing it back down.
-
-
-
The battery is secured to the case with six stretch-release-adhesives, you'll need to remove these in order to remove the battery.
-
Three of the adhesives are located on the bottom edge of the battery and the other three are located on the top. Each individual adhesive has a black pull tab at the end, which is lightly stuck to the edge of the battery.
-
When the adhesives are stretched they lose their stickiness, in the next few steps we'll demonstrate how to properly remove these strips with ease.
-
-
-
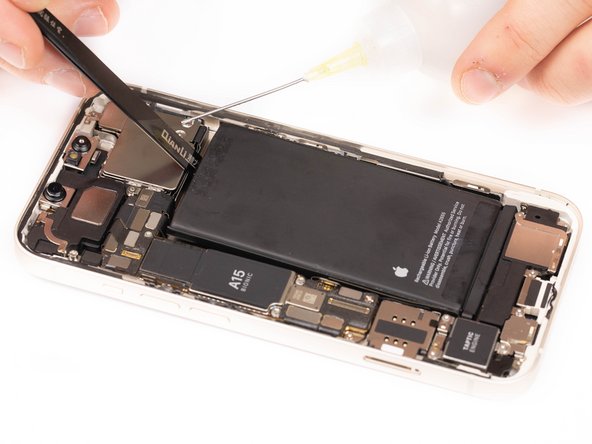
Using tweezers, pull down the first stretch release adhesive pull tab.
-
Caution: Don't jab the battery with any sharp tools. A punctured battery may leak dangerous chemicals or catch fire.
-
Hold the iPhone by it's sides rather than pressing on the battery.
-
Using a tweezers, slowly pull the adhesive out from under the battery.
-
Apply enough tension for the adhesive to begin unsticking, but don't pull too hard that it rips.
-
Use some IPA if you're struggling to loosen the adhesive.
-
-
-
For the best grip on the adhesive, keep twisting the adhesive onto the tweezers, that way the pressure you're applying will remain consistent/even across the adhesive.
-
Pull the strip away at a low angle so the strip doesn't snag on the edge of the battery.
-
If the adhesive strip does break off, use a tweezers or your fingers to try and retrieve it. It's important not to try and retrieve it by prying underneath the battery.
-
If any of the adhesive strips break off underneath the battery and can't be retrieved, try to remove the other strips.
-
Do the same for the second and third adhesive pull tab next to the one you've just removed.
-
-
-
Pull down the adhesive tabs at the top of the battery.
-
Using the same method as the previous step, remove the remaining adhesive strips.
-
Be careful not to fling the battery from the iPhone as the final adhesive strip comes out.
-
If you've successfully removed all of the adhesive strips, skip the next step. If you haven't been successful, continue with the next step.
-
-
-
If you're unable to remove the battery, apply some IPA underneath the battery. This will help weaken the adhesive.
-
Wait for about a minute to allow the IPA to do its magic.
-
Gently lift the battery using a spudger.
-
If you're still struggling to pry the battery away with the spudger, apply some more IPA until you start to feel it loosen. Don't try to forcefully lever the battery out. Make sure you don't deform or puncture the battery with your pry tool.
-
-
-
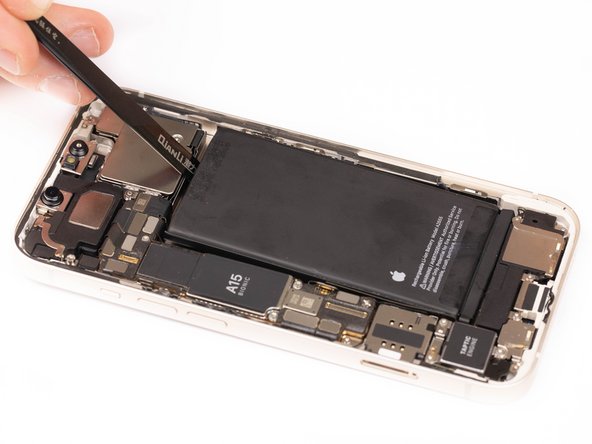
Remove the battery using your fingers or a spudger.
-
-
-
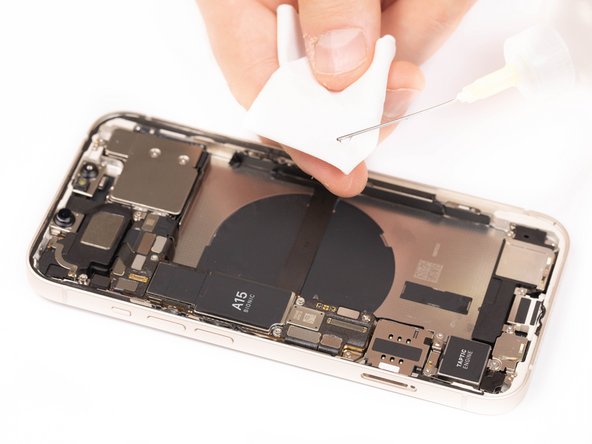
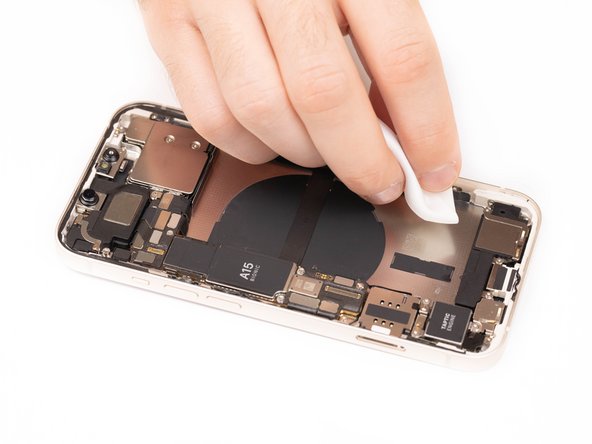
Apply the IPA to a clean cloth and wipe down the inside of the phone where the battery had previously been sat.
-
-
-
Peel the protective liners of the adhesive away.
-
Grab your new battery, line up the adhesives and slowly stick them down to the back side of the battery.
-
Once the adhesive is exposed, be careful not to get it dusty/dirty. Once the adhesive is suck to the battery, you won't be able to re-position it.
-
Make sure the two shorter strips are nearest to the battery cable connector.
-
Center the strips so that the two pairs of black tabs protrude evenly from each side of the battery.
-
Using your fingers, firmly press the adhesive strips into place.
-
-
-
Using your finger, fold the four black tabs into place. Do this for every black tab.
-
-
-
Peel away the final large liner to expose the adhesives.
-
Carefully position the battery and place it into the phone.
-
Firmly press the top and bottom of the battery into place. This will help the adhesives stick to the rear case.
-
Once you've turned your phone on with your new battery fitted, you may get an error message warning about the genuineness of the battery even if you're using an original apple part. If your iPhone is functioning normally, you can safely ignore the warning.
-
To get the most out of your new battery you'll need to calibrate it. Charge your battery to 100% and continue charging it for a further two hours. Then use your iPhone until it turns off due to low battery, then charge it to 100%.
-


