-
-
You'll need to turn off the Xbox and unplug any cables before beginning this guide.
-
Using tweezers, peel off the two screw covers which are located on the bottom corners of the back panel.
-
-
-
Remove the two 10 mm-long screws securing the back panel to the bottom panel.
-
Screwdriver used: T8 Torx driver
-
If you are planning to reassemble, remember to keep track of each screw during the teardown process to make sure they go back exactly where they came from.
-
-
-
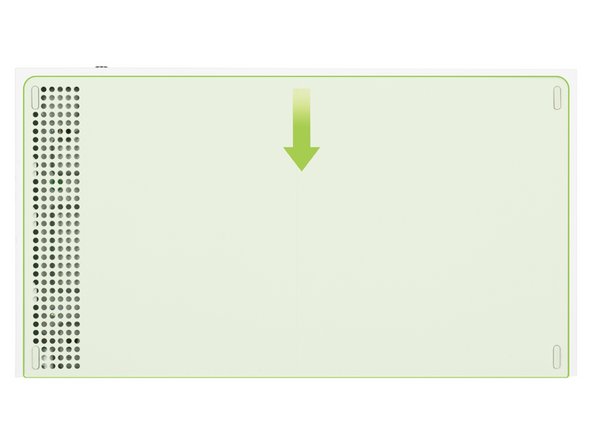
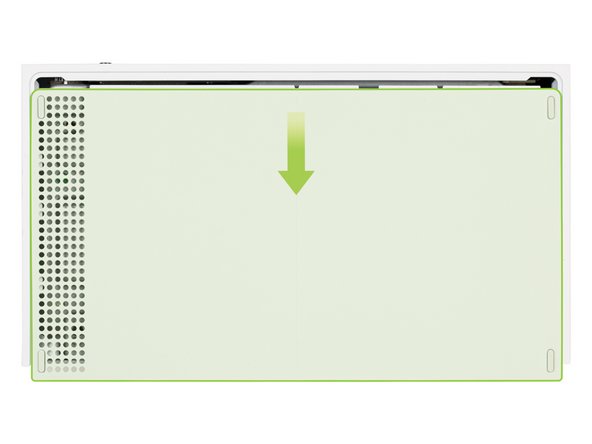
The bottom panel is held in place by clips inserted into plastic slots, slide the bottom panel toward the back of the console until it comes to a stop, this will release the clips out of the plastic slots.
-
Once this is done you can remove the bottom panel from the plastic case.
-
-
-
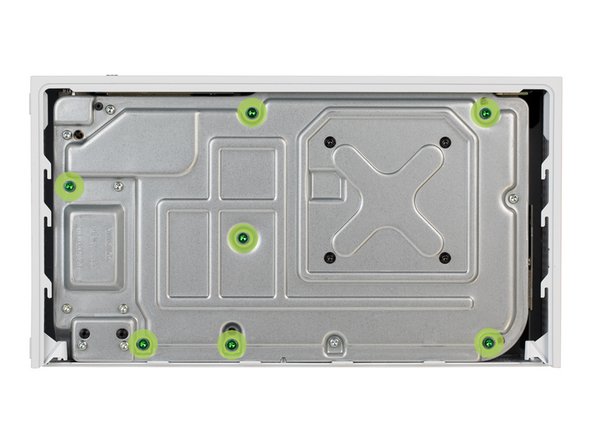
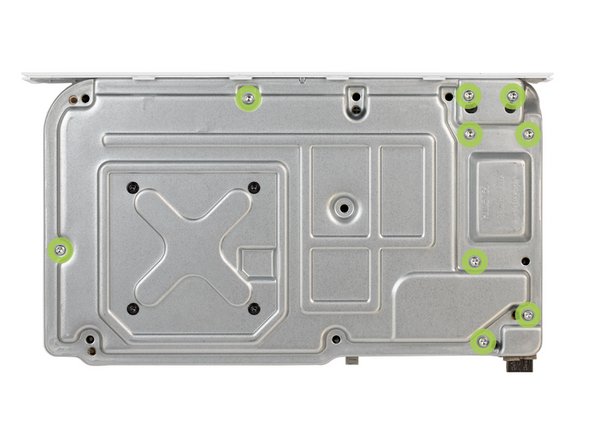
Remove the seven 51 mm-long screws securing the chassis to the plastic case.
-
Screwdriver used: T10 Torx driver
-
-
-
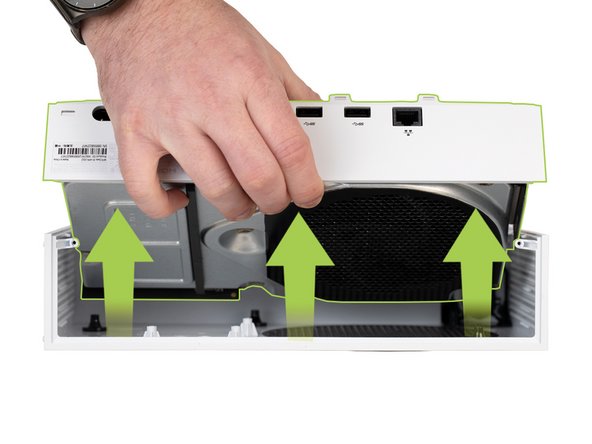
To remove the plastic case from the bottom of the Xbox, hold the console with the bottom facing towards you and gently pull the two bottom-rear corners of the case away from each other.
-
Continue pulling the bottom-rear corners of the case apart and slide the back panel towards the bottom of the device. This will release the panel from the case.
-
It's important to note that this technique should not be used to fully remove the chassis from the plastic case, as doing so could potentially damage the case.
-
-
-
Remove the plastic case from the chassis.
-
As you remove the plastic case from the chassis, you may need to lift the chassis slightly to free it from the clips on the bottom-front of the case.
-
-
-
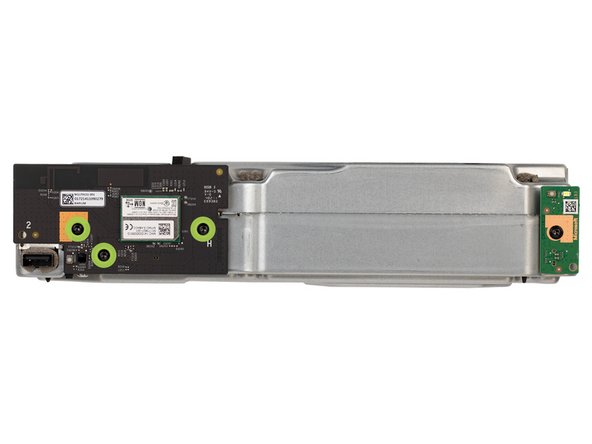
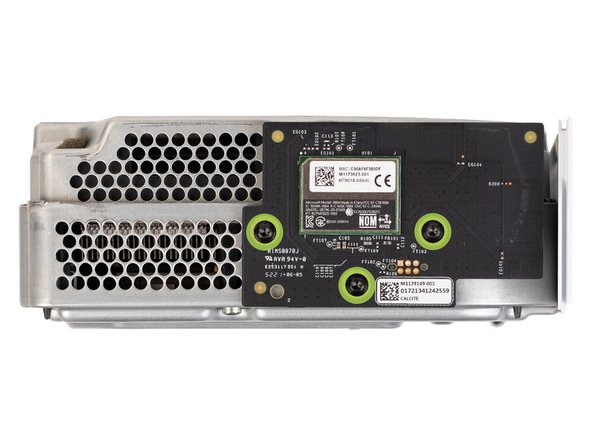
To remove the Bluetooth board from the long edge of the chassis, you will need to remove the three 9.5 mm-long screws that secure it in place.
-
Screwdriver used: T8 Torx driver
-
-
-
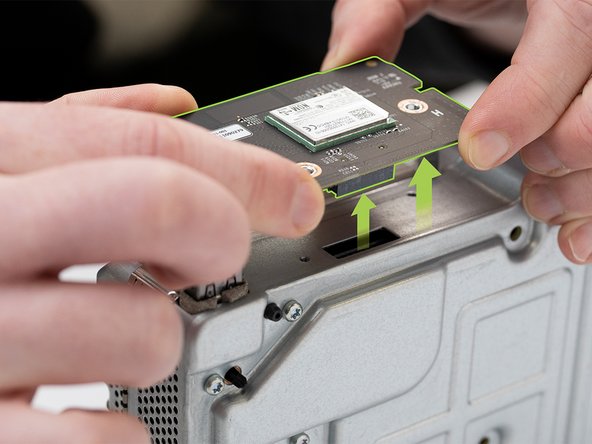
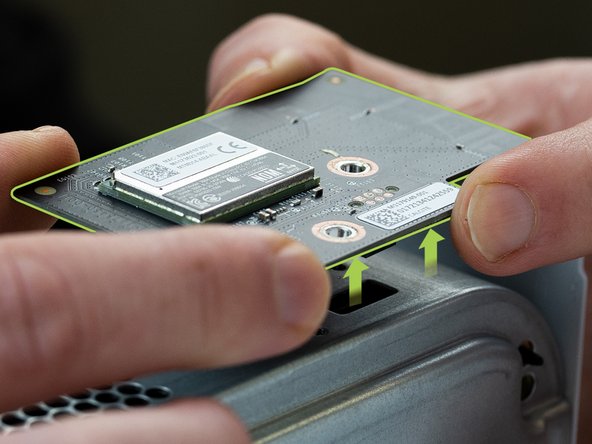
Pull the Bluetooth board straight out to disconnect it from the chassis.
-
You can also use a spudger to pry and loosen the Bluetooth board.
-
You should avoid prying the board from the bottom or sides, as this could bend and cause damage to the connector.
-
-
-
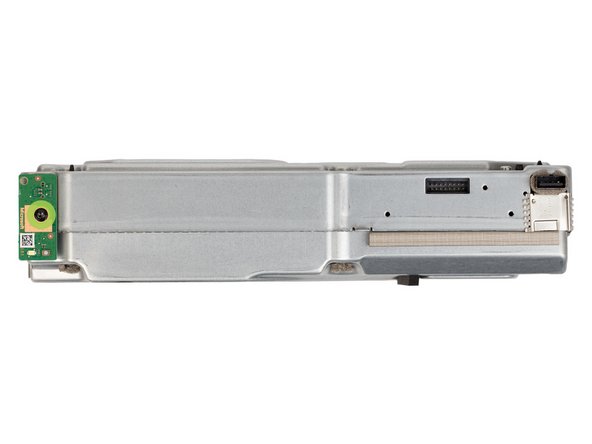
Remove the 9.5 mm-long screw that secures the power button board to the chassis.
-
Screwdriver used: T8 Torx driver
-
-
-
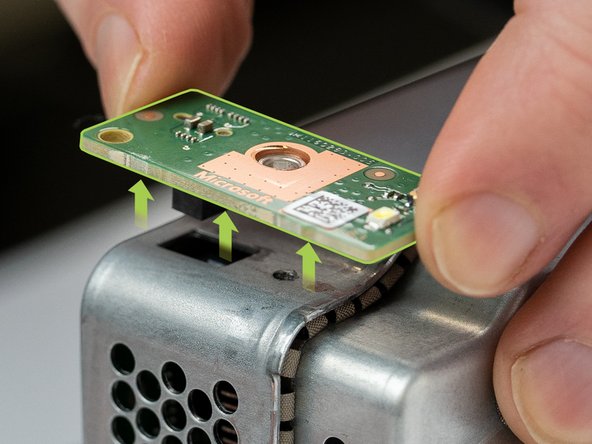
Pry and loosen the power button board with a spudger or your fingers.
-
Be careful not to bend the power button board by prying from the bottom of the board.
-
Once it has loosened, disconnect it from the chassis by pulling the board upwards.
-
-
-
Remove the three 9.5 mm-long screws securing the Wi-Fi board to the short edge of the chassis.
-
Screwdriver used: T8 Torx driver
-
-
-
Loosen the Wi-Fi board with a spudger.
-
Be careful not to pry from the bottom or sides as this may bend the connector of the Wi-Fi board.
-
To disconnect from the chassis, pull the Wi-Fi board straight out.
-
-
-
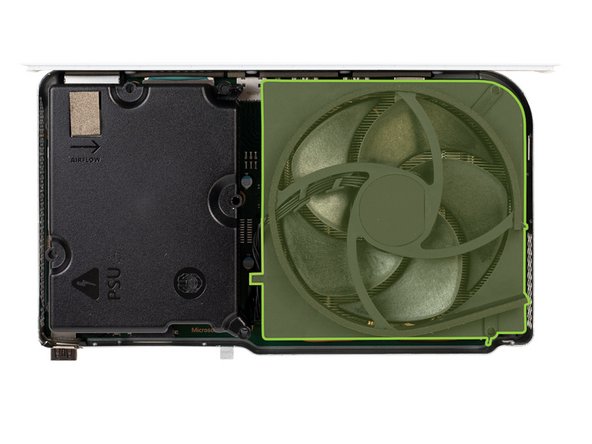
The power supply and fan is secured to the chassis with 9 11.3 mm-long screws, remove these to remove the power supply and fan from the chassis.
-
Screwdriver used: T10 Torx driver
-
-
-
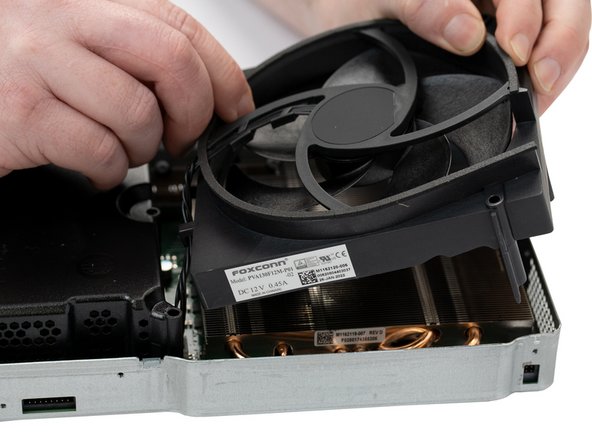
Flip the device over.
-
The fan is now loose so take care when flipping the chassis over.
-
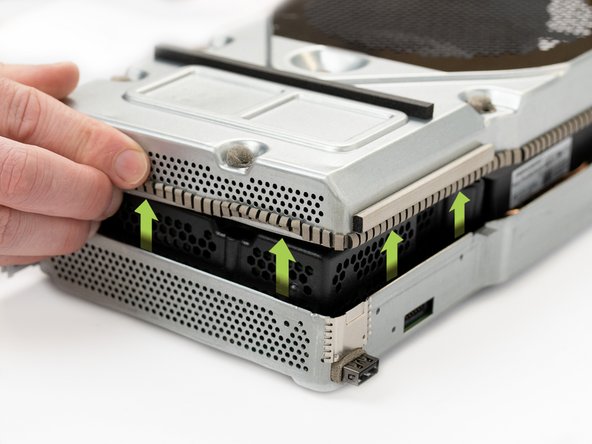
Now you can remove the upper chassis by lifting it straight up.
-
-
-
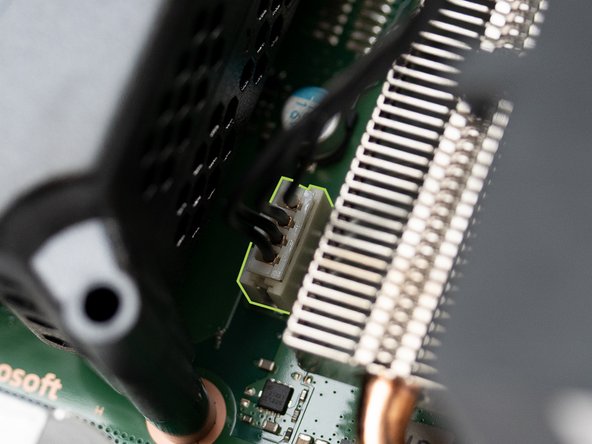
To disconnect the fan, pull the fan connector out from it's motherboard socket using your fingers.
-
When disconnecting the fan, be careful not to pull on the wires as this could break the connectors.
-
If you're having difficulty removing the connector, try and use a spudger and shimmy it up and out of it's socket.
-
-
-
Remove the fan from the motherboard by lifting it straight up.
-
-
-
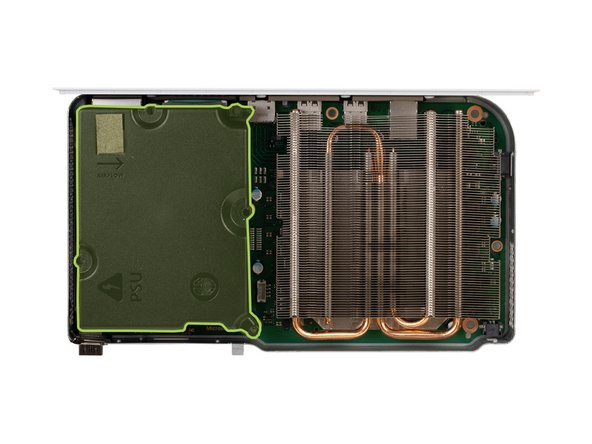
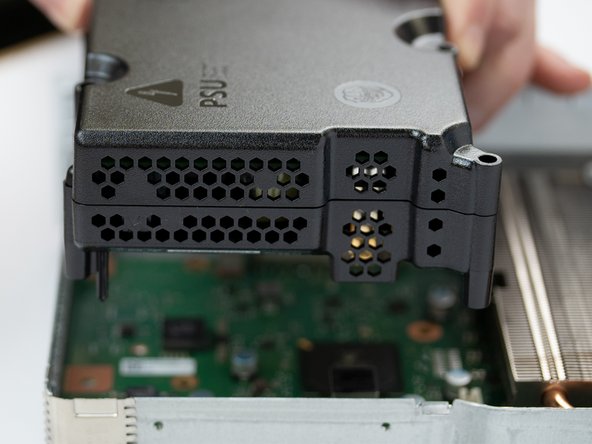
Lift the power supply straight up to disconnect it from the motherboard.
-
Remove the power supply.
-
-
-
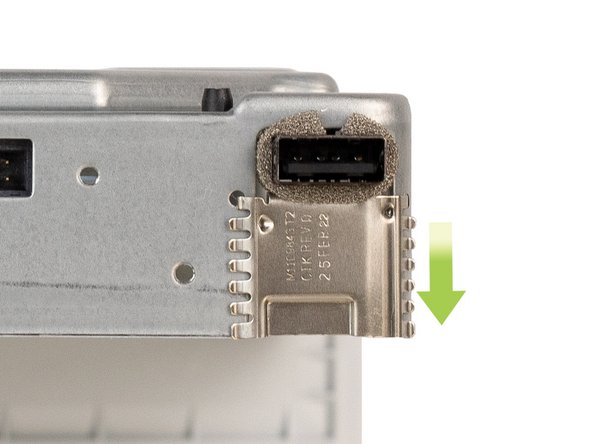
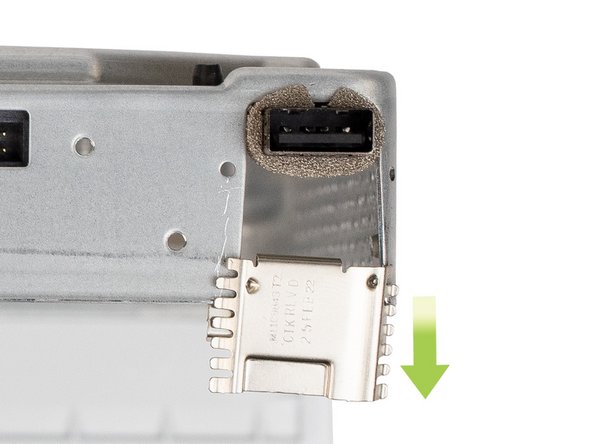
The locking clip is located on the front-left corner of the chassis. To remove the clip, slide it away from the chassis.
-
-
-
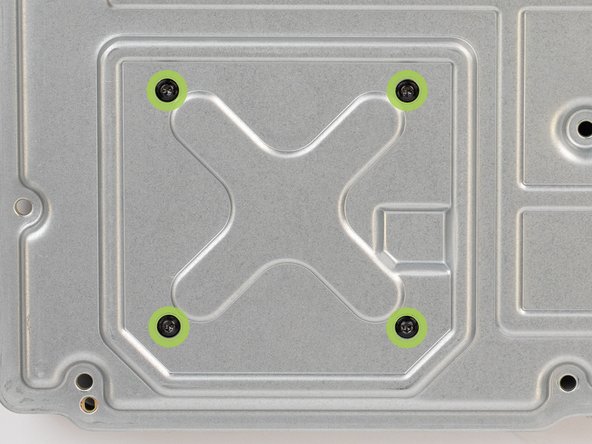
Remove the four 9.4 mm-long screws securing the motherboard to the chassis.
-
Screwdriver used: T8 Torx driver
-
-
-
Holding the motherboard with your fingers, pull the motherboard out of the chassis frame.
-
-
-
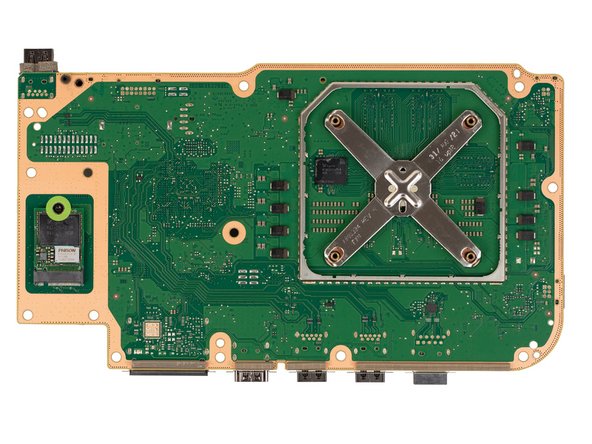
Remove the 5.1 mm-long screw securing the SSD card to the motherboard.
-
Screwdriver used: T8 Torx driver
-
-
-
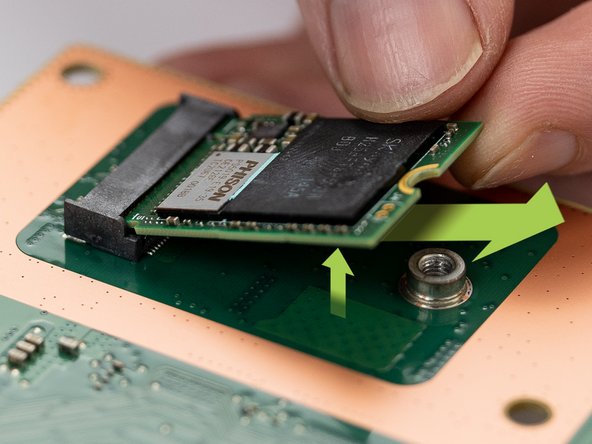
Pull the SSD card straight out and remove it from the motherboard.
-
-
-
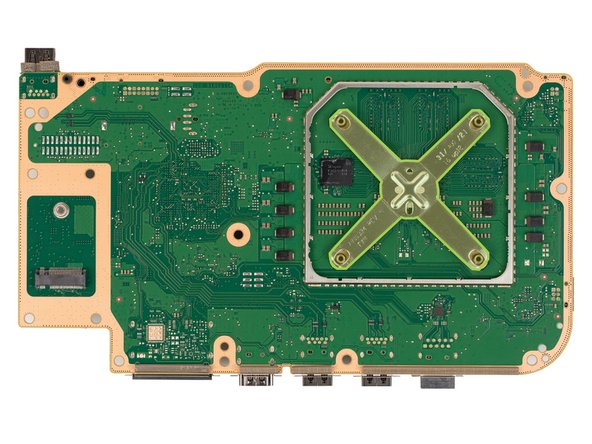
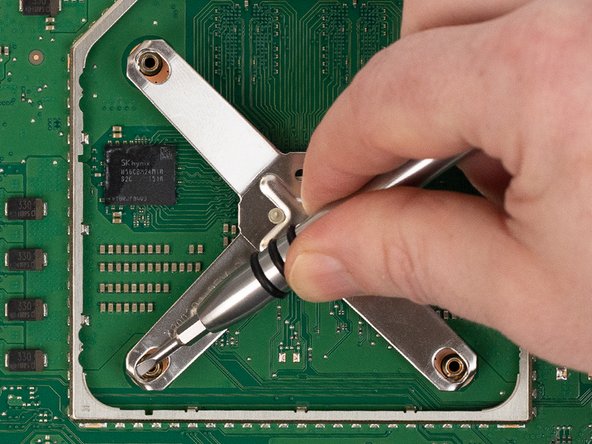
Next remove the x-clamp.
-
Use a 1.5mm flathead screwdriver to pry the x-clamp out and away from the heat sink pin to loosen the x-clamp.
-
Do not completely release the x-clamp yet, move on to step 24 for further instructions.
-
-
-
Insert a flathead screwdriver from the side between the heat sink pin and the x-clamp hook.
-
Use a clockwise twisting motion to pry the bottom edge of the x-clamp out of the groove in the heat sink pin. This will allow the x-clamp to pop off the heat sink pin.
-
To disconnect the x-clamp, repeat this process on all of the heat sink pins.
-
-
-
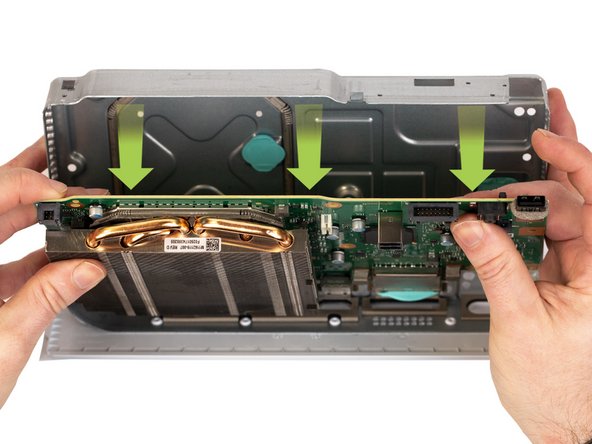
Flip the motherboard over.
-
Be careful when flipping the motherboard over as the heat sink may fall out.
-
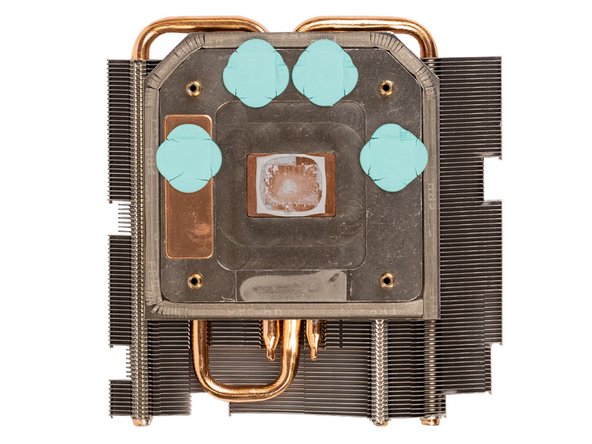
Lift the heat sink straight up to remove it from the motherboard.
-
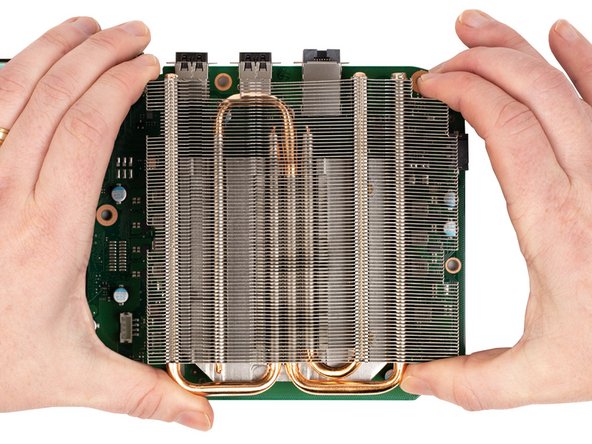
Consoles often overhead due to a clogged heat sink so take time to remove any dust and debris between the heat sink fins.
-
-
-
Finish.
-
Almost done!
Finish Line


