Video Overview
-
-
Place an IC stencil over the top of the IC
-
Grind the IC all the way down to the bottom of the stencil using a grinding pen at full power.
-
-
We're not using an ULTRA soft OLED in this guide however the process is exactly the same.
-
-
-
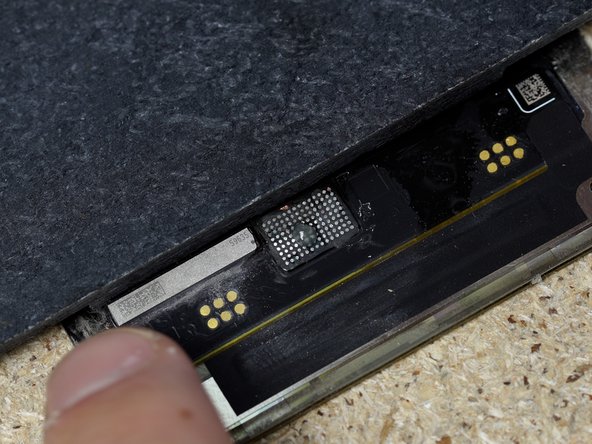
Once you've ground as far down as the stencil will allow, remove the stencil and begin grinding the IC free hand.
-
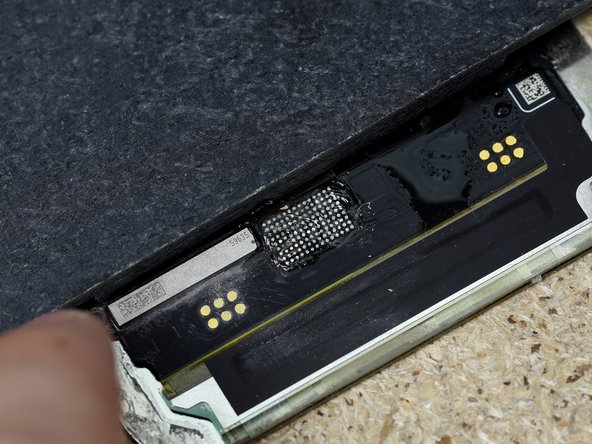
The aim is to grind until the solder pads are exposed and all of the pads are clearly separated. Keep grinding until all of the pads have turned from copper to silver.
-
Be careful not to grind too far down as it will damage the solder pads. You'll know if you've gone too deep if you start to see the pads turn from silver to copper.
-
-
-
-
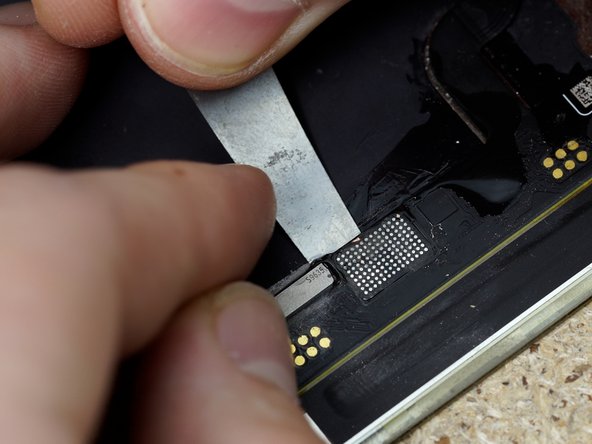
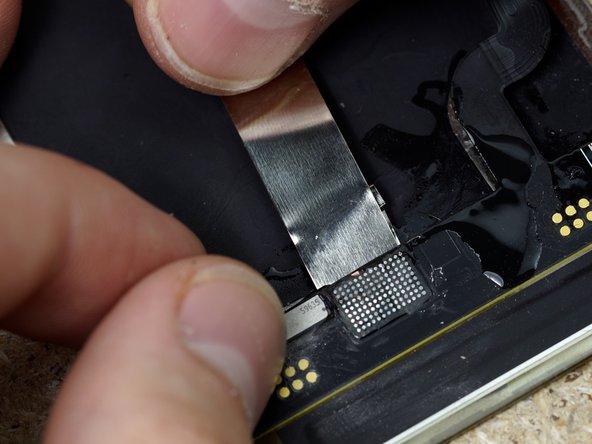
Wedge a small piece of metal underneath the Flex. We're doing this to keep the heat away from the OLED and avoid damage.
-
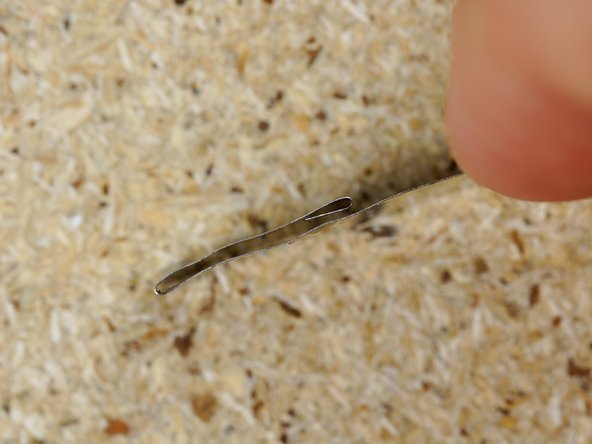
The piece of metal we're using, we bend it in a certain way that creates an air pocket that gives an extra layer of heat protection for the OLED.
-
-
-
Place a heat proof material next to the flex to protect the OLED from the next steps.
-
We're using the Amaoe Screen IC Reball Stencil With Magnetic Base.
-
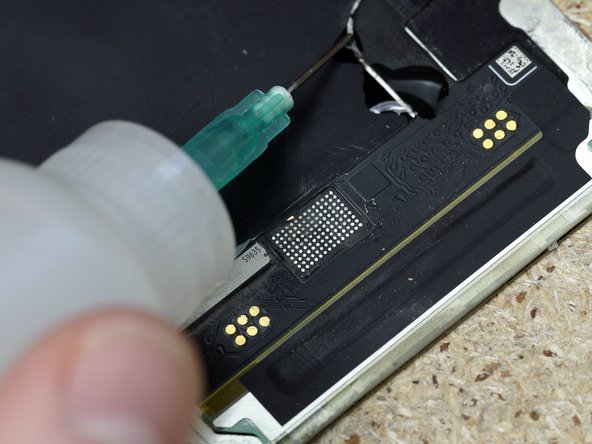
Add some flux to the digitizer and spread it out onto all the solder joints.
-
-
-
If you have excess flux, wipe it away with your finger. This is to stop the IC sliding off when the flex is heated.
-
-
-
Put the IC back onto the digitizer.
-
Line it up with the balls.
-
-
-
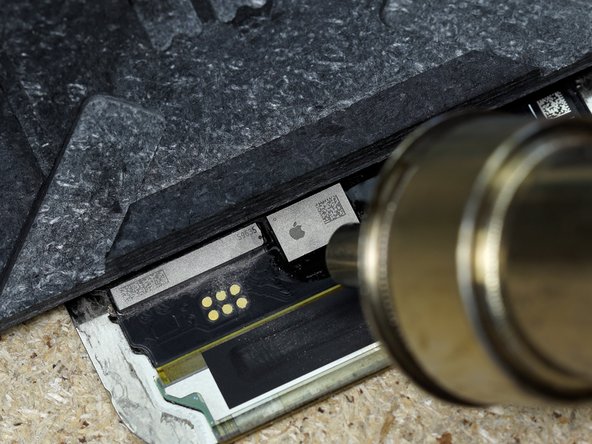
Heat the IC with hot air in a back and forth motion.
-
Make sure to direct your airflow away from the screen as this could cause damage to the screen.
-
We're using 138°C solder paste so our temperature will be 280°C with the airflow set to 1%.
-
-
-
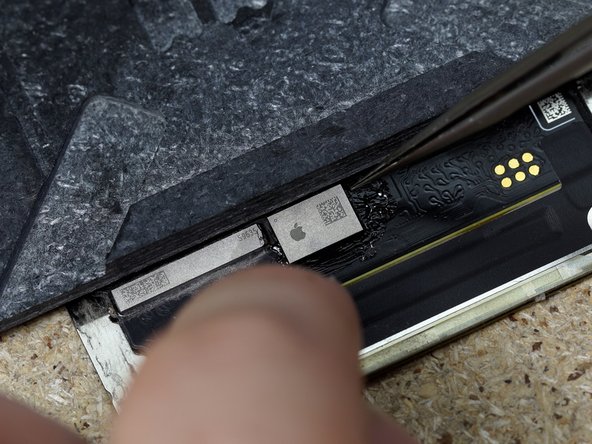
Heat the chip with the hot air nozzle and gently nudge the side of the IC with tweezers, you'll know when it's bonded when it bounces back into place.
-
Be careful not to press down on the IC or move the IC too far as it can cause a short under the IC.
-
-
-
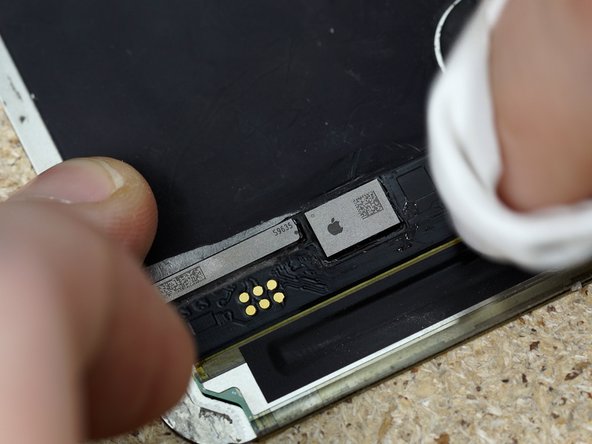
Clean up around the IC with a cloth.
-
-
-
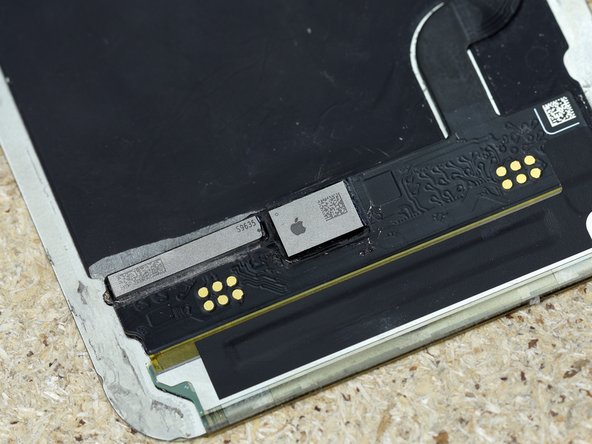
You have now finished your IC replacement.
-


