
Introduction
Do you get the non-genuine battery message ‘unable to verify this iPhone has a genuine Apple battery’ whenever you change a customer’s battery? Struggling with iPhone battery health not showing after replacement? The reason this happens is due to an Apple update which serialises parts and binds them to the phone. iParts4U have come up with a solution, the IP9 Core battery - a battery with no BMS board, meaning you can take the serialised part from the old battery and spot weld it onto a brand new battery, getting rid of the ‘non-genuine’ message and restoring full function. This guide will take you through this process step by step.
Please note this part requires spot welding and is only recommended for use by technicians at Level 3 or above. iParts4u takes no responsibility for any damage caused during installation.
Please note, on the 11 series upwards a tag-on flex is required to correctly programme the iP9 Core Battery. Please ensure you purchase the correct tag-on flex for your chosen programmer.
Additional Information - If the device has been off for more than a few hours. The battery may drain very quickly after install, please run at least one full battery cycle after install before using the device.
*****DISCLAIMER: ** This part is not made by Apple and is a replacement part made for aftermarket repairs. Please do not confuse this part with something which Apple has manufactured. Apple does not sell parts to any Third Party company and claiming a part is original or an OEM could confuse a customer***
Video Overview
-
-
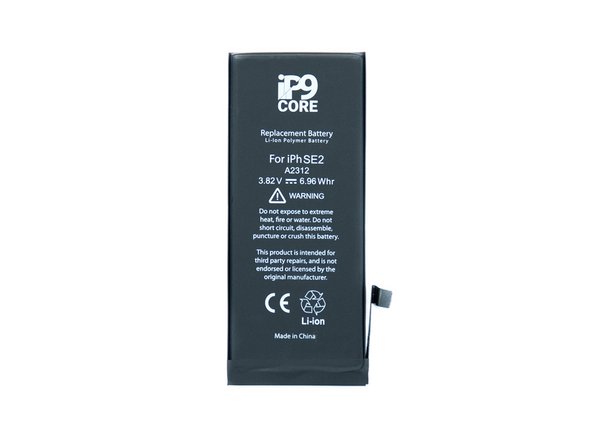
Start with an original Apple battery, we're using an iParts4U battery for this guide, however, the process is exactly the same.
-
-
-
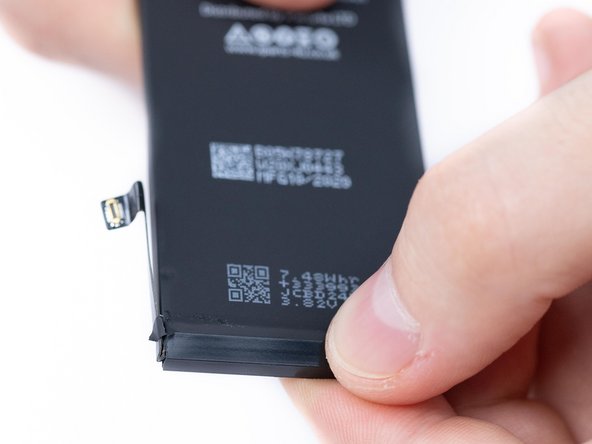
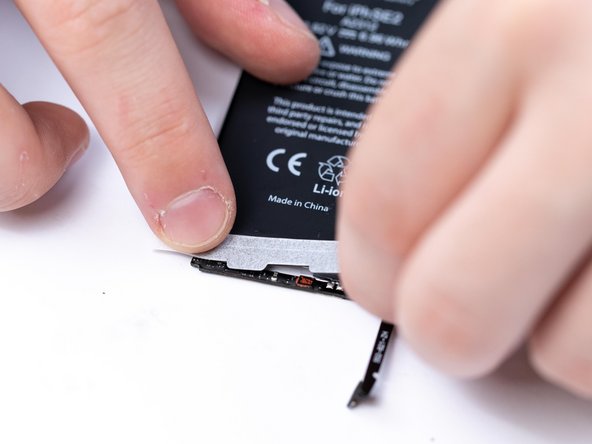
Remove the first protective sticker that's holding the BMS.
-
-
-
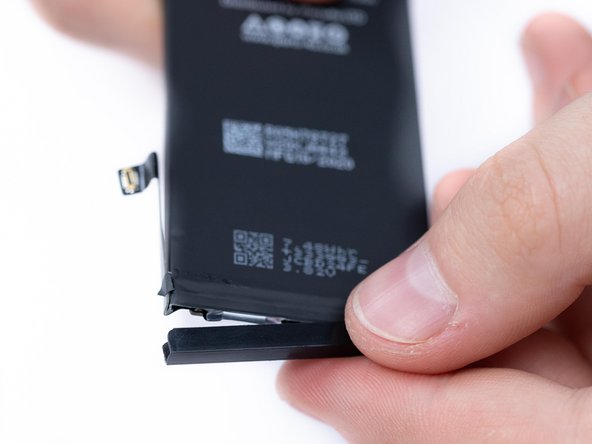
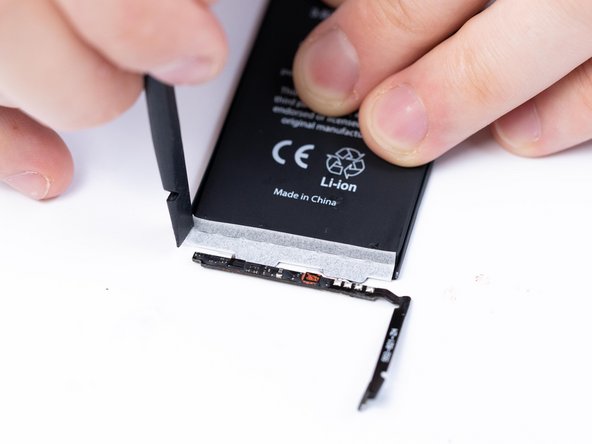
Remove the protective bracket.
-
-
-
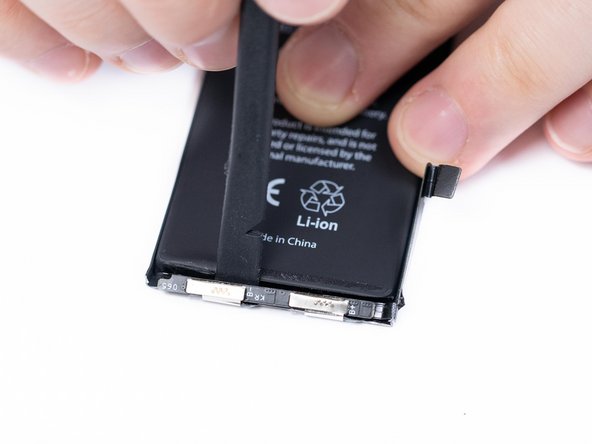
Gently unfold the BMS with a spudger.
-
-
-
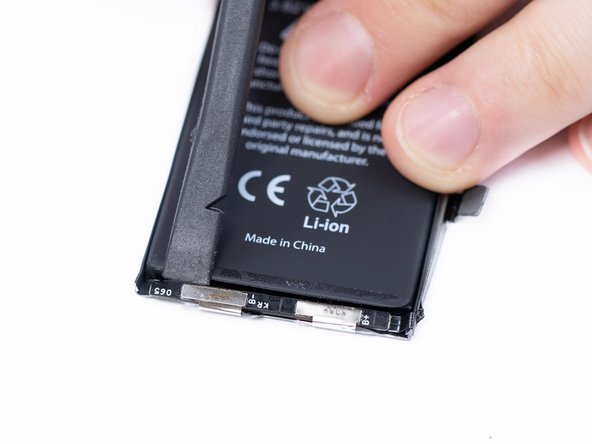
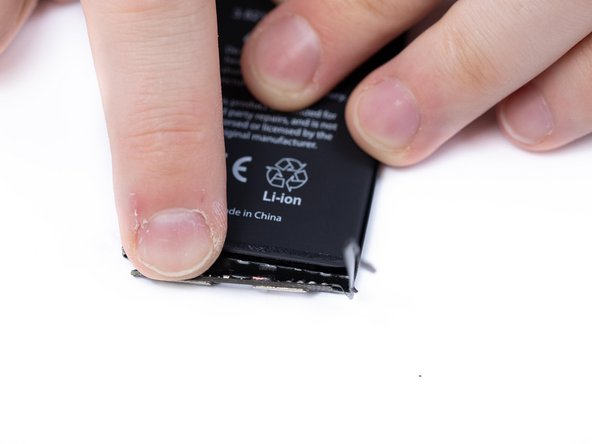
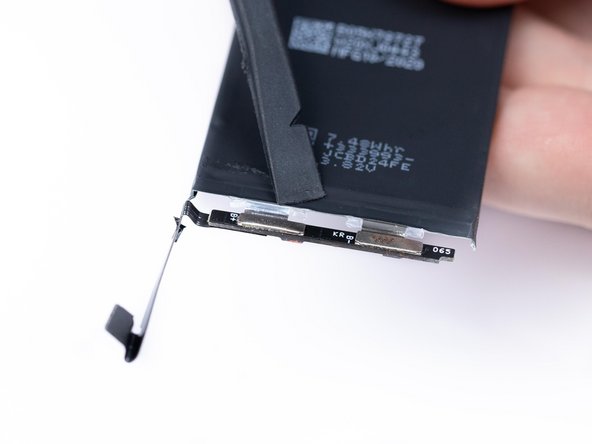
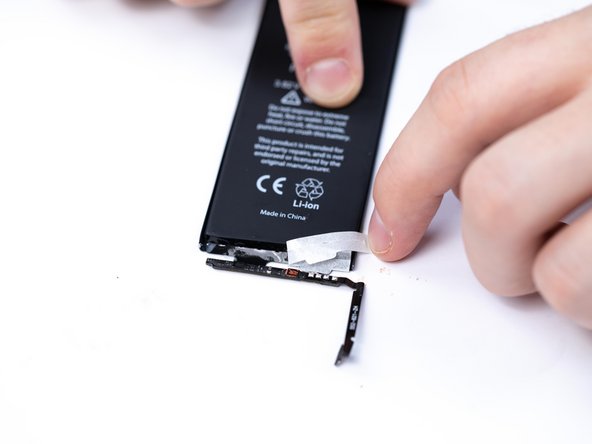
Remove the second protective sticker from the battery.
-
-
-
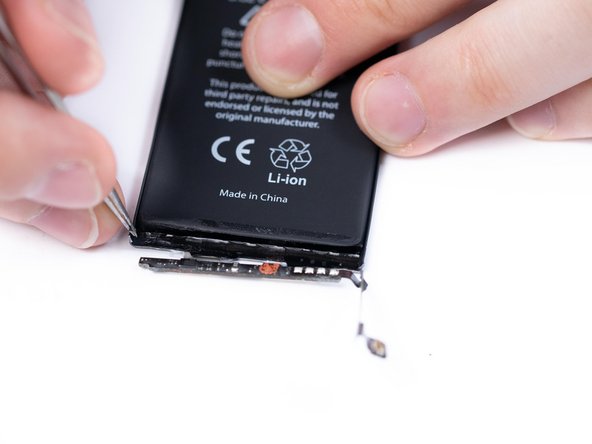
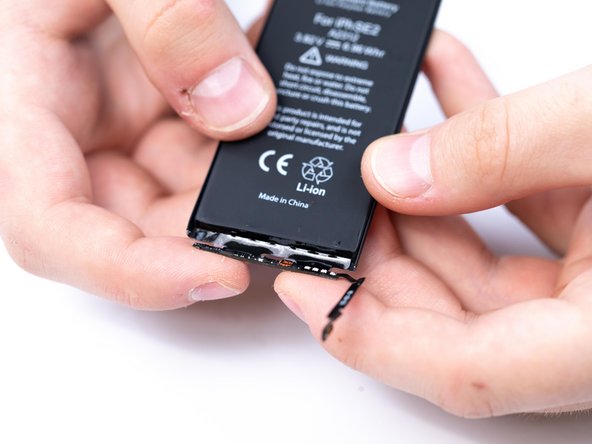
Cut the BMS off with scissors.
-
Ideally you should use ceramic scissors to cut them as it minimises the risk of creating a short circuit.
-
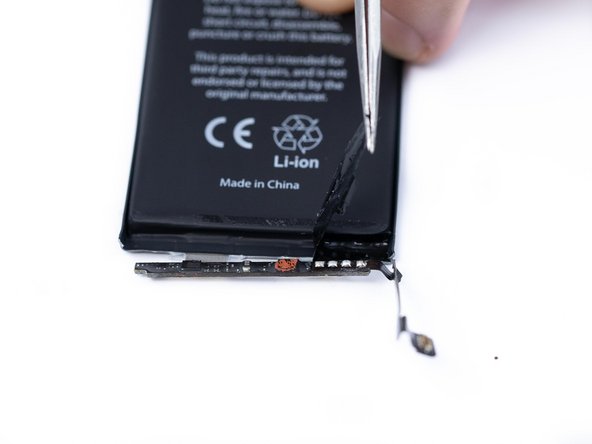
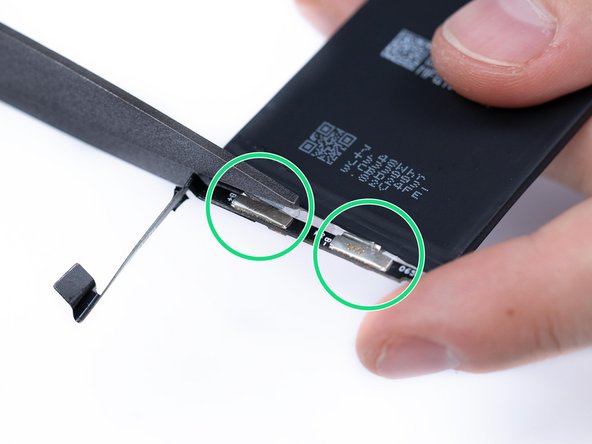
When cutting make sure you do not press the two plates together or connect them with another conductive material as this can create a short circuit.
-
-
-
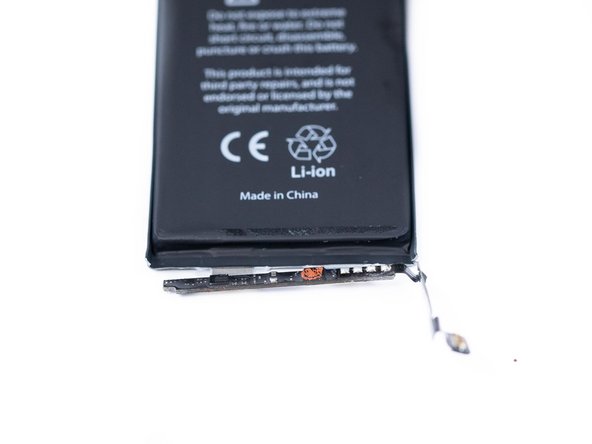
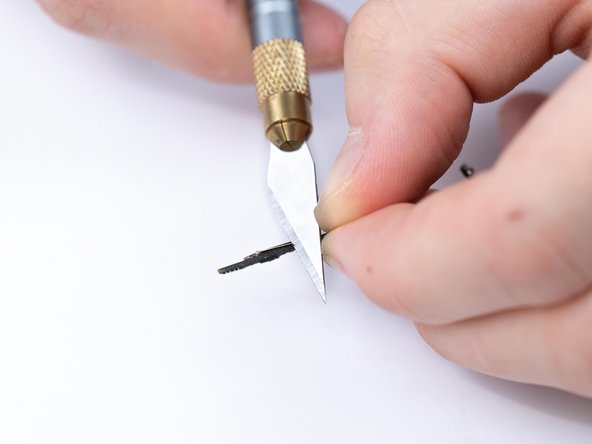
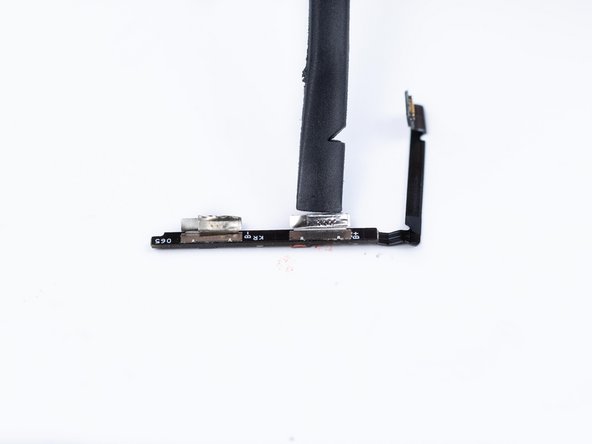
After cutting the plates there may be some overhang. You'll need to cut this with a blade or something similar to even both the plates out.
-
-
-
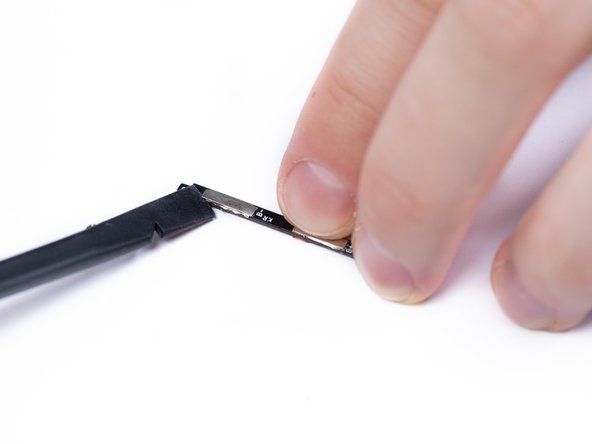
Lift the plates with a spudger.
-
Be gentle when doing this as they can break if you use too much force.
-
Do not remove the plates remaining on the BMS as these are helpful for the whole process.
-
-
-
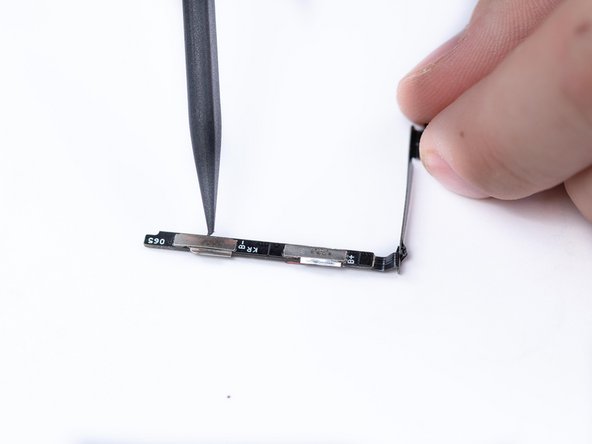
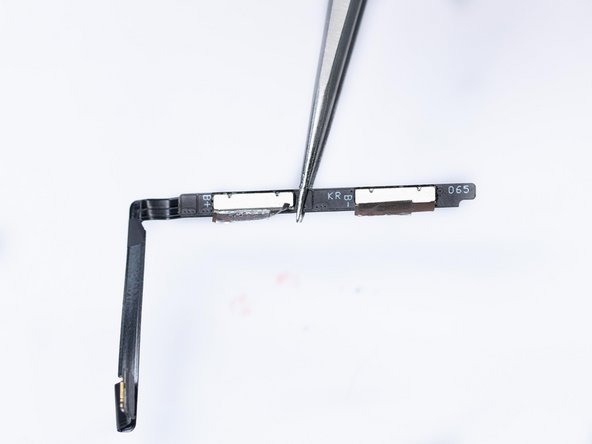
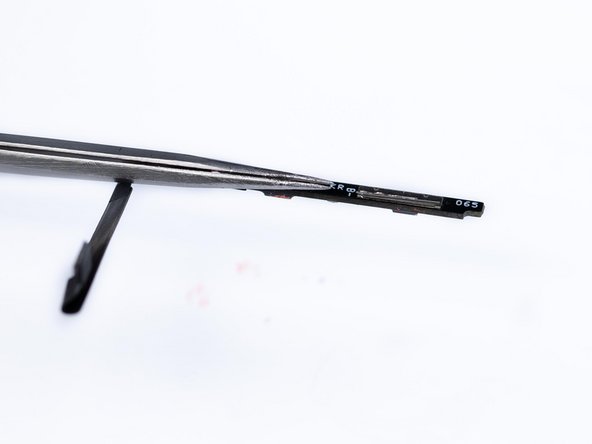
If your plates are slightly bent then use tweezers to flatten them.
-
-
-
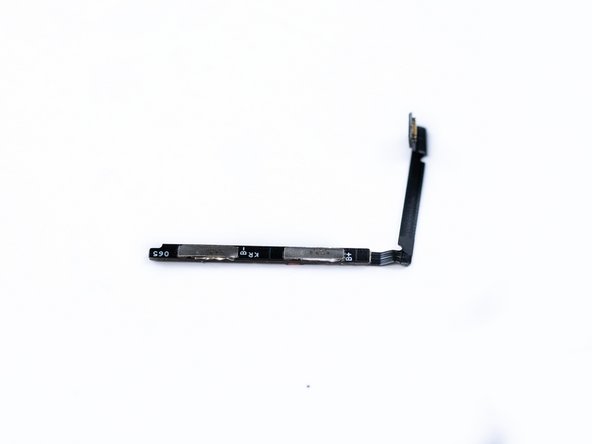
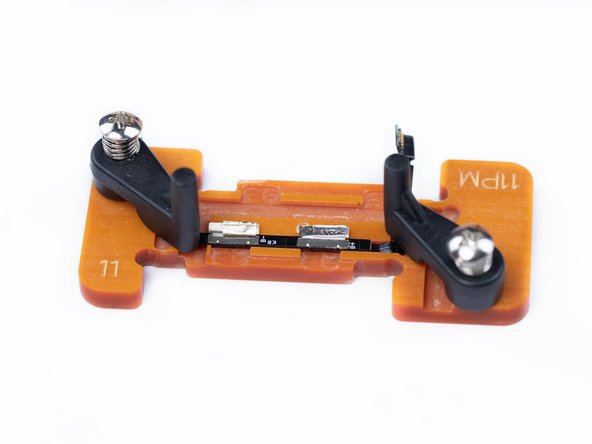
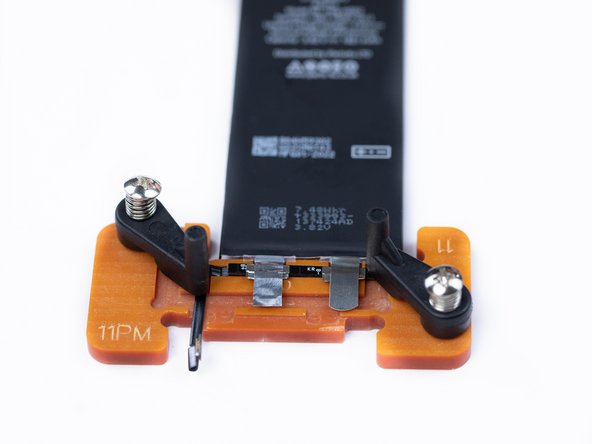
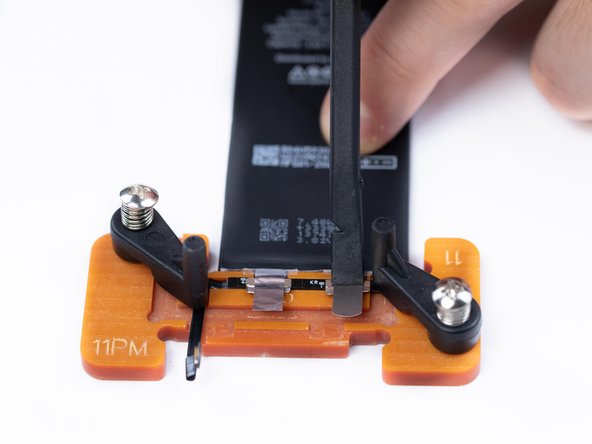
Put the BMS in a holding board ready for the next step.
-
-
-
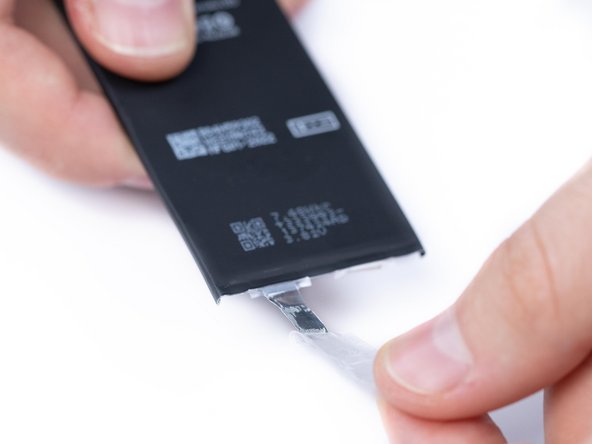
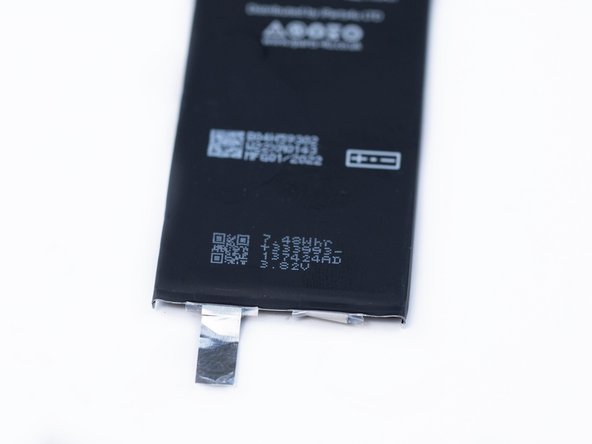
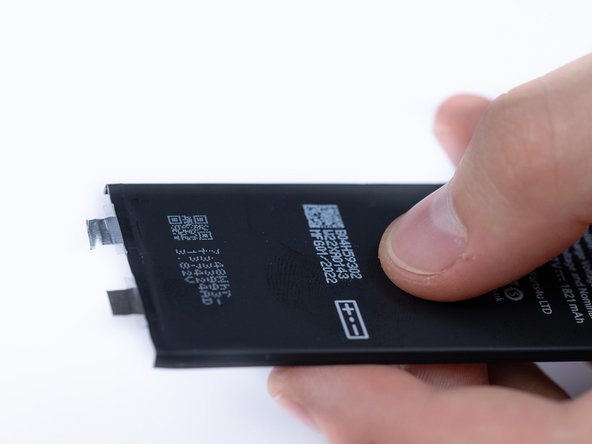
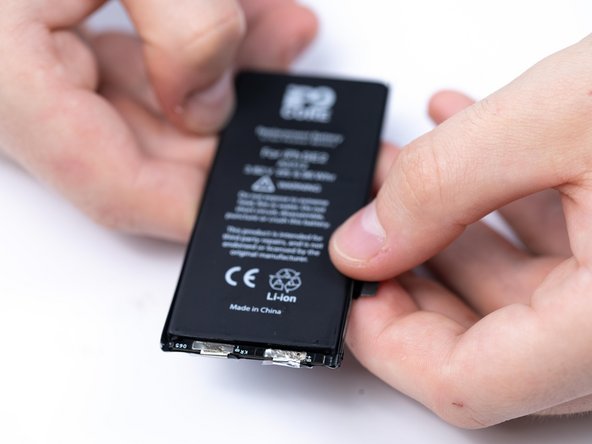
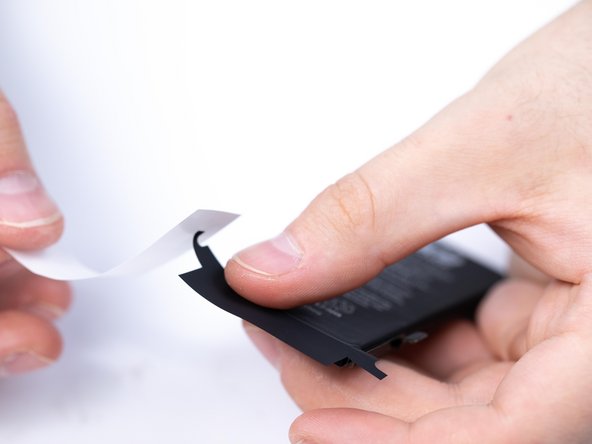
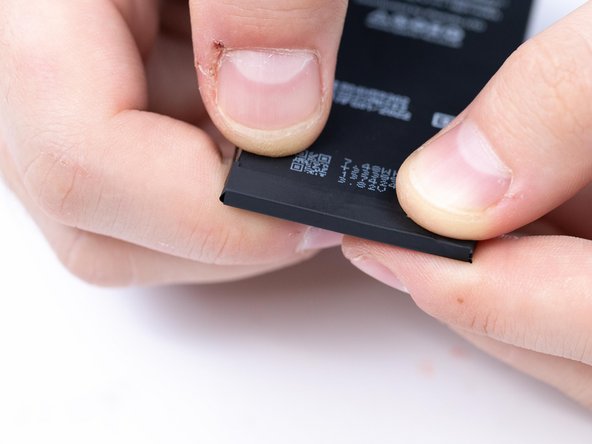
Prepare the battery you'd like to put the new BMS onto.
-
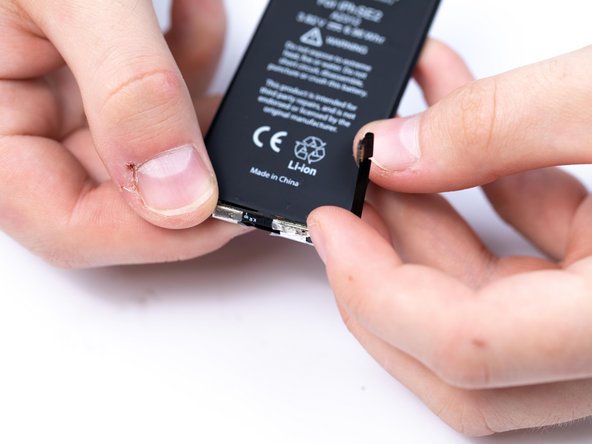
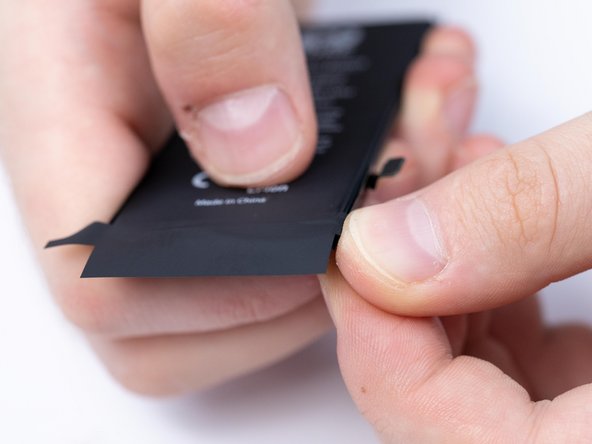
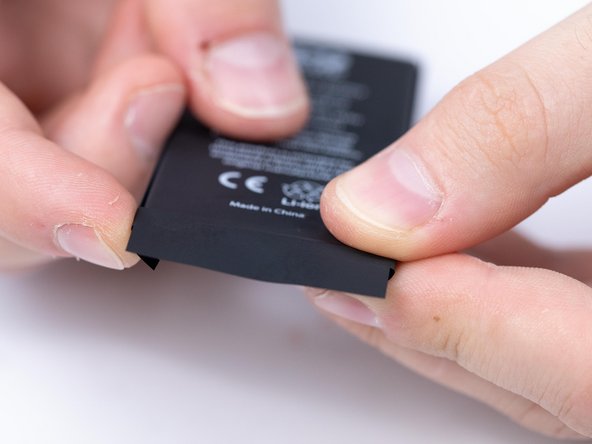
Start by peeling the tape off of the plate.
-
-
-
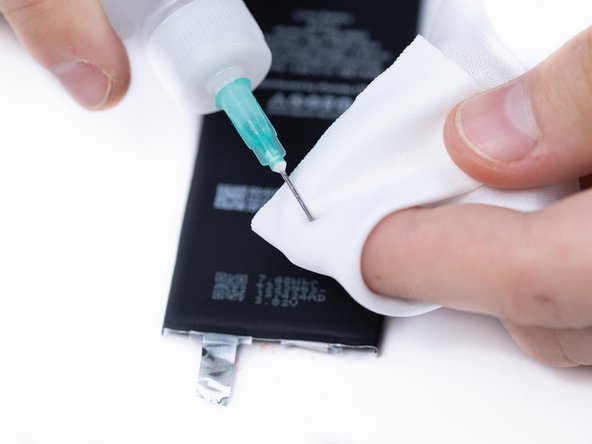
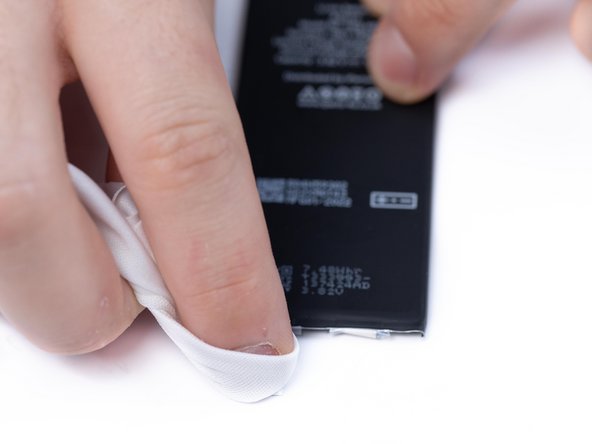
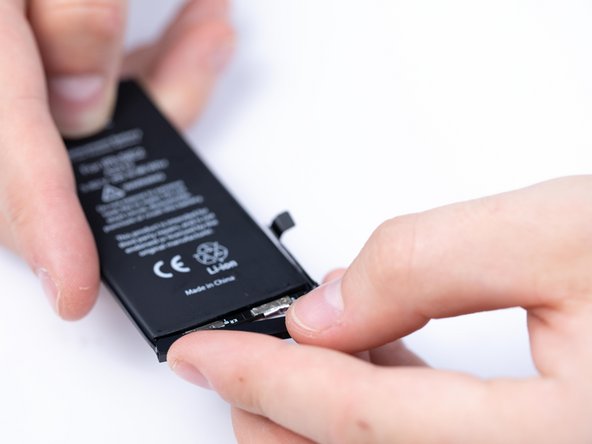
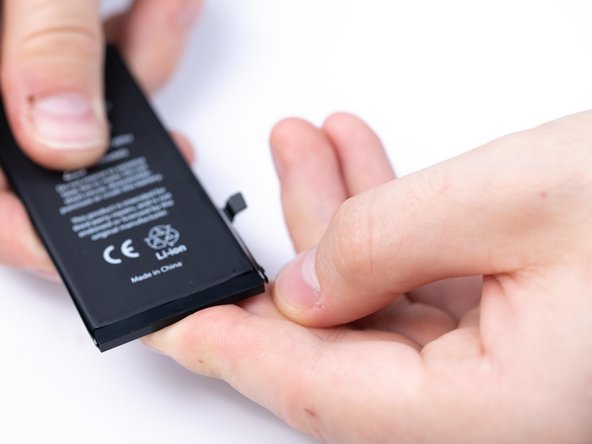
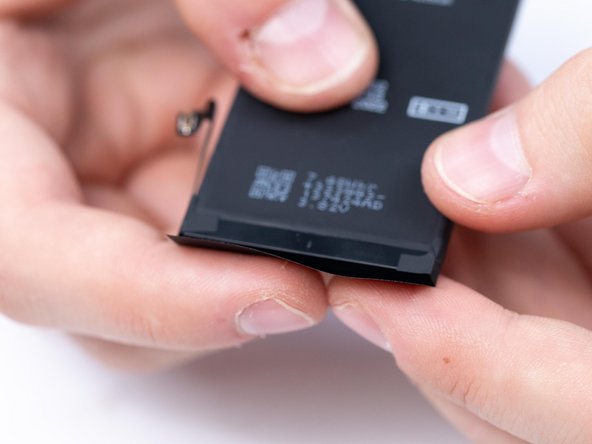
Clean the plate with a cloth and some IPA until all of the glue residue is off.
-
-
-
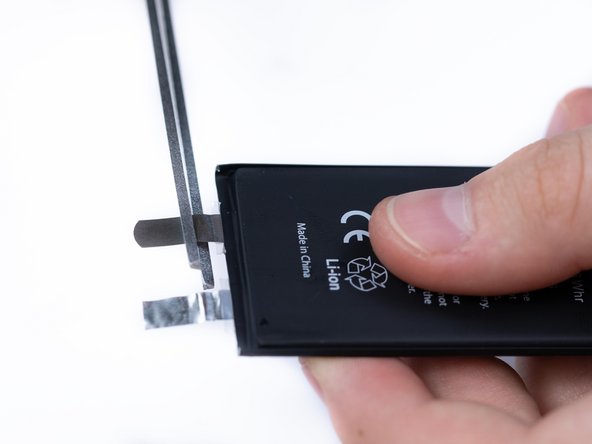
Put the battery plates into the board holder to get an idea of how much you need to cut off of the plates.
-
Mark the plates with a spudger to give yourself a rough guide of where to cut.
-
-
-
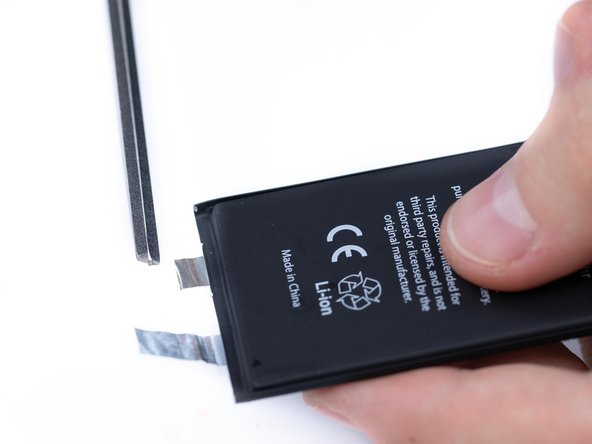
Cut both of the plates.
-
-
-
Hold the battery plate and BMS down together with a spudger and bend the excess of the plate backwards to secure it into position.
-
Do this for both of the plates.
-
-
-
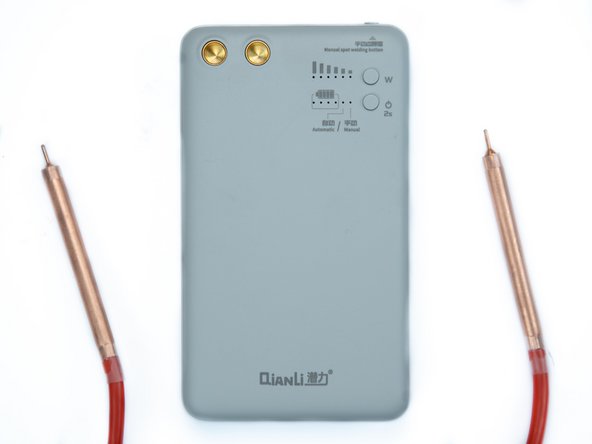
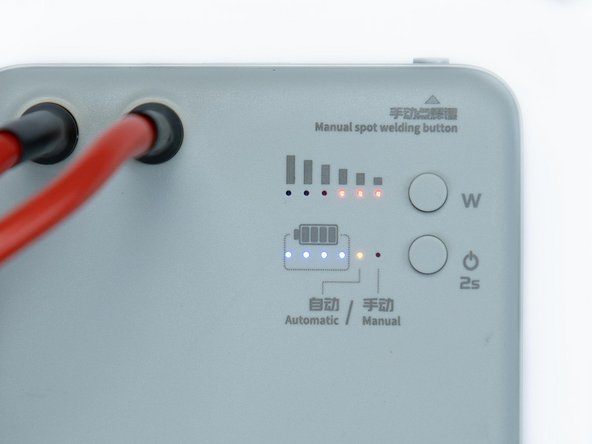
Set up your spot welder to the correct setting and plug the cords in.
-
Change your output power setting to 3.
-
Change your mode to Manual.
-
-
-
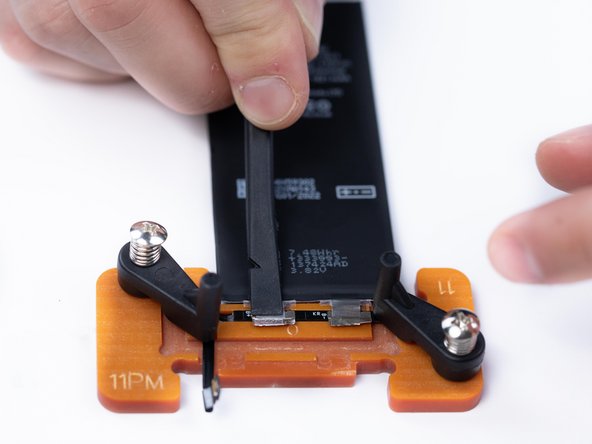
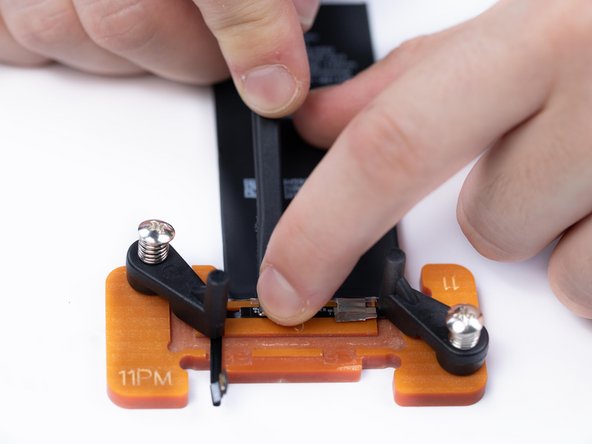
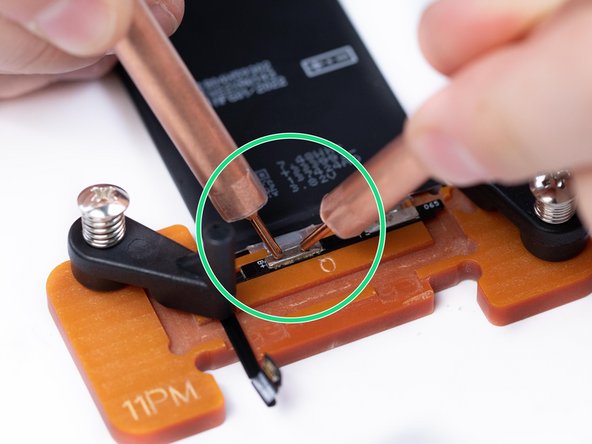
This is an example of how to hold the probes on the plates.
-
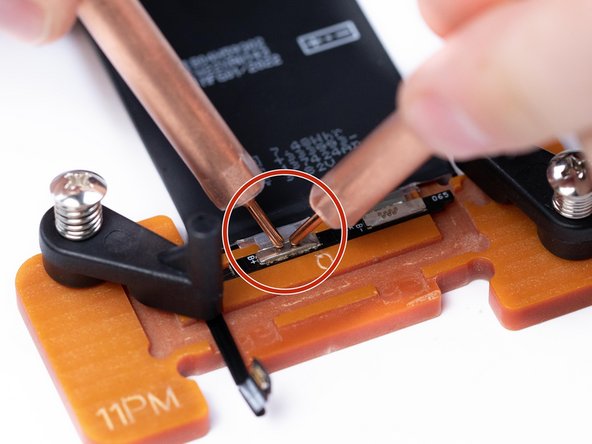
The second image is how you should not be holding them. They are far too close, holding them too close can give unexpected results.
-
Hold your probes on the plate until you hear a 'Click' sound.
-
-
-
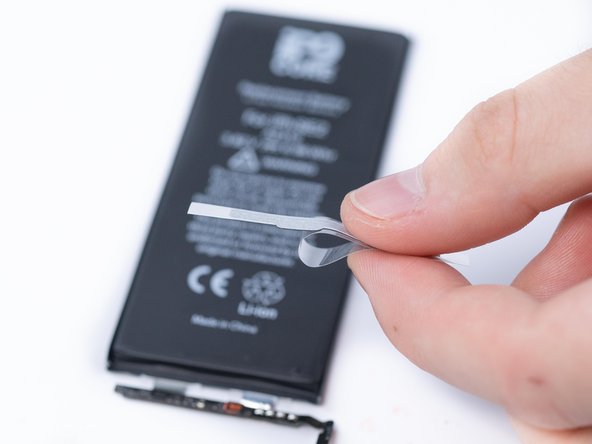
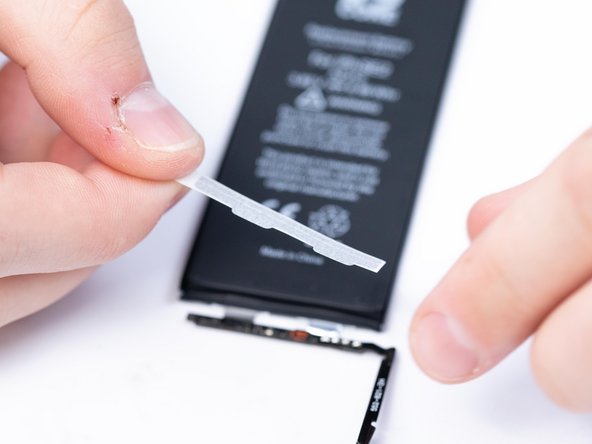
Apply the first protective sticker to the battery. This is a double sided tape that helps prevent the BMS from unfolding.
-
-
-
Spudger the protective sticker into place. It's split in the middle, make sure that when you're applying the flat side of the sticker is facing away from the BMS.
-
Peel the protective layer off once finished to reveal the sticky layer.
-
-
-
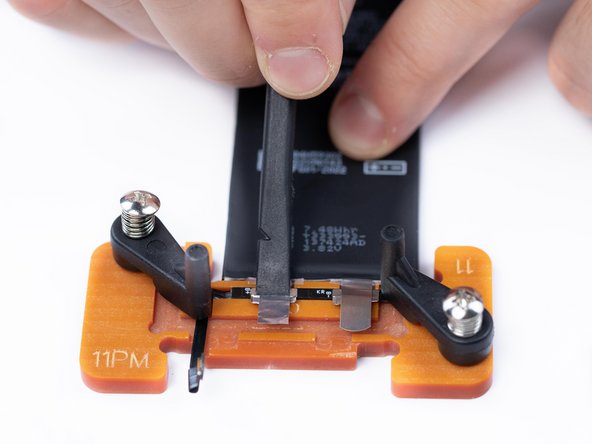
Fold the BMS board into place.
-
-
-
Put the plastic protective bracket into place.
-
-
-
Put the second protective sticker onto the battery making sure to fold the sides.
-
-
-
Fold it the second protective sticker into place.
-
-
-
That's it! You can now put the battery into your device.
-


Team
