
Video Overview
-
-
Plug in the tester flex cable for your specific phone model to the FPC on the iTester.
-
-
-
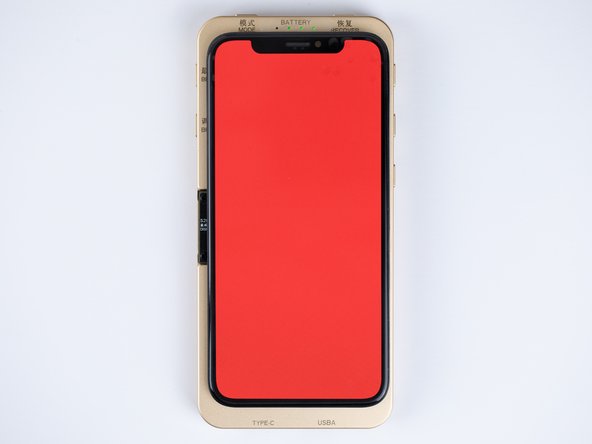
Grab the screen you'd like to test, we're using one of our iP9 iPhone X screens for this example. The screen is fully operational and is only being used for demonstration purposes.
-
-
-
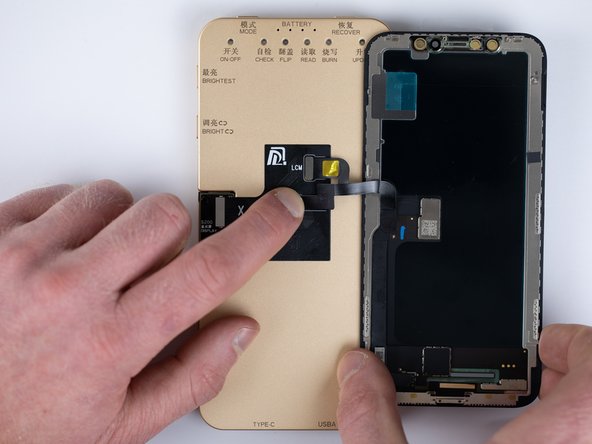
Plug in your screen flex cables to the flex cable tester.
-
-
-
Flip your screen so it sits on top of the tester. Be mindful of your flex cables when doing this.
-
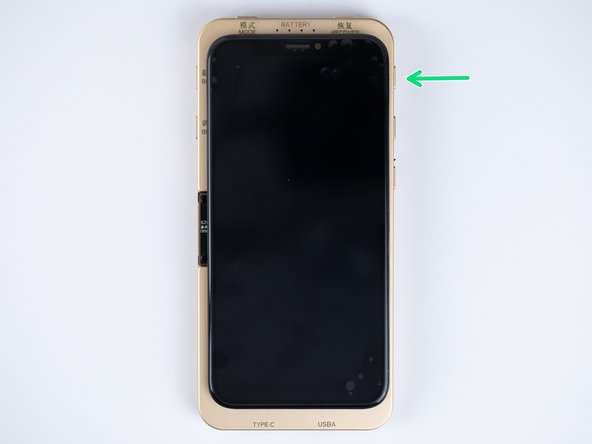
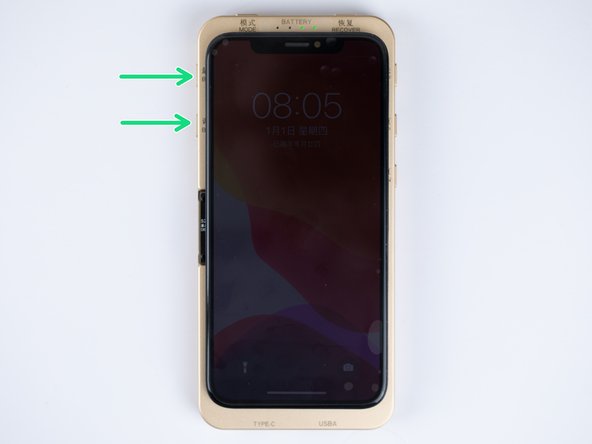
Hold the ON/OFF button on the right-hand side of the testbox to boot up the display.
-
-
-
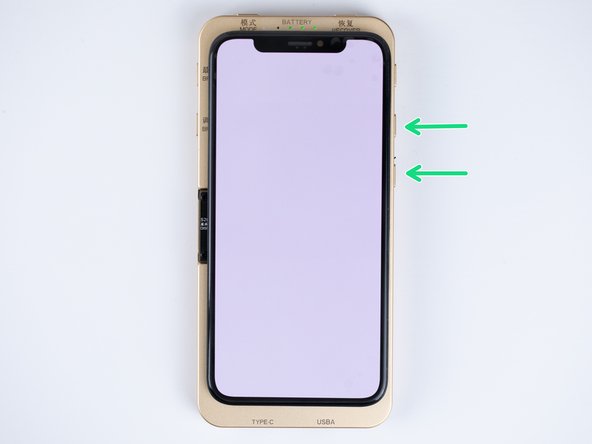
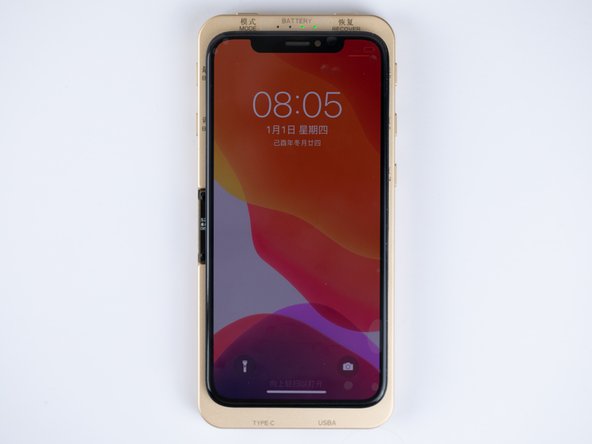
Use the 'UP' and 'DOWN' buttons on the side of the testbox to skip through the different menu photo options.
-
If you don’t want one of the photos to be shown, hold the 'DOWN' button for 10 seconds to get rid of the photo you don’t want to see.
-
To bring all of the photos back, press the up key for 10 seconds.
-
-
-
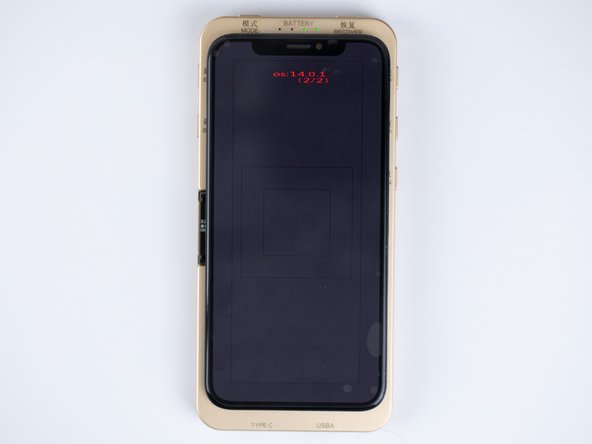
One of the menus will take you to a touch test photo. You can use this menu to perform your touch tests on the screen.
-
There are two different modes, simple mode, and touch track mode. To switch between them hold down the 'MODE' button on the top left of the testbox. We're using 'SimpleMode' for the next few examples.
-
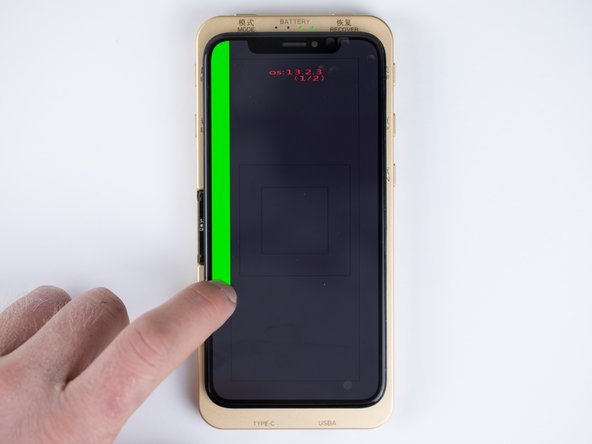
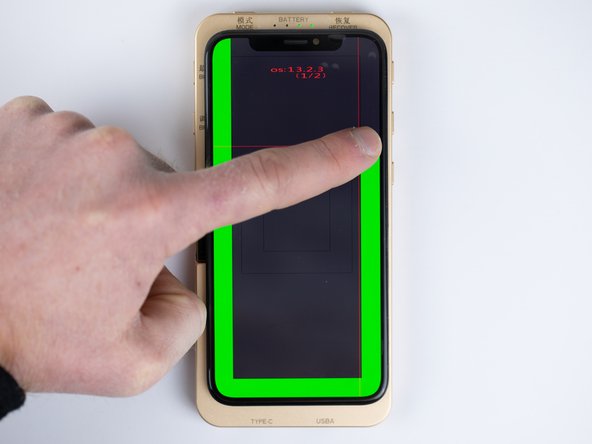
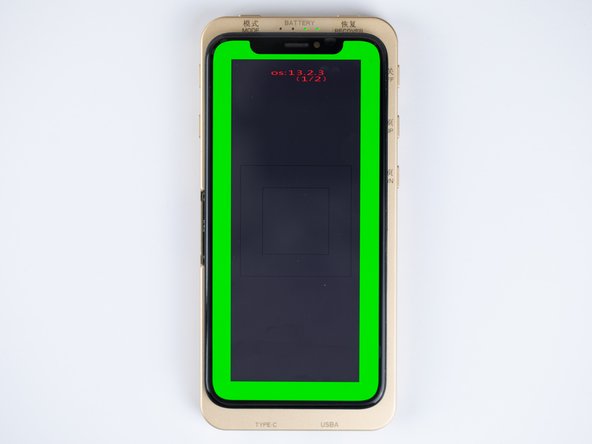
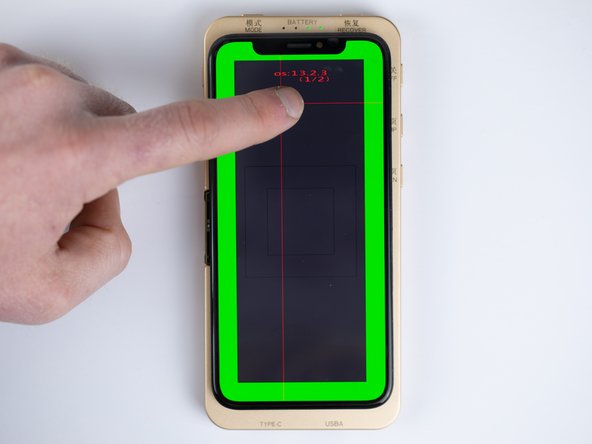
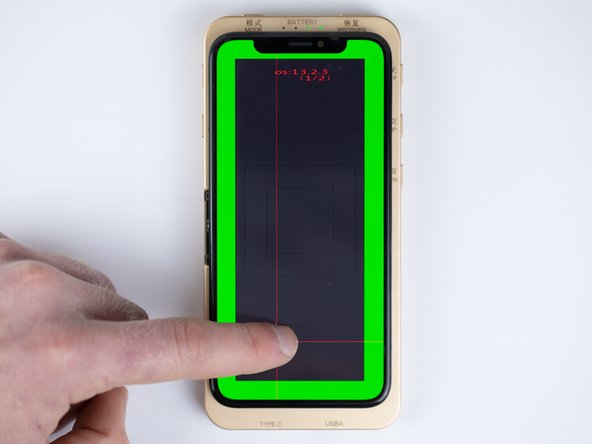
The first is drawing a circle anticlockwise on the display's borders. If you're able to complete a full loop and you have a complete green bar around the borders then this touch test has passed.
-
-
-
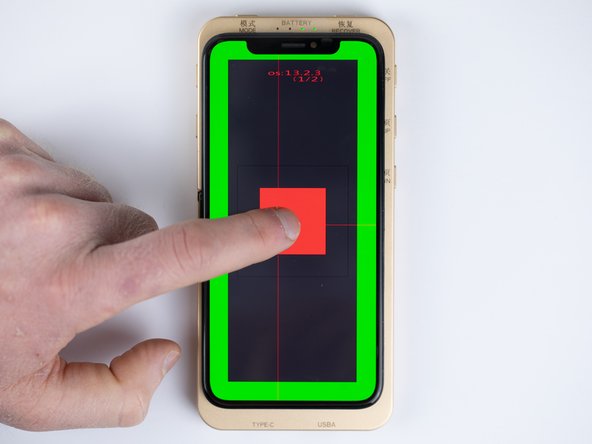
To complete a 3D touch test start by using a small amount of pressure to the screen and a red box will appear. Continue by using more finger pressure on the screen and a green box will appear.
-
-
-
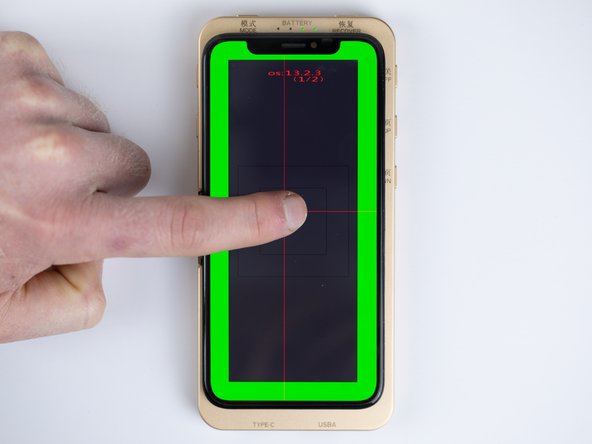
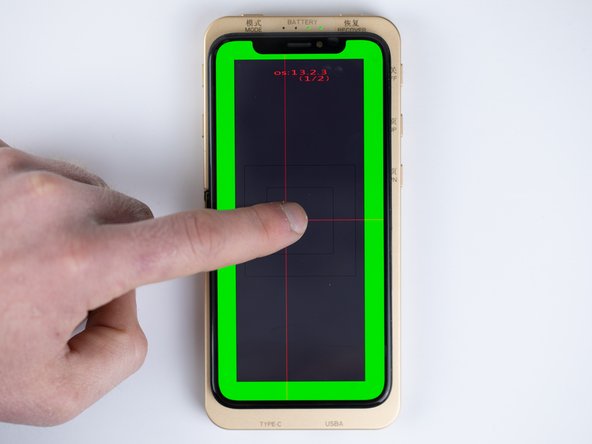
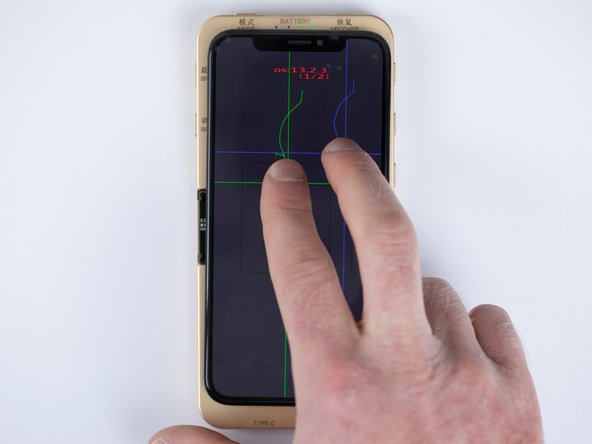
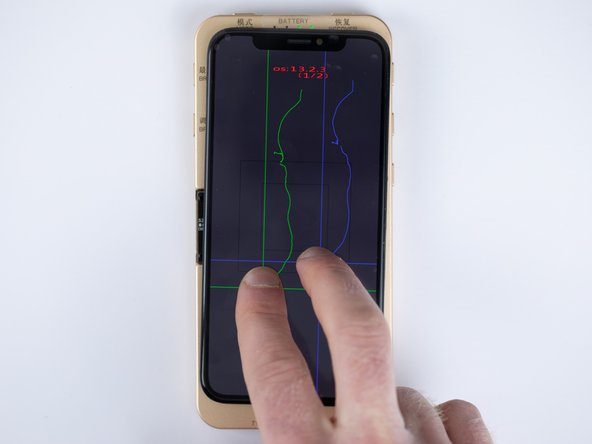
When you press against the screen a cross will be drawn and will follow your finger across the sceen.
-
To use this as a test drag the cross up & down followed by left and right.
-
-
-
To switch to touch track mode hold the 'MODE' button on the top left of the testbox.
-
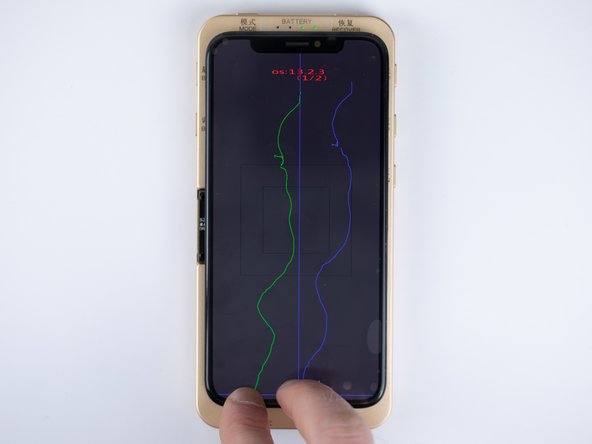
Now if you touch the screen there will be one blue and one green line that will track your fingers.
-
-
-
To adjust the brightness on the display. you can use the 'BRIGHT' button on the left-hand side of the testbox to choose between different brightness options.
-
To set the screen to its brightest setting in one click, use the 'BRIGHTEST' button on the left-hand side of the testbox.
-
-
-
You can switch IOS versions for a compatibility test. You can do this by clicking the 'MODE' button at the top of the testbox.
-
-
-
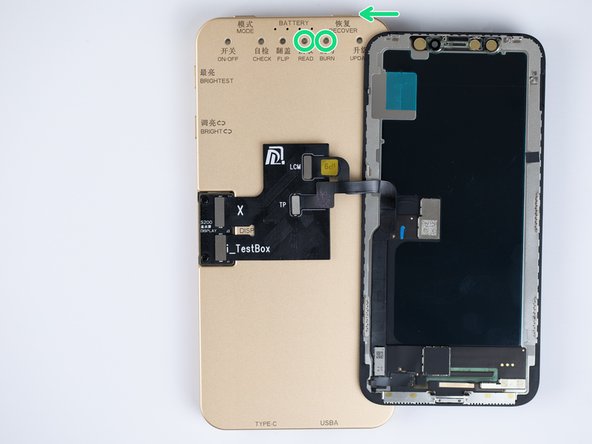
To recover the display, grab your original display and attach it to the testbox. Hold down the 'RECOVER' key on the top right of the testbox. The 'READ' indicator light will flash green while the testbox reads the data from the original screen. When the 'READ' light is a constant green you can remove the original display.
-
Attach your new display and click the recover key. The burn indicator light will flash and will begin burning the data to the display. When the burn light is a constant green it means it was a successful recovery.
-


Team
