Introduction
Welcome to this guide on fixing True Tone using the JC Programmer V1S/V1SE. True Tone is a feature available on certain Apple devices that adjusts the display's colour temperature based on ambient lighting conditions, providing a more natural and comfortable viewing experience. However, there may be instances where True Tone malfunctions or stops working altogether.
In this guide, we will explore how the JC Programmer V1S/V1SE tool can be utilised to diagnose and fix True Tone-related issues on compatible Apple devices. The JC Programmer V1S/V1SE is a versatile hardware tool designed for advanced repair tasks, including troubleshooting and repairing various components within Apple devices.
Whether you are a professional technician or an enthusiastic DIYer, this guide aims to provide you with step-by-step instructions and practical tips to effectively use the JC Programmer V1S/V1SE tool for fixing True Tone issues. We will cover topics such as identifying common True Tone problems, connecting and operating the JC Programmer V1S/V1SE, and performing the necessary procedures to restore True Tone functionality.
Please note that working with hardware tools like the JC Programmer V1S/V1SE requires technical knowledge and expertise. If you are unsure or uncomfortable with performing repairs on your own, it is recommended to seek assistance from a qualified technician or Apple-certified service provider to ensure proper diagnosis and repair.
Now, let's delve into the process of fixing True Tone using the JC Programmer V1S/V1SE and get your Apple device back to its optimal display performance.
Tools
Parts
No parts specified.
Video Overview
-
-
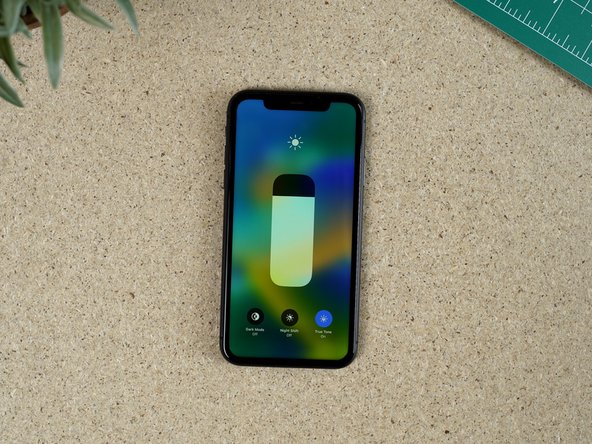
Attach your aftermarket display and turn your device on. You will notice that true tone is not an option on the brightness menu.
-
-
-
Attach a true tone board to your V1SE and turn it on.
-
-
-
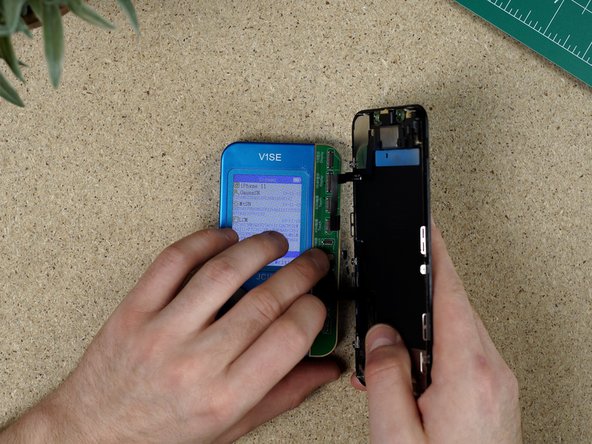
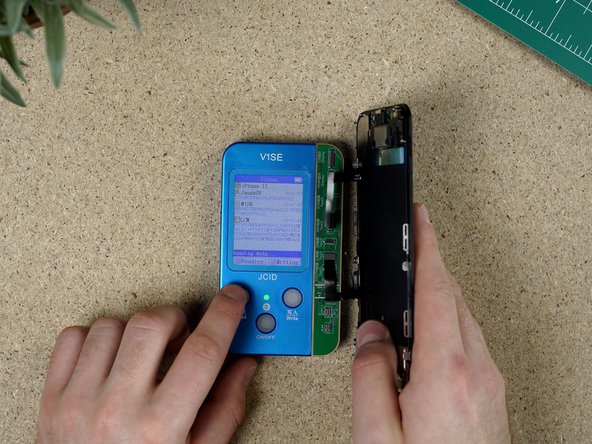
Connect the original screen to the JC V1SE. Press the read button. The V1SE will begin reading data, it’s copying it’s serial number which will be pasted onto the replacement screen.
-
-
-
Connect the replacement screen and click the writing button. This will write the data from the original screen onto the new screen.
-
-
-
Remove the ear speaker and front sensor flex from the original screen and re-attach to the replacement screen.
-
-
-
Turn the phone on and check that true tone is visible on the brightness menu.
-
-
-
Test the ambient light sensor is working by putting your thumb over the sensor or shine a bright light at it to check the auto brightness changes.
-


