Introduction
In this guide we’ll be showing you how to apply a Forward front film onto your device. Along with a full explination on the different type of cuts available on your Forward Zero machine.
-
-
Before we explain how to apply a front film, firstly we need to understand the different types of cuts available on your machine If you already know what type of cut you need or dont want to learn about the different cuts. Skip ahead to step 'X'.
-
-
-
There are many different types of cuts available across the Forward Zero machine. In this example we'll be using the cuts available for the iphone 12.
-
The types of cuts available for the iphone 12 are similar in principle across all the different mobile makes and models the Forward Machine has to offer for Mobile. So what you'll learn about these specific cuts will translate across whatever make or model you're cutting for.
-
-
-
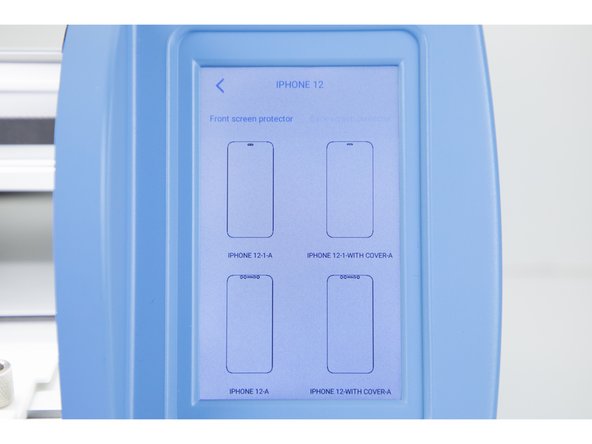
In this example for the iphone 12, there are 4 different types of cuts for clear and anti blue hydrogel films.
-
The first cut (top left) is to cover the whole of the iphone 12 screen excluding the speaker.
-
The second cut (top right) is exactly the same as the first type of cut but slightly tapered on the edges to allow more room for a phone case. This will prevent the phone case from catching and lifting the the film.
-
The third cut (bottom left) is to cover the whole phone excluding the speaker and front camera and sensors.
-
The fourth cut (bottom right) is exactly the same as the third cut but slightly tapered on the edges to allow more room for a phone case. This will prevent the phone case from catching and lifting the the film.
-
Here's a link to our clear and anti blue films.
-
-
-
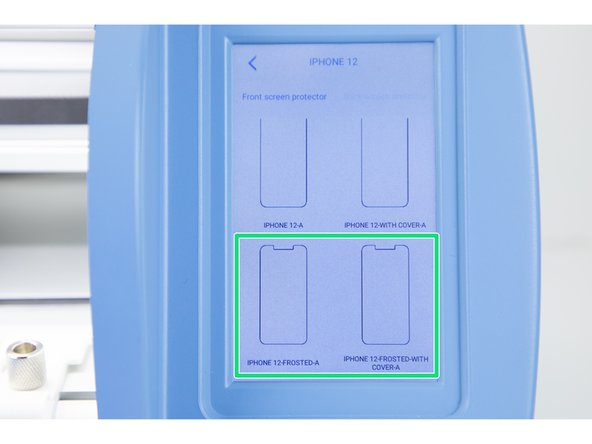
If you scroll down the menu you'll notice there are two other cuts specifically for matte/frosted films.
-
You'll want to use these if you have matte/frosted films as they won't cover the phones cameras or sensors.
-
Covering the camera and sensors with a matte/frosted film will hinder their performance.
-
Here's a link to our anti glare films.
-
-
-
Once you've chosen your film cut, you're now ready to apply the film. If you're usnure how to cut the film, you can check out our guide here.
-
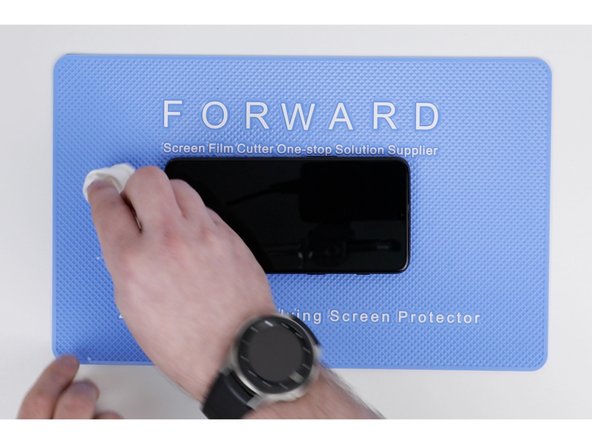
Clean your phone thoroughly of any grease or dust with screen cleaner and a cleaning cloth.
-
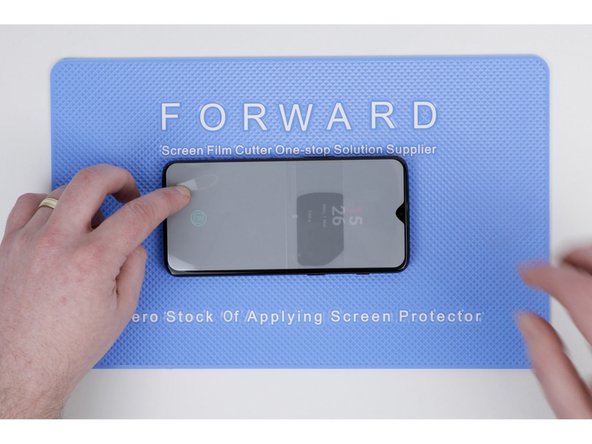
Quickly apply your film before any dust settles on your screen. Place the film over your phone screen, making sure to line up the film properly with the edges of your screen.
-
-
-
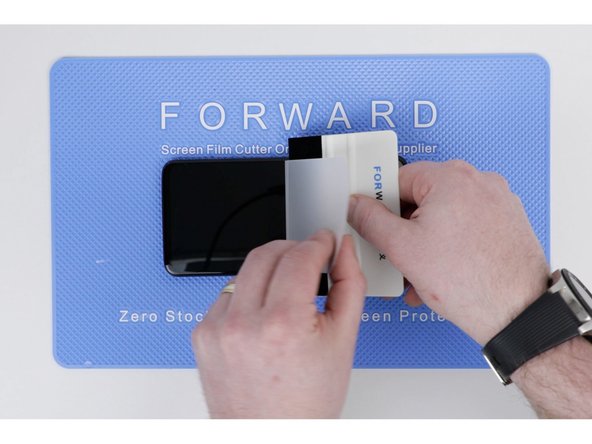
The Forward front films are split into two halves straight down the middle of the film. You'll need to apply each side of the film seperately.
-
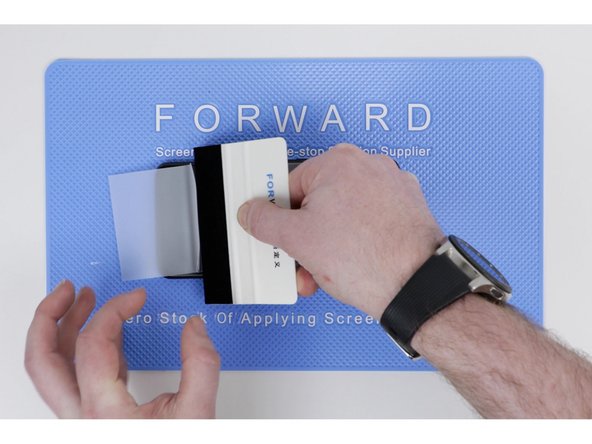
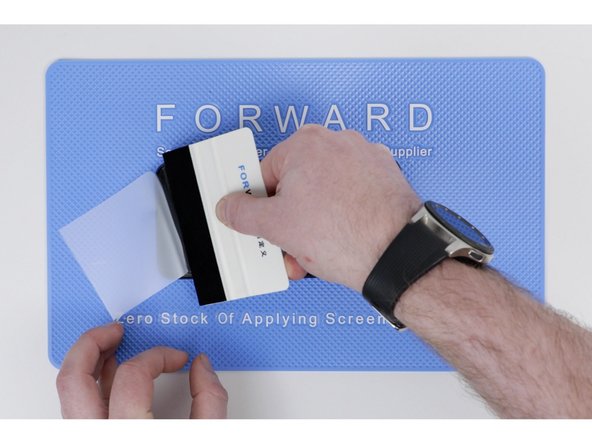
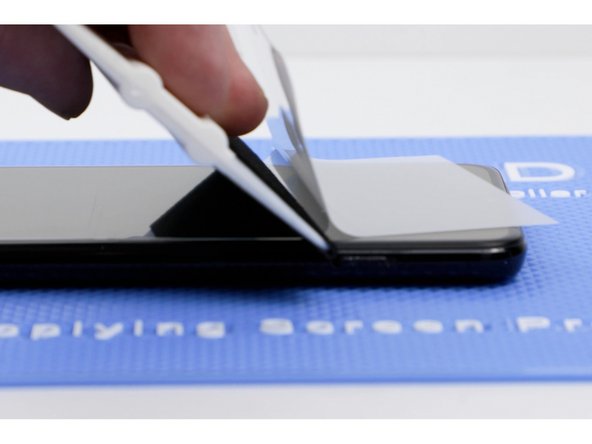
Apply the left side of the film onto the phone. Pull the left side of the film up and use a application tool to firmly press the film down. As you apply the film. the protective sheet should lift off.
-
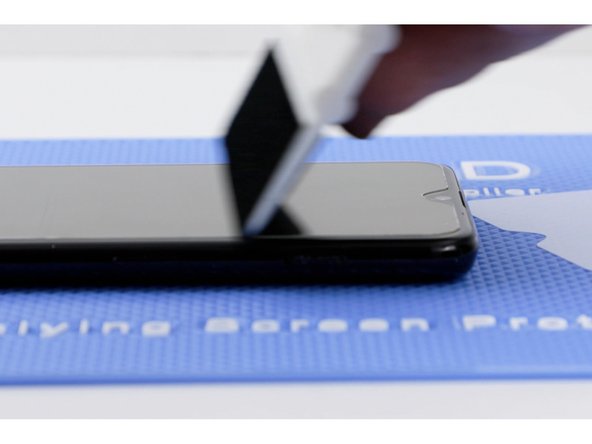
Once applied, go over the section you've applied with a application tool and press out any bubbles.
-
-
-
Follow the same steps in steps 7 for the second part of the film.
-
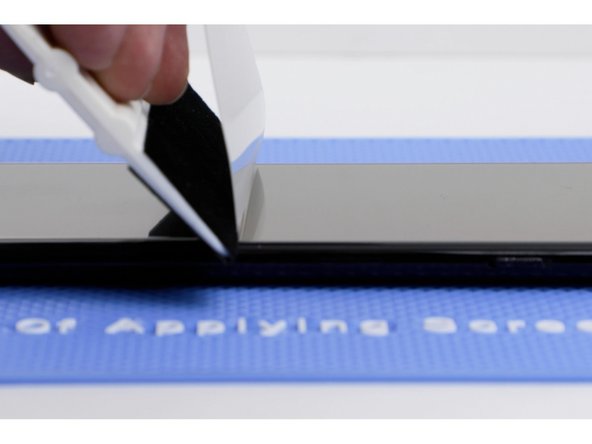
Before sticking the second side down. Pull the film back slightly to meet where the other side is stuck down. If you don't do this, you create an air gap.
-
-
-
Once applied, pull the protection film off of the main film.
-
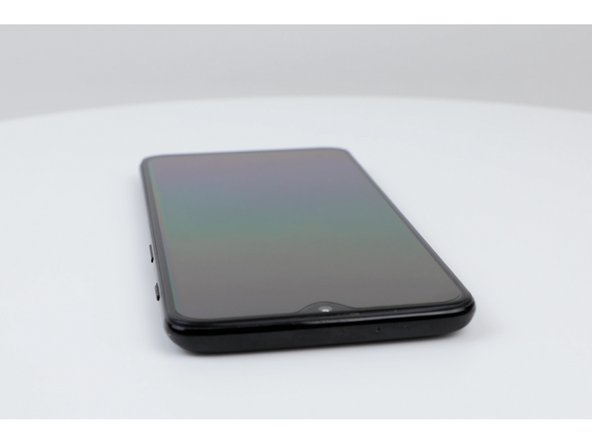
Thats it! Enjoy your newly protected phone!
-


