Introduction
Welcome to the 'Face ID Front Camera Repair Using the JC V1S/V1SE Guide.' The purpose of this guide is to provide you with detailed instructions to safely and effectively repair or replace the front camera and Face ID feature on your Apple iPhone using JC V1S/V1SE Programmer tools.
Apple's proprietary Face ID technology, being a cornerstone of modern security, uses a complex system of cameras and sensors integrated into the iPhone's front camera assembly. If these components become damaged, it can result in the Face ID function not working correctly or at all. It's important to note that fixing this component requires a high level of technical skill and precision.
The JC V1S and V1SE are sophisticated tools designed for this repair, allowing you to write the original Face ID data to a new front camera module, effectively restoring the functionality. In the hands of a skilled technician, these tools can restore the full function of the iPhone's Face ID system without the need for a costly full-device replacement.
This guide will walk you through the process, step by step, of how to use the JC V1S/V1SE to repair the Face ID front camera assembly.
Throughout this guide, we will cover:
- Tools and materials required.
- Detailed instructions on how to use the JC V1S/V1SE to replace and repair the Face ID front camera.
Remember, attempting any repairs on your device can void your warranty. It is essential that you feel comfortable with each step before proceeding. Proceed at your own risk, and if you feel you can't complete the repair, consider taking your device to a certified professional.
We hope this guide helps you restore the functionality of your iPhone's Face ID and extend the life of your device. Happy repairing!
Parts
No parts specified.
Video Overview
-
-
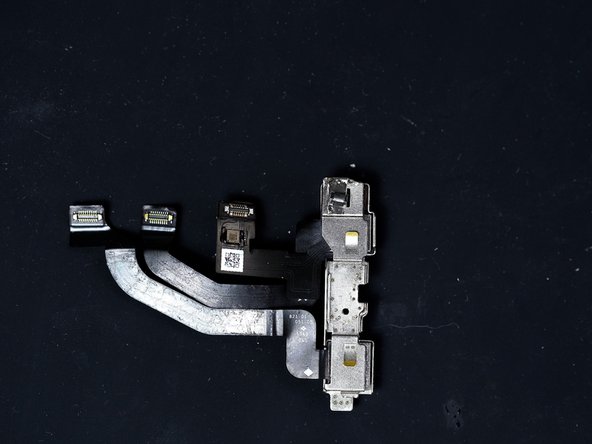
Remove the front camera from your device.
-
-
-
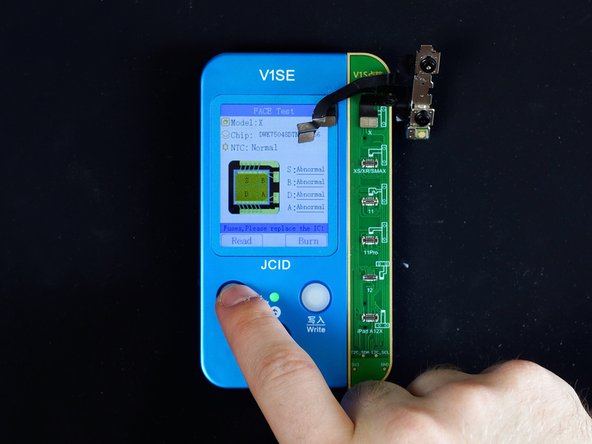
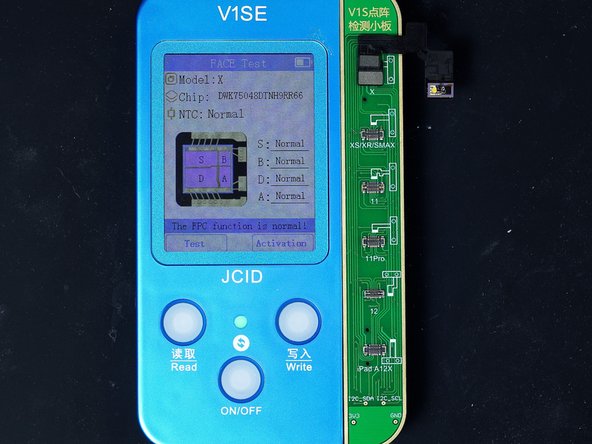
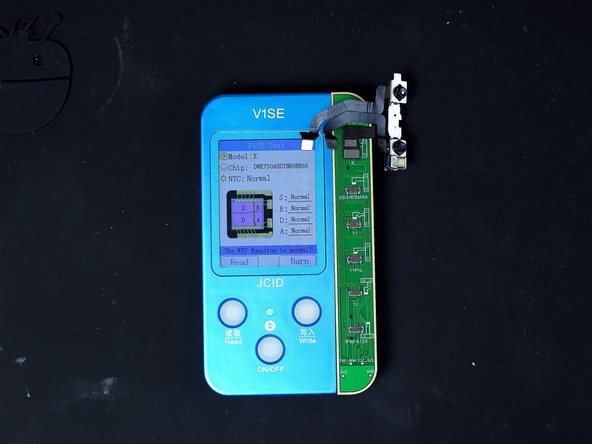
Plug the front camera into the JC Programmer. The Programmer will test the dot projector to see if there are any issues with it.
-
-
-
Grind the back of the metal bracket on the front camera enough to create an opening for a prying tool.
-
-
-
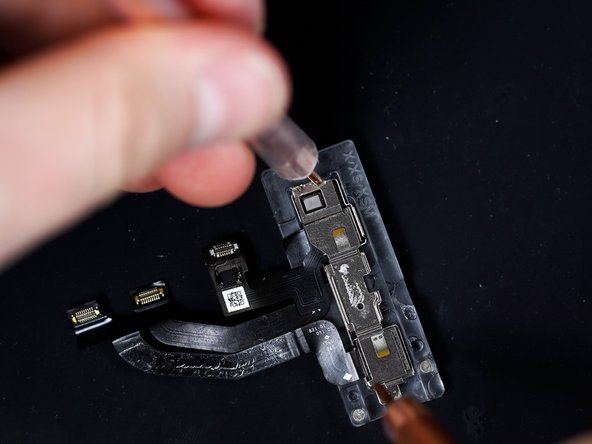
Put the front camera into a QianLi iPinch Holder and begin prying underneath the metal bracket. Direct hot air at the metal bracket at the same time to loosen the adhesive holding it down.
-
-
-
Continue loosening the bracket by using a mixture of prying with a sharp blade, grinding & hot air. You will eventually be able to lift the bracket up.
-
-
-
Plug the front camera into the JC programmer again and click ‘read’. Once read, disconnect from the Programmer.
-
-
-
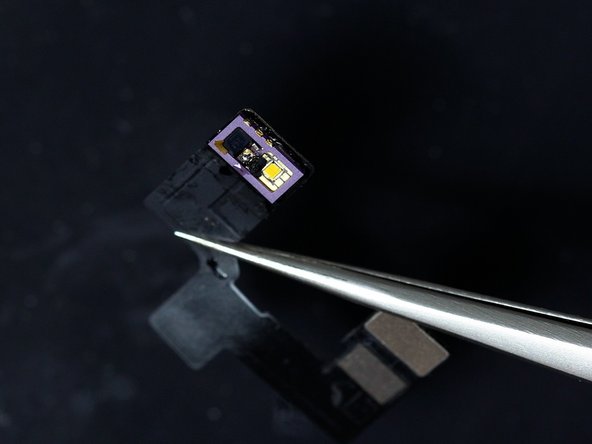
Using tweezers, remove the dot projector from the front camera.
-
-
-
Using tweezers, a soldering iron & a sharp blade desolder the pins on the side of the dot projector. Bend the pins backwards to avoid them soldering themselves back on.
-
-
-
Using hot air and prying, split the dot projector from the crystal .
-
-
-
Using hot air & a prying tool remove the field effect tripod to reveal the three pads below.
-
-
-
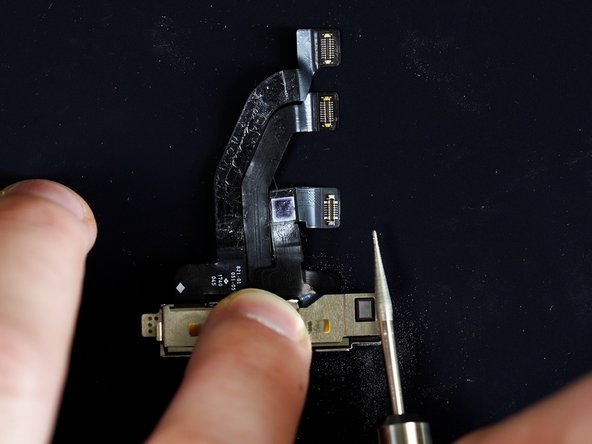
Using tweezers and a soldering iron bridge the connection between the long pad on the left to the lower right pad. Once this is done you can remove the dot projector from the flex.
-
-
-
Attach the flex to the JC Programmer. Burn the data from the old flex onto the new flex.
-
-
-
Using solder wire, a soldering iron and flux, prepare the pads to solder the dot projector back on.
-
-
-
Plug the dot projector back into the JC programmer and test.
-
-
-
Check that the dot projector is soldered evenly onto the flex.
-
-
-
Using superglue, attach the crystal back to the dot projector.
-
-
-
Fit the dot projector back into the front camera frame, making sure it sit’s flush.
-
-
-
Bend the metal back into place.
-
-
-
Using a spot welder, spot weld the frame back together.
-
-
-
Re-create the metal tab that keeps the metal frame in place. Use a spot welder to weld the metal tab.
-
-
-
Spot weld the metal tab again to help it hold around the side.
-
-
-
Plug the front camera back into the JC and test.
-
-
-
Add a pad to the back of the front camera.
-


